There’s currently 1.5 million registered charities in the US alone, not to mention the rest of the world.
As strange as it may seem, charities increasingly need to keep on top of their “competition” to ensure they’re getting the donations they need. This is so to keep making an impact on the causes they support.
And one way to do that is to create an online presence for the charity – an easy way to grow your reach and be found by people with similar values.
Interestingly, overall revenue for donating online increased by 23% in 2017 (growing from 15% in 2016) showing a clear trend for online fundraising. In fact, 47% of Millennials gave through an organization’s website in 2016.
It’s clear that charities need an online presence to make use of those donating online, especially to appeal to the new generation. But with lower budgets within the charity sector, it’s often not financially viable to hire a developer to create a website.
This is where CMS solutions come in and in particular, WordPress. It’s currently the most widely used website building platform and accounts for nearly 36% of the web.
How to Set Up a WordPress Site for Your Charity
Luckily for those without developer experience, creating a website on WordPress can be fairly straight forward if you choose the right theme and plugins to help.
We’ll take you through some of the key steps you need to consider when creating a WordPress website for your charity such as:
- Hosting provider
- Domain name
- Charity WordPress theme
- Donations plugin
- Website translation
1. Hosting
Once you’re ready to use WordPress, it’s time to choose a hosting provider for your charity. A hosting provider is how your website database and files are stored and delivered to end-users.
GreenGeeks offers affordable hosting with the latest speed technology to give you even faster page loads. The reliability is improved by enhanced security, which is essential when you’re taking donations.
GreenGeeks also might be more aligned to your way of thinking than you realize. One of the unique points of the web host is its commitment to offering environmentally responsible web hosting, which means your website will be “carbon-reducing” when hosted on the platform.
2. Domain Name
You’ll then want to buy a domain name from either GreenGeeks or another domain name provider. This should reflect your charity in some fashion, or otherwise, be easy to find.
Be aware, though, that the Internet is full of websites. The domain name you want right now might not be available. You may have to try a few different domain name methods before you can purchase the perfect one.
In any case, the domain name is how people are going to find your website. As such, it’s important that you make it memorable and easy to type.
3. Choosing Your WordPress Theme
The next part of the process of creating your charity website is to choose a WordPress theme. There are literally thousands of themes to choose from, but luckily many theme providers have a selection specifically created for charities.
The point of selecting a theme is that it takes the hard work out of website development. You simply need to select the theme of your choice, customize the fonts, colors and add content to create your own unique space.
WordPress themes are also usually always compatible with popular page builders. This makes it even easier for you to customize your site as you simply need to drag-and-drop elements to build a page.
Because of this, page builders give it a very visual approach, whereby you won’t even need to touch or look at a line of code!
It also means you save a lot of money as you won’t need to spend anything on an experienced developer. When you purchase a theme, you’ll also need to look out for these features:
- A donation system – You usually need a plugin for this, but often charity themes already have a system in place that allows you to collect through PayPal and accept recurring donations
- Volunteer pages – You’ll want to have a section on your site which features a form so people can submit if they are interested in helping your charity with their time, not just their money
- Events calendar – This is a great way for your website visitors to see any charitable events you’re holding that they can support
- Projects page – It’s always a good idea to have a page where your supporters can see the various projects you’re currently working on and supporting
Let’s take a look at some popular charity WordPress themes on the market:
Philanthropy
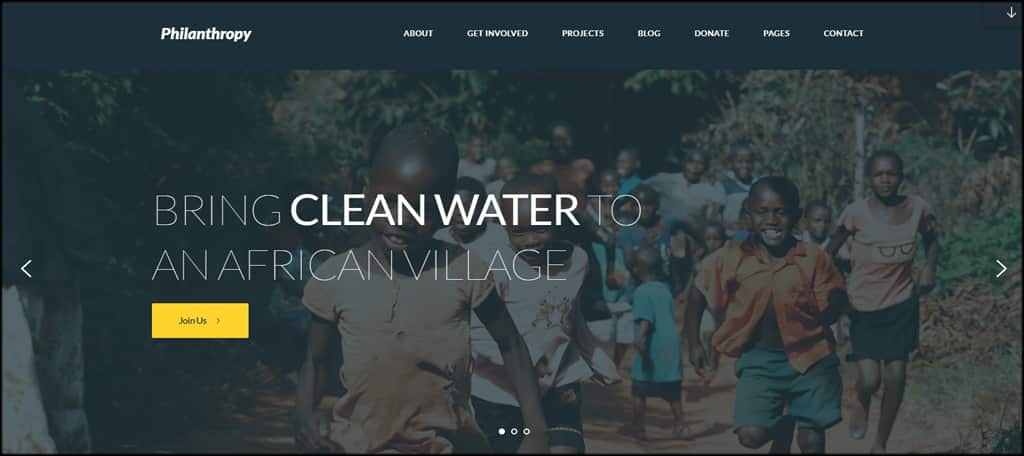
The Philanthropy theme comes with a variety of features for businesses and non-profit organizations alike. Using the Unyson framework, you have a great deal of control over a myriad of settings from building pages to analytical data.
Neve
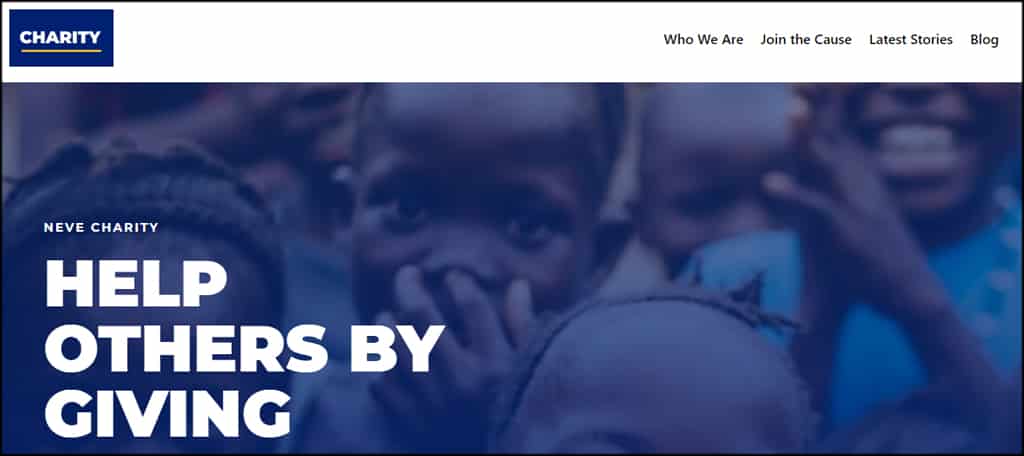
Another great charity theme comes in the form of ThemeIsle’s Neve. This layout has a professional look and feel to it that will easily engage visitors. With animated buttons, parallax scrolling, and many built-in content blocks, it doesn’t take long to set up an amazing charity website.
Charity Foundation

This premium theme comes with a wide range of features that would benefit any charity website. Charity Foundation comes with integrations for PayPal, setup for single posts for causes, events calendar, donor profile accounts and more. It even comes with six unique variations for the homepage.
Alone
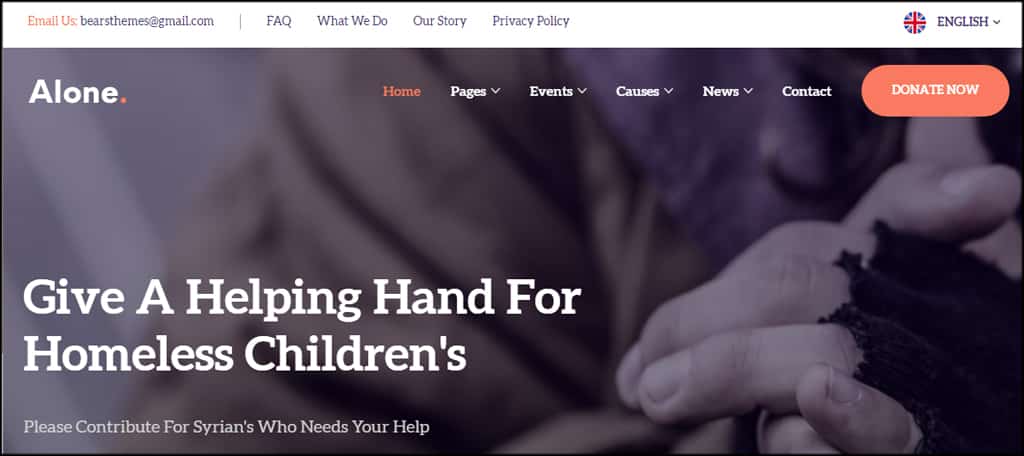
For a more stylish look, consider the Alone theme. This layout comes pre-loaded with a slew of styles, optimized for mobility and SEO, integrate plugins like Ninja Forms and WordPress Donation, and ajax popups for donations just to name a few.
4. Donation Plugins
The way people donate is changing. Where it might have once been an envelope for cash donations encouraged by a charity’s magazine advert or the age-old donating through a street fundraiser, people are now donating by debit or credit card.
Which is where your website comes in. To ensure your charity sustains donations, you’ll need a donation plugin. That is, unless your theme already comes with one, such as some of the ones mentioned above.
There are a number of specific plugins in the WordPress directory that you simply need to install on your website that will give you this functionality:
- GiveWP
This plugin inherits the theme’s styles making it flow perfectly within your site. You can add goals, access data, measure campaign performance and generate tax-deductible receipts. - PayPal Donations
With this tool, you can add a PayPal donation button anywhere you can add a shortcode in WordPress. It even comes with a widget to enhance the sidebar of your charity website. - Charitable
This free plugin has over 10,000 active installs and has an incredible rating in the WordPress repository. You can create time-sensitive campaigns, set goals and embed a donation form on any page. - Donations Made Easy
The free version of Donations Made Easy comes with several kinds of methods to use on your site. PayPal buttons, text box, three-button layouts and slider donations are just some ways you can enhance the website. - Charitable Extensions
The extensions for WPCharitable are quite extensive as you can add support for Stripe, Authorize.net or set up recurring payments from supporters. However, most of these are premium add-ons for WordPress.
Find and install plugins that best fit your charity website and what you wish to accomplish.
5. Translating Your Charitable Website
You might wonder what would be the benefit of translating the website of your charity. But what you need to consider is where in the world your donations might be coming from.
Not all charities are local causes, and often many are global initiatives. These are causes that generally have an impact on people regardless of nationality.
But website translation is also important when it comes to countries where you might think there’s only one language spoken.
Think about the US as an example; there are actually 50 million native Spanish speakers, so it’s worth considering your neighbor might not speak the same language as you do.
It would be a major blow if you were inadvertently preventing donations just because someone can’t understand the content and donation process on your charity’s website. Luckily, website translation is one of the easiest ways to help with this.
The Quickest Way to Translate Your WordPress Website
One of the biggest hurdles you might face is how to actually go about translating your site. There are numerous traditional ways of course, such as using a professional translator and then creating multiple sites to display your translated content.
But realistically, this can be daunting, not to mention unnecessary work, increasing your overall costs. And just think of the time-consuming process of website management.
Weglot is a no-code WordPress translation plugin that’s simple to install and doesn’t require the help of a developer. Compatible across all WordPress themes and plugins, this translation solution allows you to have a multilingual charity site up and running in literally minutes.
There’s no fiddly string-by-string manual translation work. Simply install Weglot and with the click of a button, you’ll have a multilingual website live, with a front-end language switcher added for the convenience of your site visitors.
And, a multilingual website means you can accept donations from all over the world as your donation plugin will also be fully translated with Weglot.
Let’s take a quick look at how to install Weglot.
Step 1
Go to your WordPress dashboard > ‘Plugins’ tab > ‘Add New’ and search for Weglot.
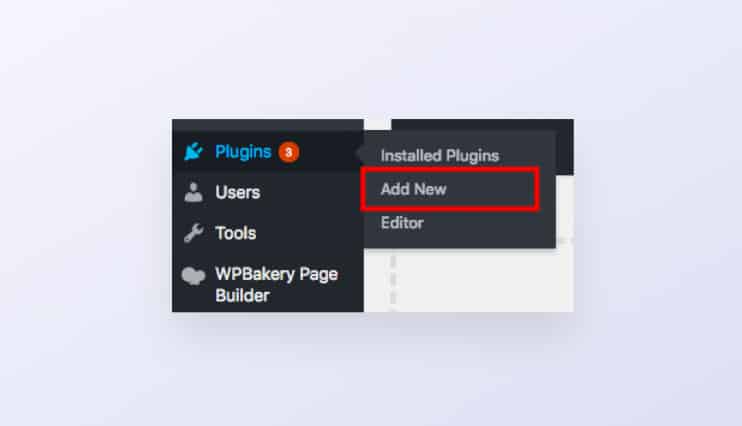
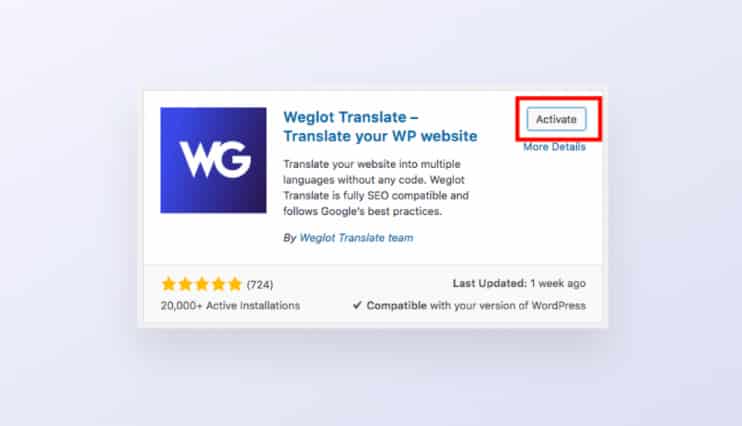
Click install. Once it’s been installed, click on the activate button.
You’ll now see a Weglot tab within your WordPress dashboard. Click on the Weglot tab to finalize your configuration.
Step 2
Within your Weglot tab on your WordPress dashboard, you can now choose which languages you want to translate your site into.
To do this, enter the unique API key—available on your Weglot dashboard (you’ll need to create an account to get access to this).

Then, select the original language of your site and enter the new languages you want to translate for your website. Click ‘Save Changes’.
Step 3
And, that’s it. Your multilingual site is now live! A language switcher button will now appear on your site so your site visitors can select their preferred language. Or, make sure ‘auto-switch’ is clicked on in your Weglot project settings to automatically redirect site visitors by browser language.
Interested in trying Weglot on your charity website? They offer a free 10-day trial with access to all the features of a paid plan.
Make Your Charity Website a Success
Setting up the site is only part of the process. Make sure you’re marketing it well on social media and connect with your target audience. First impressions are vital, and you need to make sure yours is one to remember.