Sticky notes are a unique little aspect of office lives. They allow you to leave cool notes to yourself and others and can be different colors and styles. What if you could do this on a WordPress website? Well, now you can with the Notes Widget Wrapper plugin.
That’s right, you can use the widget area of your site now to embed and style little sticky notes. Use them as reminders or as part of the graphical layout of the sidebar or other widget area.
Why Add Sticky Notes in WordPress?
This is an interesting question. Everyone has a different answer. To be honest, the sticky note style widget is simply fun and unique. You may have several uses in mind for it. Add several different ones to your sidebar and create graphic post-it-like notes that go down the right or left side of your site.
You can also simply use the Notes Wrapper Widget plugin to create amazing sticky note graphics and font, then embed items inside the note and create just about anything you want.
These can be used as reminders for yourself or for site users. They can be added to give flare to a site or even used as a promotion tool to advertise or promote a product.
Today, I am going to show you how you can easily add a handwritten notepad style in WordPress by using a smooth little plugin. Let’s take a look at the plugin we are going to use today and see what all it has to offer.
Notes Widget Wrapper
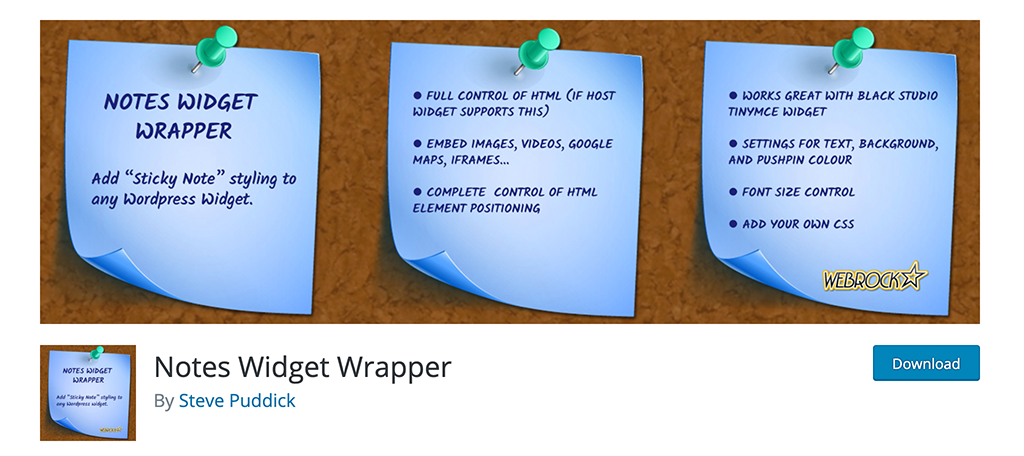
Notes Widget Wrapper is a straightforward, easy-to-use plugin that allows you to add post-it-like notes to your WordPress website. Once the plugin is installed, you will be able to add these styled notes to any widget area on your particular site.
The plugin actually adds code that wraps your widgets in a “sticky note” style box and displays the text in a handwriting style. The idea is that you can write and display all the HTML content you want in a widget area, and then the plugin automatically wraps that text widget in the Notes Widget Wrapper styling.
The plugin is very straightforward, and it does come with some really cool features. Some of the highlights include:
- Ability to add a sticky note styling to any WordPress widget
- Full control of all HTML
- Embed images, videos, Google Maps, and iFrames
- Complete control of HTML element positioning
- Compatible with the TinyMCE widget
- Text, background, and pushpin settings
- Font size control
- Add your own CSS
If you are looking for a fun and easy way to add post-it notes and sticky style notes to your site, then this is definitely the plugin for you.
Let’s get it installed and running together.
Note: There is a pro version of this plugin that will give you a few more features. One of the main things the pros version does is give you the ability to use shortcodes and put sticky notes on any post or page. If you think this is something that might interest you, then feel free to give it a look. The rest of this tutorial is based on the free version of the plugin.
Add a Sticky Note to Your WordPress Website
Step 1: Install and Activate the Plugin
Before you can start using Notes Widget Wrapper to add sticky notes in WordPress, you first have to install and activate the plugin. You can easily do this by popping over to the Plugins page in the WordPress admin dashboard.
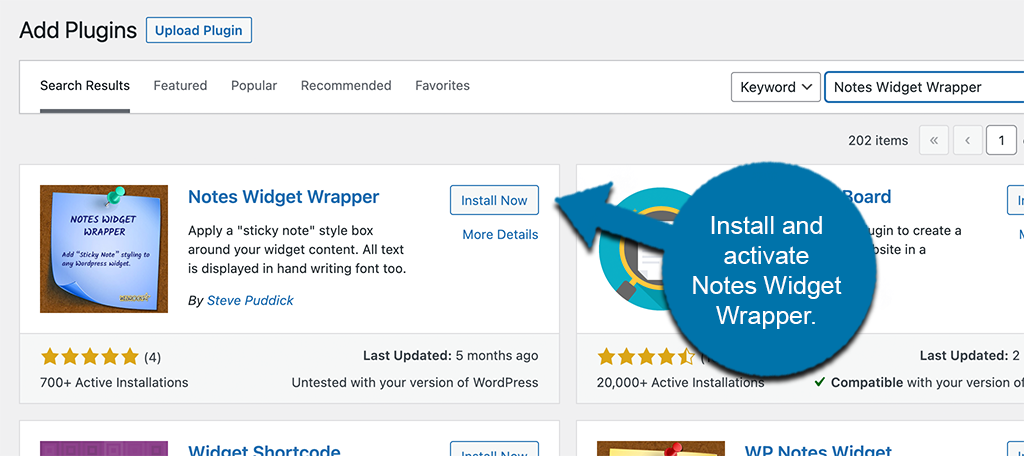
Here, you will see that there is an available search field. Use that search field to search the plugin by name. When you see it pop up, then go ahead and install and activate it right from there.
Step 2: Go to the Settings Page
Now that the plugin is installed and activated, you need to access the main settings page for it so that you can configure it how you want. To do this, click on Settings > Notes Widget Wrapper, located on the left side menu area of the dashboard.
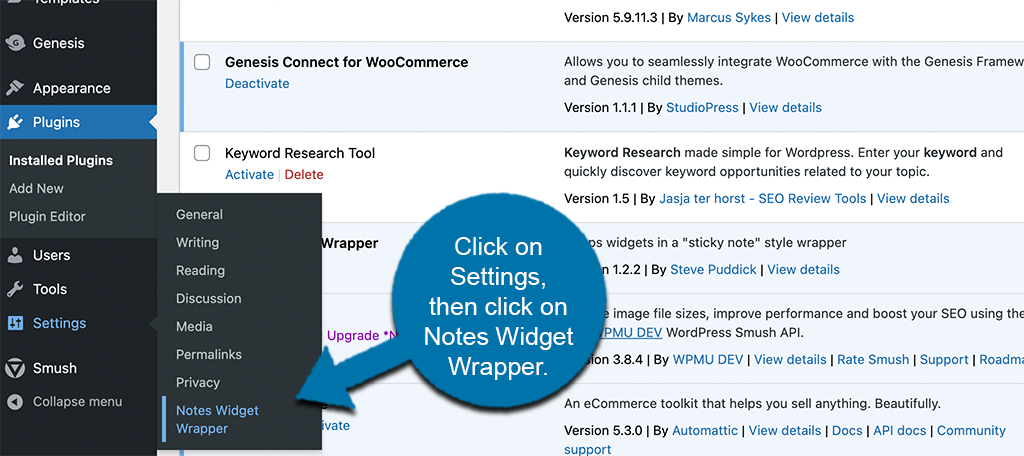
You can see that this option has appeared and been made available because you successfully activated the plugin.
Step 3: Configure the Plugin Settings
Now that you have reached the settings page for the plugin, you can start going through and configuring them how you want. These settings will basically apply as the wrapper settings that you wrap content in to create a sticky note.
Go ahead and apply all the default settings you want.

Scroll down some and choose the font style you want to be displayed in the wrap as well.
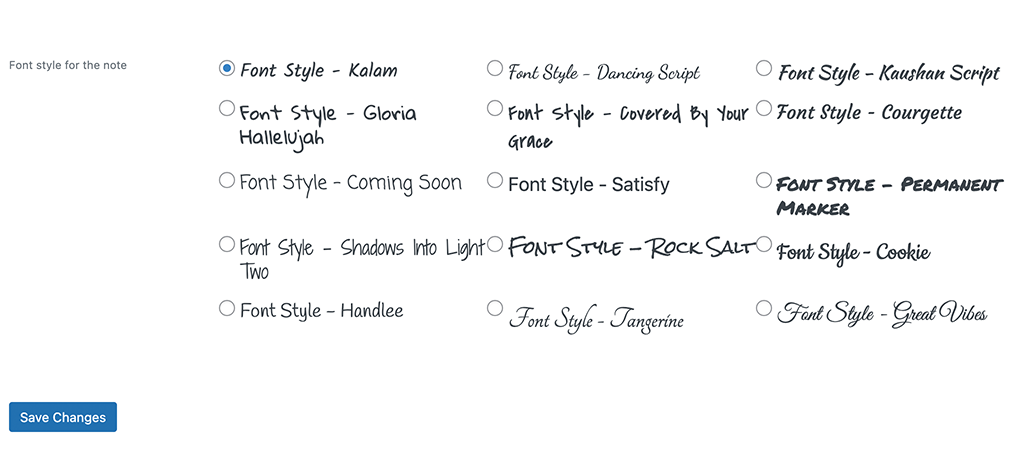
When you are finished with your configurations, click on the “Save Changes” button to make sure all your settings are applied.
Note: You can also configure each note separately in the widgets area of your site. Which you will see below.
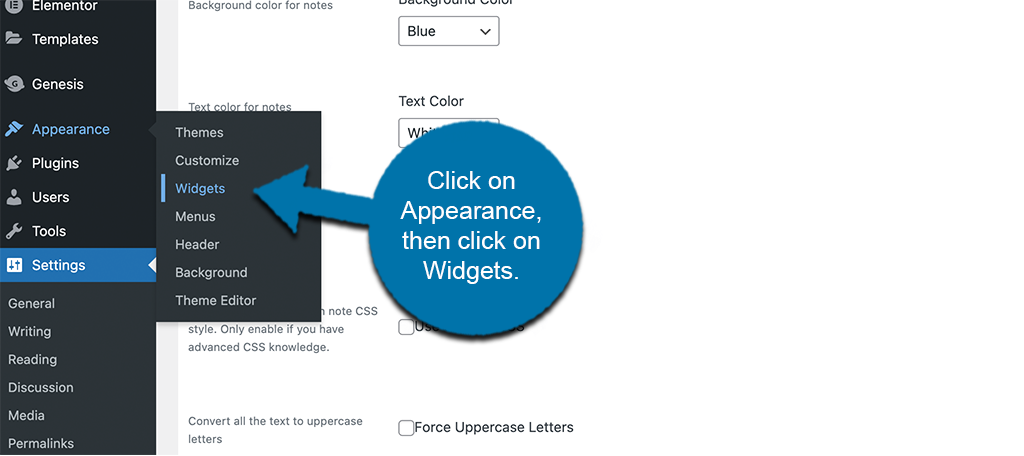
Step 4: Go to Widgets
Now, head over to the widgets page in your dashboard. You can get there by clicking on Appearance > Widgets, in the left menu area of the dashboard.
Step 5: Drag and Drop a Widget
You are able to wrap just about any widget in the Notes Wrapper that you have styled. If you want to create a lot of styled HTML content, then drag and drop an HTML widget into where you want it to display.
For this example, I am simply pulling over the Calendar widget.
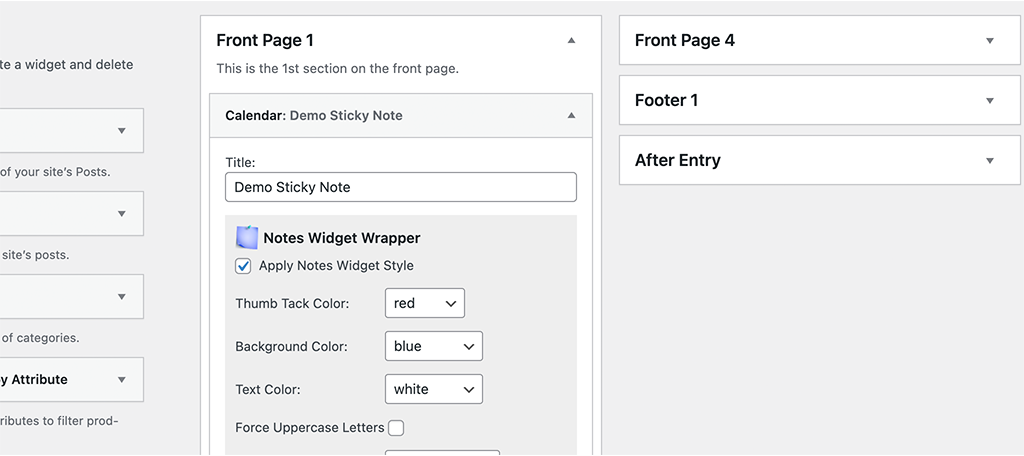
Click on the available “Apply Notes Widget Style” checkbox to apply the style you configured on the settings page. If you want to create a different style, then use the settings in the widget box.
Step 6: View Sticky Note on Front End
When you get your selected widget styled and set it as you want, then go ahead and take a look at it on the front end of your website and see how it looks.
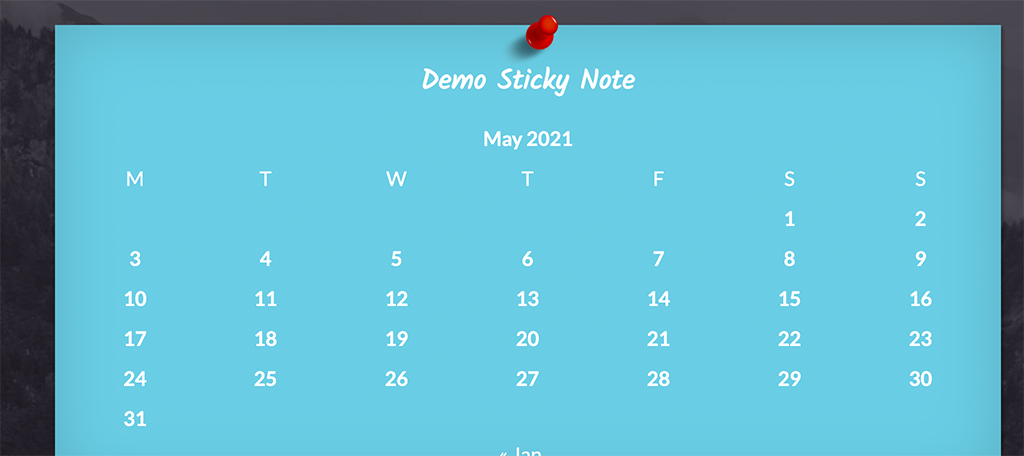
You can see mine is set to blue with white text and a red pin. Yours will display based on the configurations you made. If you see something you want to change, then go back to the widget and make the needed updates.
That’s it! You can create as many post-it-style notes and display them in all the widget areas you want. Have fun!
Other WordPress Sticky Note Options
There is actually another plugin by this same author called WP Notes Widget. It has some advantages and disadvantages when compared to Notes Widget Wrapper. Let’s take a quick look and if you prefer this one, it is definitely an option.
WP Notes Widget
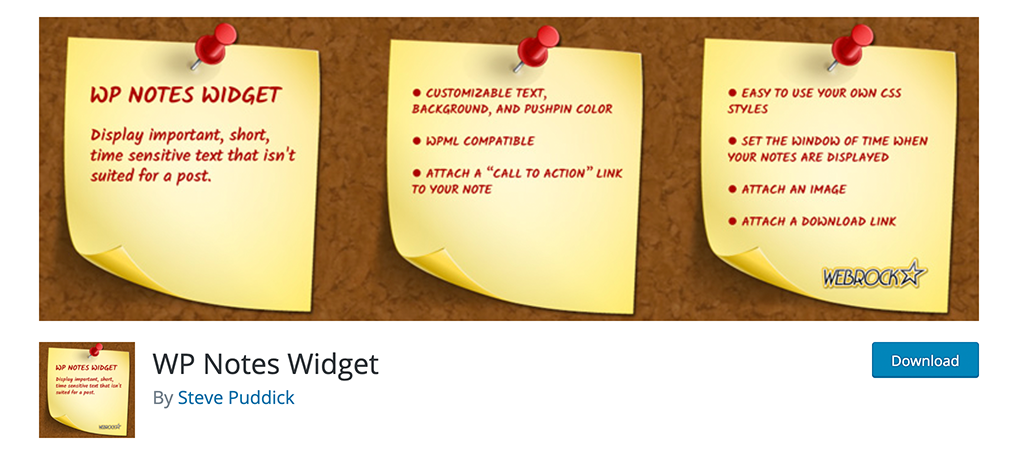
WP Notes Widget is another available option if you are looking for another way to add sticky notes to your WordPress site. The same developer that created Notes Widget Wrapper created this one.
That being said, there are a few main differences. They include:
- This one has more restrictive HTMNL elements and it also has a standard order for those elements.
- This one will allow to manage and organize notes a little easier than Notes Widget Wrapper
- You have to display notes in sequential order with this one
- This one enforces a standard look for all notes, whereas the one above has much more flexibility.
Try them both out and see which one you like best, but I recommend Notes Widget Wrapper.
Final Thoughts
Adding unique items to your WordPress site does not have to be difficult. As long as you have the right plugin, then it can actually be really fun and allow your site to stand out from the rest.
Have you ever tried something like the Notes Widget Wrapper plugin before? What other cool things have you added to your website?