All of the newer updates of WordPress now come with a theme customizer. This allows you to work on certain aspects of the site with an easy-to-use interface. The WordPress theme customizer allows you to change something and see the results in real-time before you publish.
Most all of the up-to-date and current WordPress themes have the new theme customizer built in. Even all the Gutenberg ready themes have it as well. What this also does is allow even more freedom from having any sort of coding knowledge.
In this article I will show you how to use the theme customizer in WordPress and make the most of it. Of course, you still have the option of performing changes and updates to your site by clicking through certain sections.
However, using the theme customizer will allow you to save time by staying in one place as you move content around.
Where Do I Access the WordPress Theme Customizer?
As stated above, the WordPress theme customizer is now a default feature and is very easy to access.
To access the customizer, log into your WordPress admin area. Once you have logged in, click on Appearance > Customize. This will bring up the theme customizer area and you can go to work.

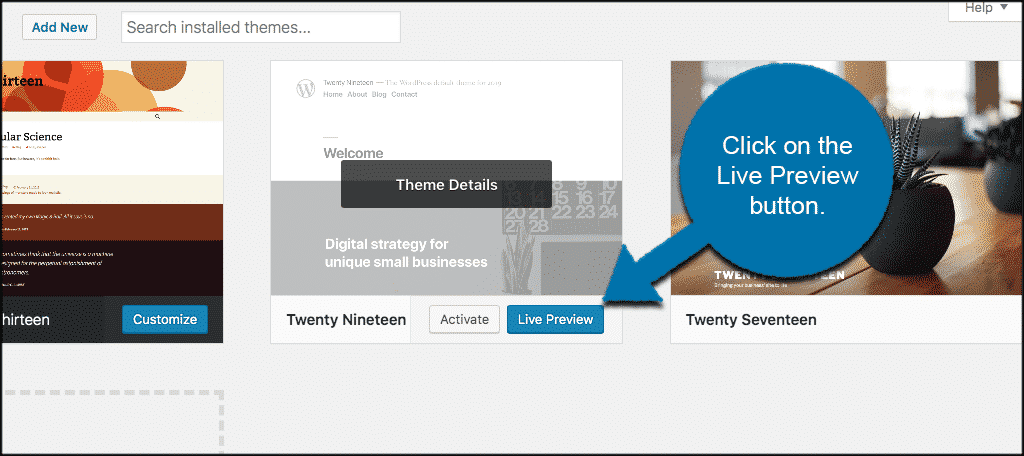
If you have other themes installed on your site that are not active, the WordPress theme customizer also allows you to preview what they may look like live and play around with changes.
Just click on the “Live Preview” button when you hover across any available theme in your admin area.
How to Use the Theme Customizer in WordPress
When you access the WordPress theme customizer, you will see two things. On the left side of the screen, you will see all the available options and areas that you can customize. On the right, you will see the current live preview of what your website looks like.
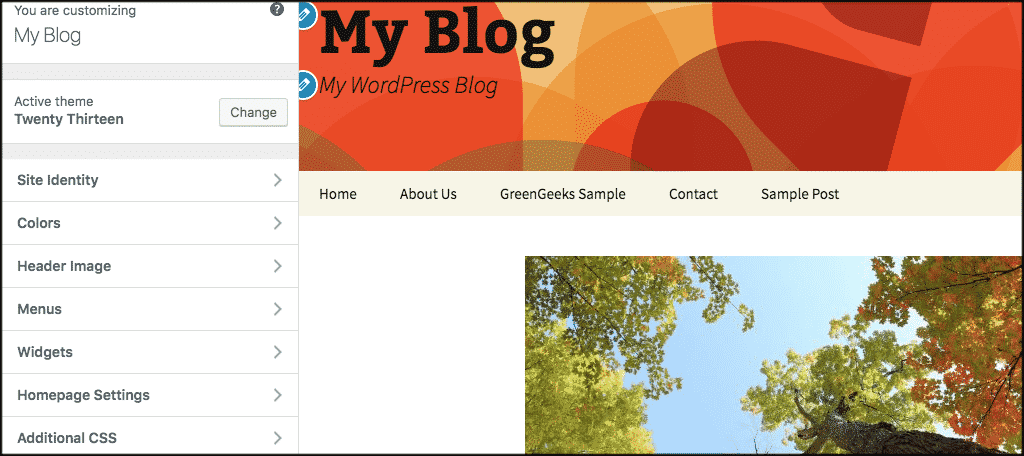
No matter what theme you are running, this is what the interface will look like while using the customizer. That being said, the number of options available on the left side of the theme customizer will differ from theme to theme.
Some themes offer more customizable options than others.
In this tutorial, I am using the Twenty Thirteen WordPress theme.
To make changes to certain areas of the website, you need to click on the panel you want and a fly out menu will appear. From there, you will be able to make changes and see them in real-time before you publish.
Let’s take a look at the option panels that are always there as part of the default WordPress theme customizer.
Site Identity Panel
The first panel available is the site identity panel. If you click on this panel, the flyout menu will give you the following options:
- Site Title
- Tagline
- Site Icon
You will see that within the customizer are some default titles. You can change these to whatever you want by clicking on the relevant sections and making changes. As you do this, you will notice the changes so you can see what they look like.
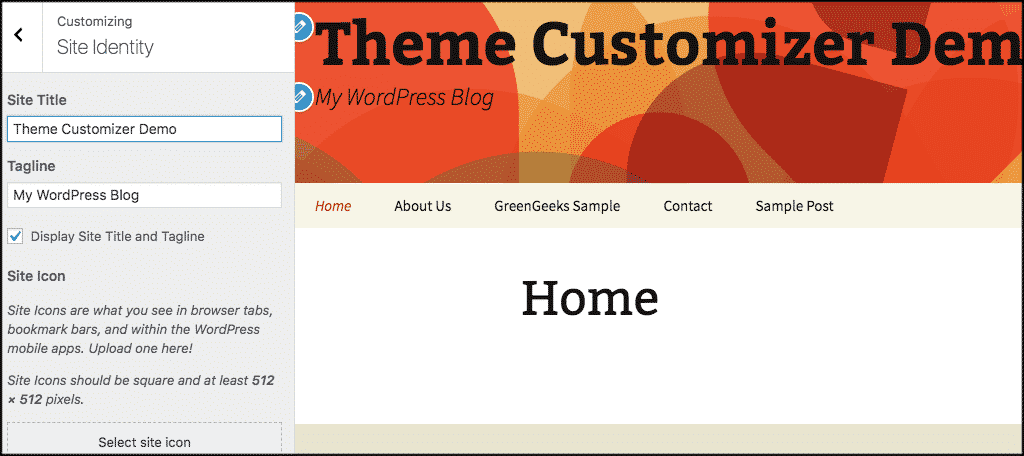
You will also see the site icon area. To use this, simply upload the logo you want and put it in. The site icon is the little graphic that is part of your brand and shows in browsers. These are also known as Favicons, and there are different ways to create them and add them to your WordPress website.
Color Panel
Again, the number of different color options available will be based on the theme you are running. In this example, there is only one color option to change and play with.
When you click on the WordPress theme customizer color panel, the flyout menu will present you with all color options available.
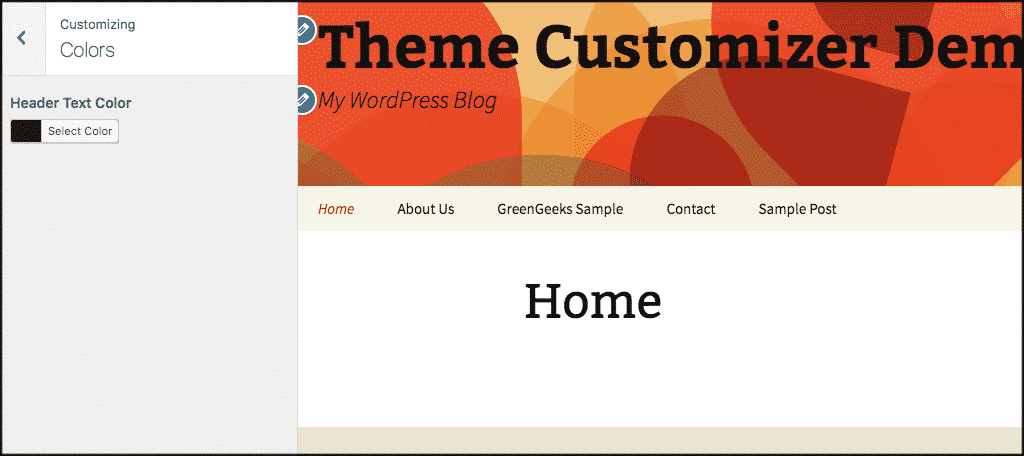
Select your options and change your colors however you see fit. There may be other color related and text options as well.
Header Image Panel
The header image panel is just that. It allows you to change the header image, or the logo image in most cases. Most, if not all, WordPress themes will also let you know what dimensions your image should be to work best when uploaded.
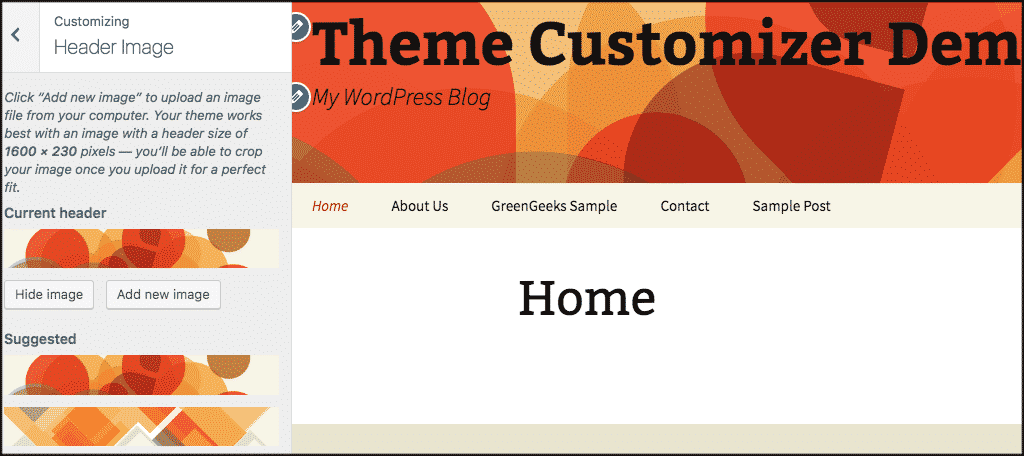
The header image panel will show you the image that is currently there. To change it, simply click on the “Add New Image” button. You also have the option of hiding the image and using text instead.
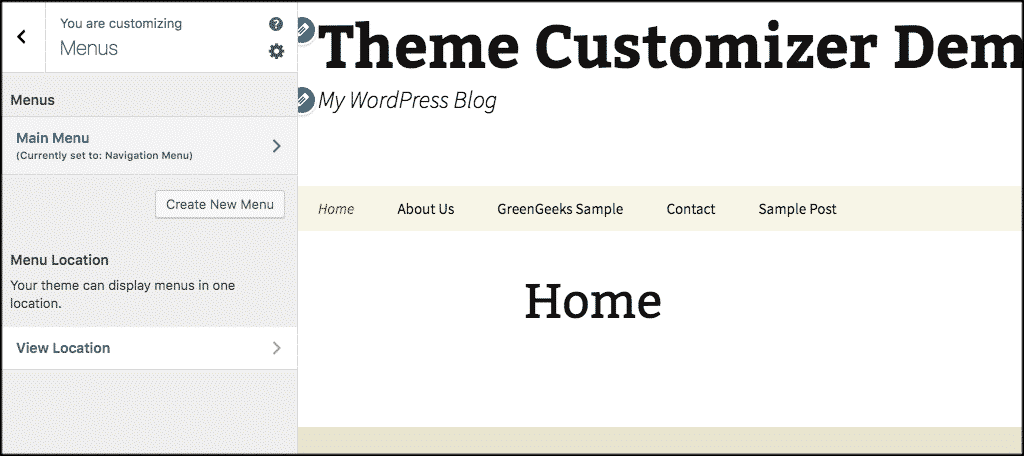
Menus & Navigation Panel
The WordPress theme customizer gives you the ability to create entire menus and place them in available navigation areas provided by whatever theme you are using. This makes it easier to handle everything in one location.
When you click on the menus panel, you will see some items by default. They include:
- Menus
- Create New Menu
- Menu Location
- View Location
Under the “Menus” function you can click on the menus you have created to see what is there and edit them.
A flyout menu will appear and you will see what is available to edit from there. You can reorder the menu and/or change locations if you want.
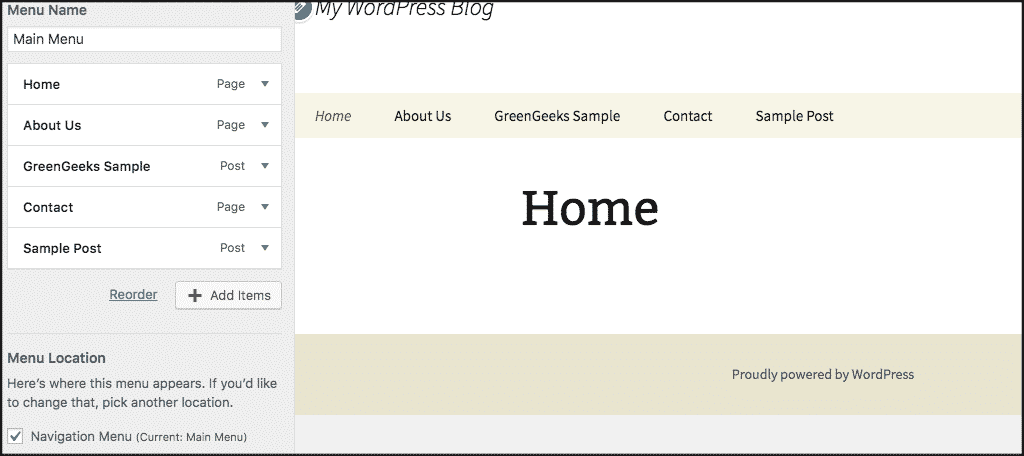
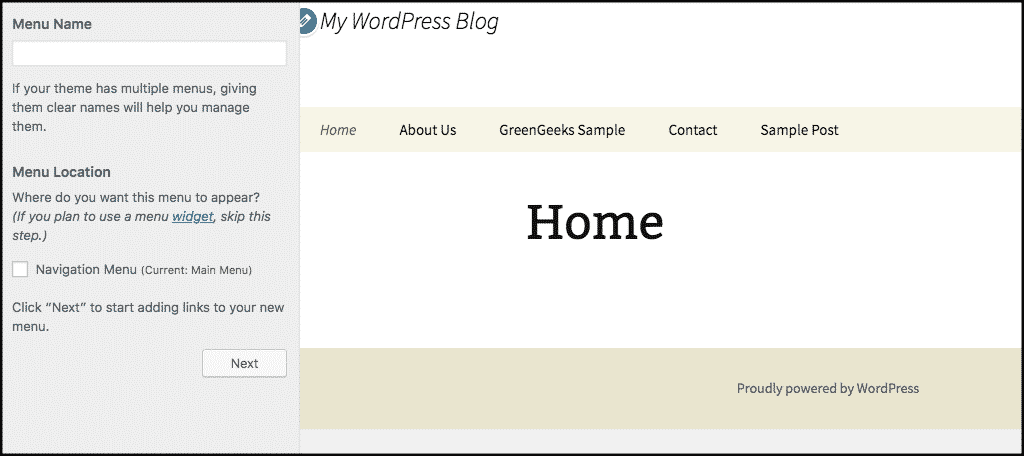
If you would like to create a new menu from the WordPress theme customizer, simply click on the “Create New Menu” button.
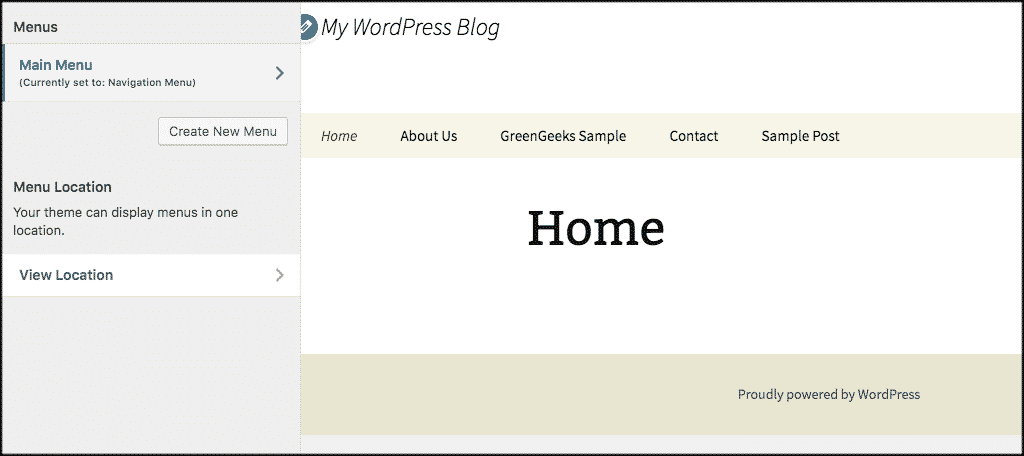
You will be given some menu options based on your theme. Just name your menu and click on “Next” to start adding links, menu items and whatever else you wish.
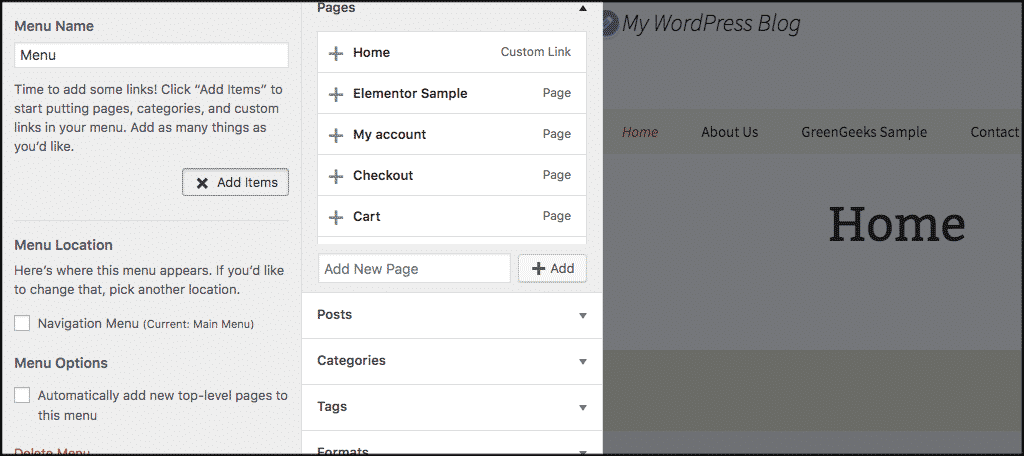
Click on “Add Items” and you will be given even more options, based on what is available within the theme and what you have already built on your site.
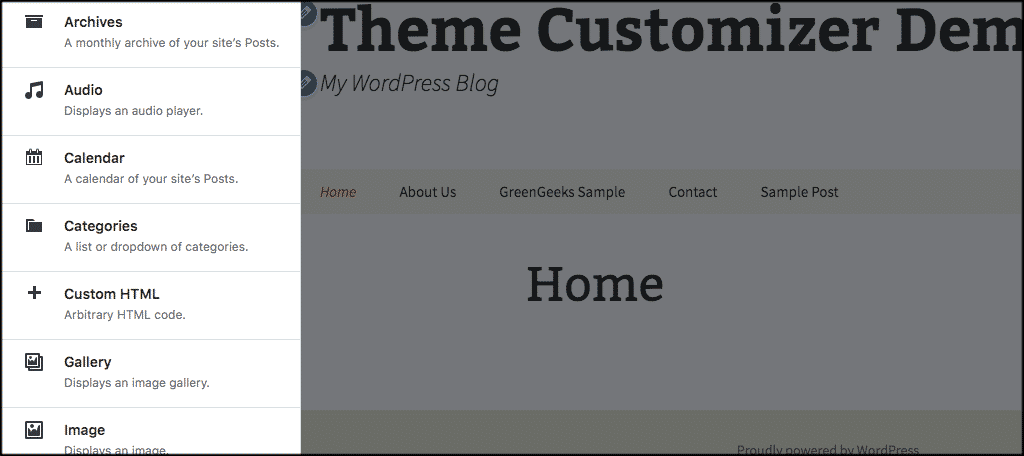
Widget Panel
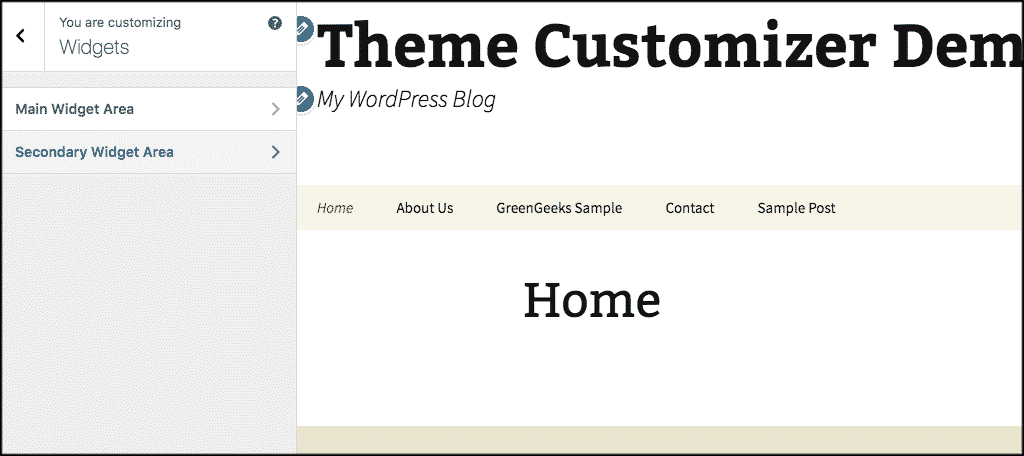
The WordPress theme customizer allows you to add, delete and customize widgets without having to jump over to the widgets page in your admin area. When you click on the widget’s panel, you will be presented with your theme’s available widget areas.
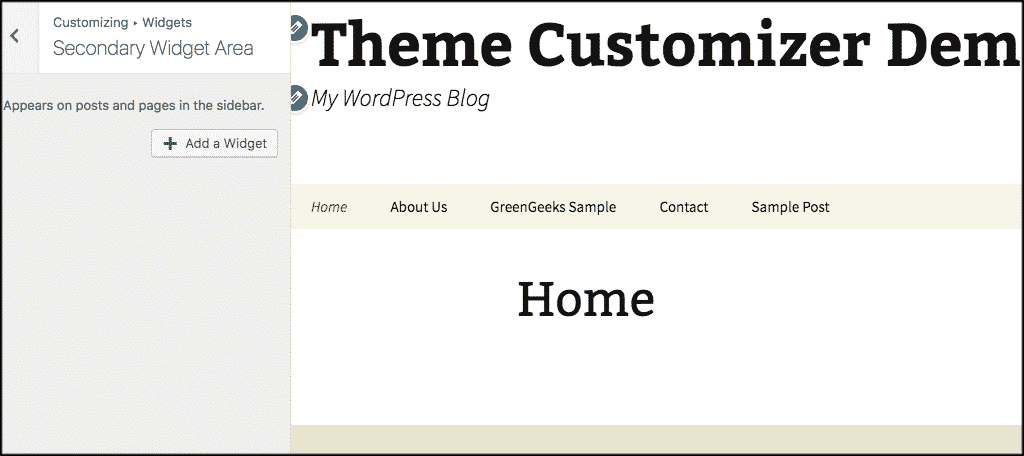
To edit widgets, click on one of the available widget locations. You will then be taken to the add widget area. Click on the “Add a Widget” button to get started.
When you do this, another flyout menu will appear showing every available widget you currently have. To add a function, just click on the widget you want to add, plug in the relevant data and save.
Homepage Settings Panel
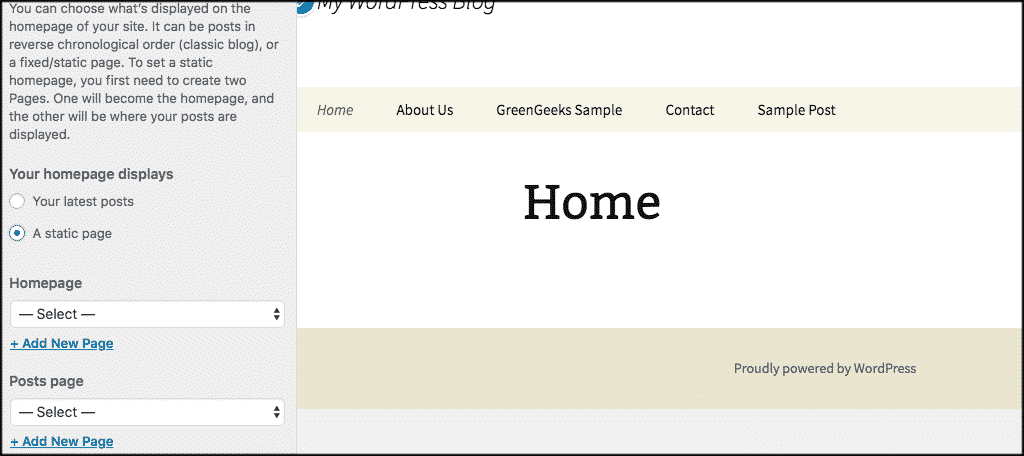
This one is pretty straightforward, as are most of the theme customizer settings in WordPress. From here, you can select the page you want to display for your homepage.
By default, WordPress has it set to “Your latest posts.” However, if you have a specific page you want to display, click on “A static page” and you will be given the option to select any existing page you have built to show as your website’s homepage.
Additional CSS Panel
The last default panel available in the WordPress theme customizer is the “Additional CSS” panel. This panel provides you a CSS editing area where you can edit and add custom coding to your site.
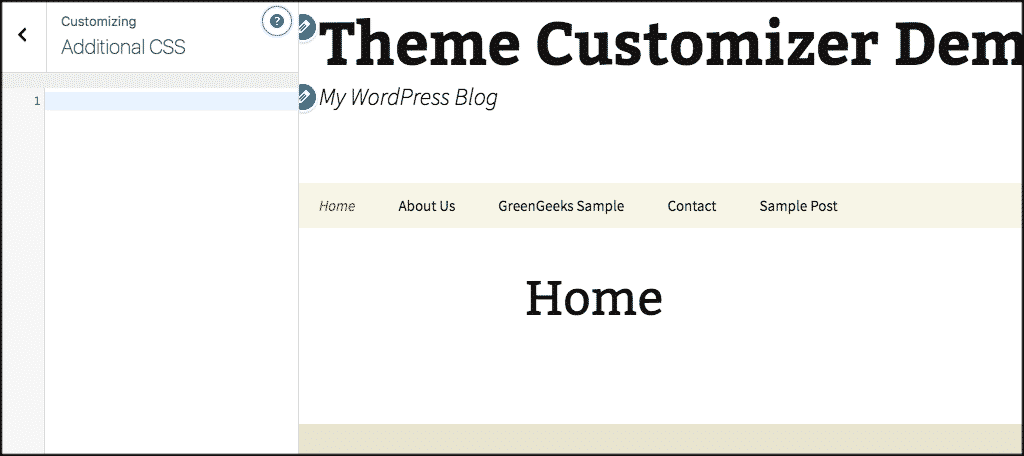
This area works well if you are familiar with custom CSS and how to write it.
Things to Remember About the WordPress Theme Customizer
You may want to keep a few things in mind when using the theme customizer in WordPress.
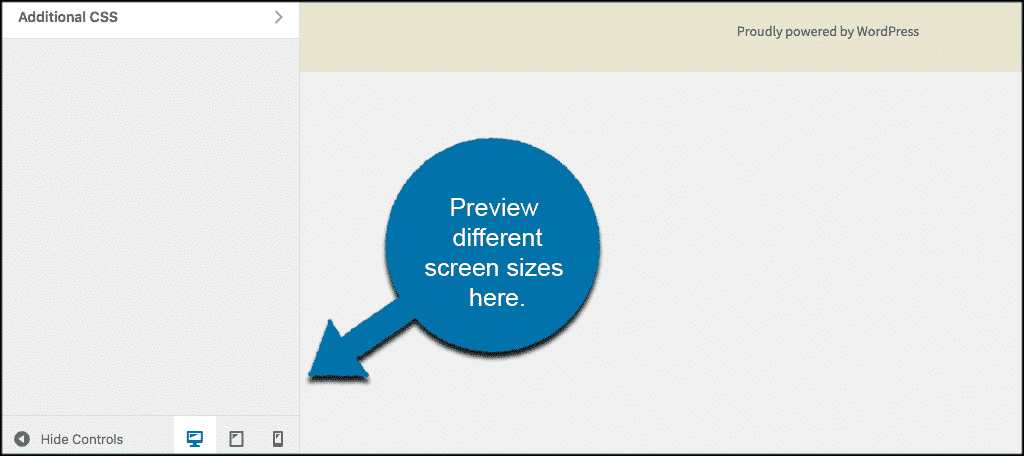
You can view what you site will look like on different devices by clicking through the control options located on the bottom left of the customizer.
There are also several WordPress theme customizers out there that you may prefer. These are known as page builders, and they have become extremely popular over the last few years. They have a ton of functionality and almost anyone can use them.
One of the best page builders I recommend is Elementor.
I hope this article has shown you how easy it is to use the WordPress theme customizer to easily customize all areas of your website on the fly.
Have you used the theme customizer in WordPress before? Do you find that you prefer jumping around certain areas of your WordPress admin to do your customizations instead?