Social login allows visitors to log in to your site without creating a user account. They use their account credentials from other sites like Facebook or Google to log in. It’s a useful feature to offer, but there are pros and cons to providing social logins.
The main advantage is the convenience for your visitors. Making it easy for them to log in almost always increases participation. And the fact is, the vast majority of visitors would rather not create another website account.
The drawback is you can’t build as extensive a user database as you could if you encouraged visitors to create accounts on your site. The information you receive about a visitor who uses a social login varies by platform.
But if you don’t need to gather specific data, the pros of social logins easily outweigh the cons.
For this WordPress social login tutorial, we’re going to use the WordPress Social Login plugin. The free version of the plugin provides logins for Facebook, Google, Twitter, Instagram, and LinkedIn users (plus five other platforms).
In this tutorial, we’ll be going through the social login features of the plugin. But the plugin also provides social sharing buttons and social commenting. Social commenting allows users who are logged in to Facebook or Google to comment without being logged in to your site.
We won’t go into those features here, but they’re worth checking out.
Let’s get started.
Installing the WordPress Social Login Plugin
Log in to your WordPress admin panel.
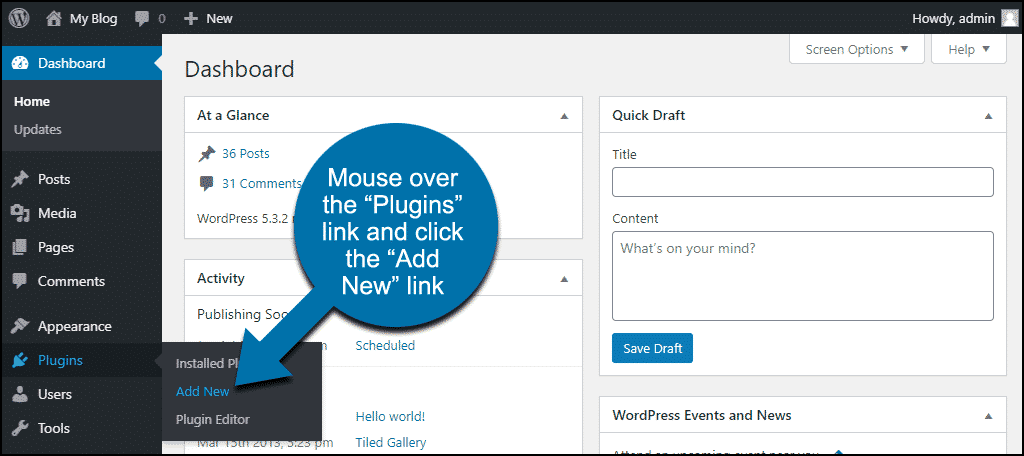
In the left column navigation, mouse over the “Plugins” link and click the “Add New” link.
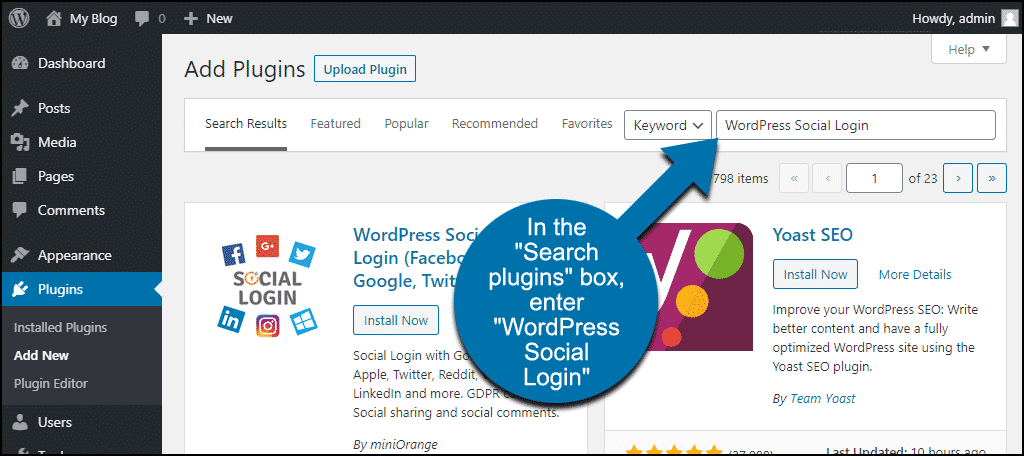
In the “Search plugins…” box, enter “WordPress Social Login.”
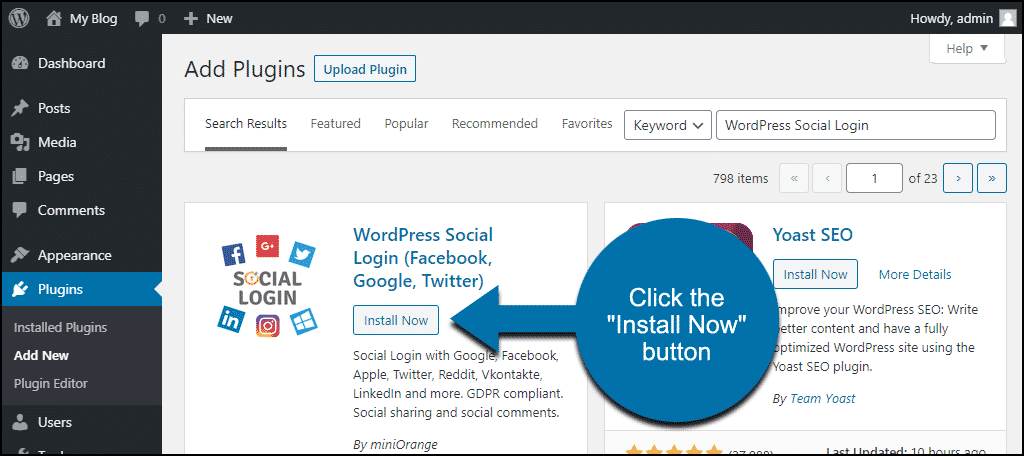
Once you have located the plugin, click the “Install Now” button.
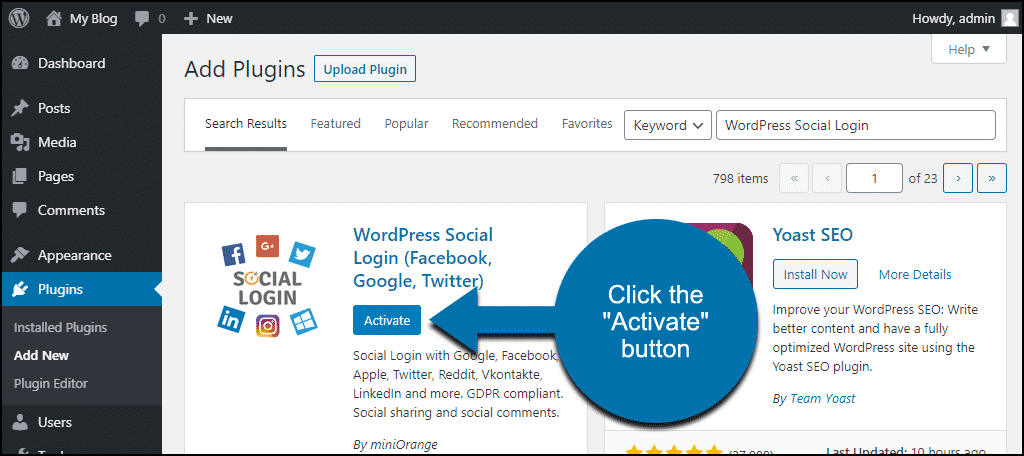
Click the “Activate” button.
Configuring WordPress Social Login
There’s a guided tour of the plugin when you first access the settings. The screenshots here are what you’ll see after the tour (or if you skip the tour).
You have a couple of options when configuring social logins. You can set up each login yourself, using “App IDs” and “App Secrets” that you get from the providers. For example, to set up a Google login, you’d have to create a Google Developer project to get an App ID.
But the Social Login Plugin we’re using provides an alternative. It will handle the authorization for the platforms, saving you the time and trouble of registering each one yourself. That’s the option we’ll use here.
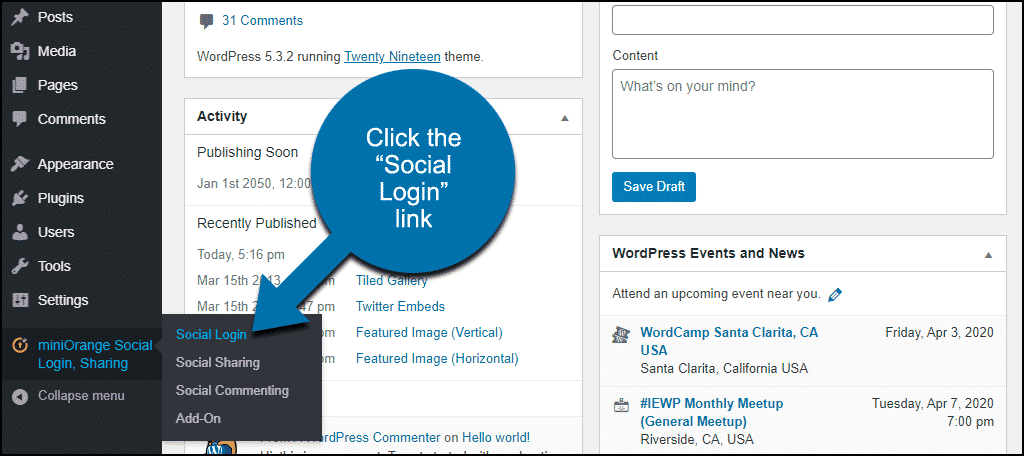
In the left column navigation, mouse over the “miniOrange Social Login, Sharing” link and click the “Social Login” link.
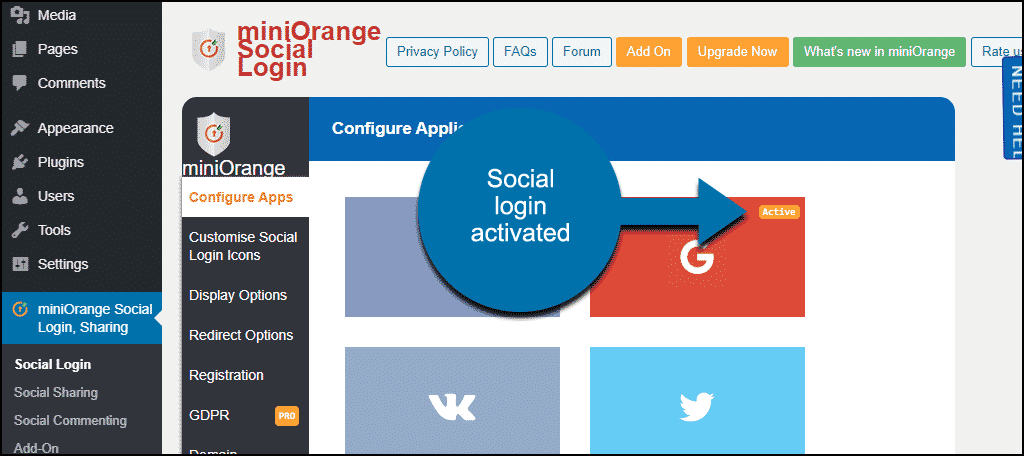
You’ll land on the “Configure Apps” tab. To activate a social network login, click the corresponding toggle switch.
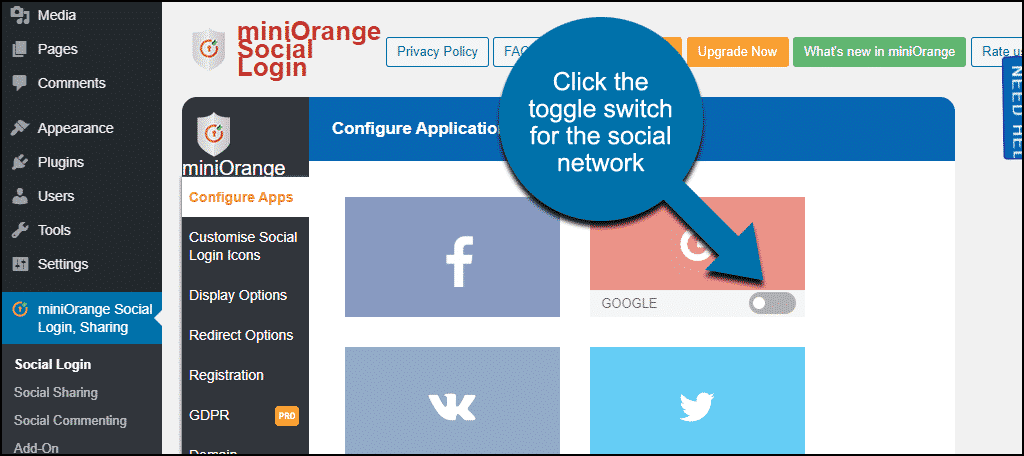
A configuration window will open.
Click the “Pre configured miniOrange App” toggle switch.
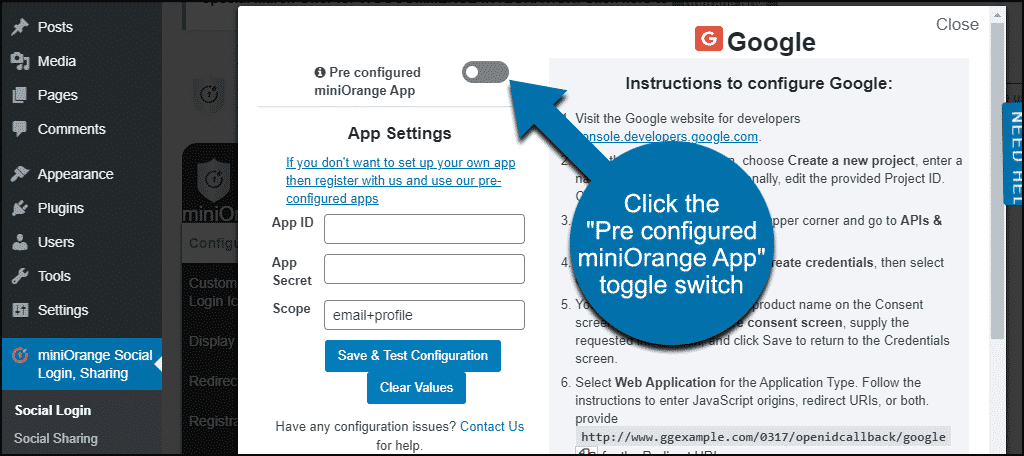
That will open a “Register with miniOrange” box. Complete the registration information and click the “Register” button.
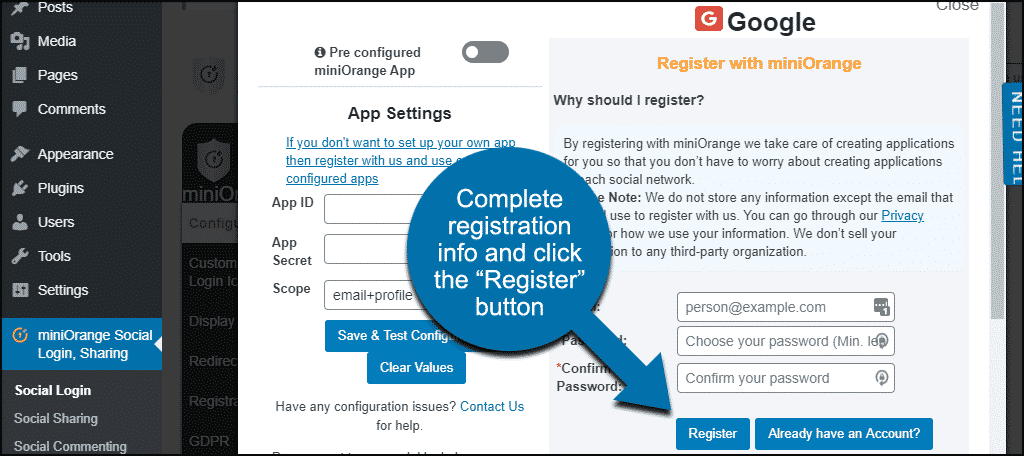
Account confirmation is not necessary. Once your miniOrange account is registered, you’ll see the social platform is marked “Active.”
At the time this tutorial was written, Facebook logins could not be automatically added. You’ll have to get an App ID and App Secret on the Facebook developers console. Detailed instructions are provided on the plugin page.
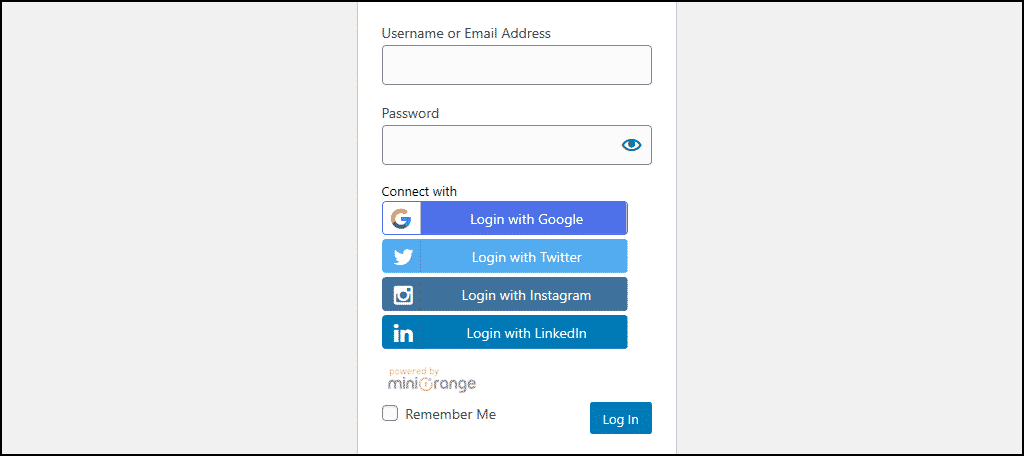
If you allow visitor registration on your WordPress site, your login page will now have the social login option.
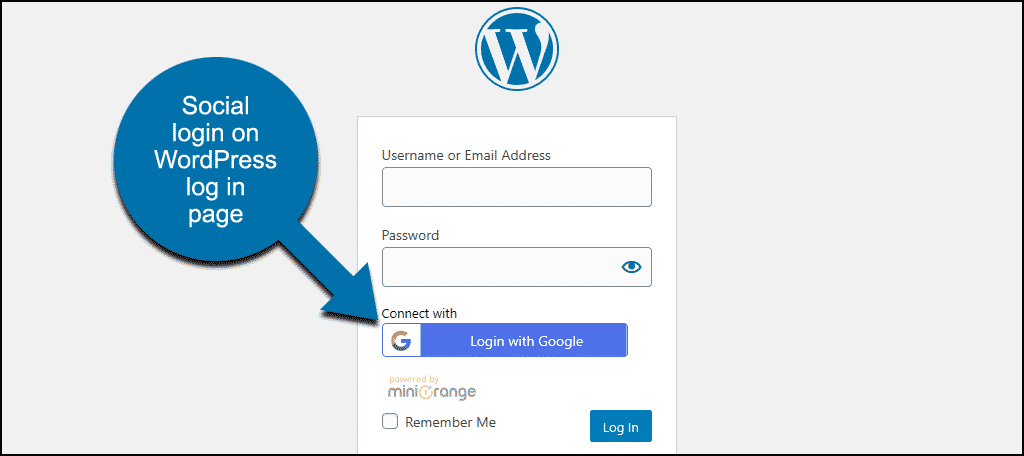
As you add more platforms, the logins appear.
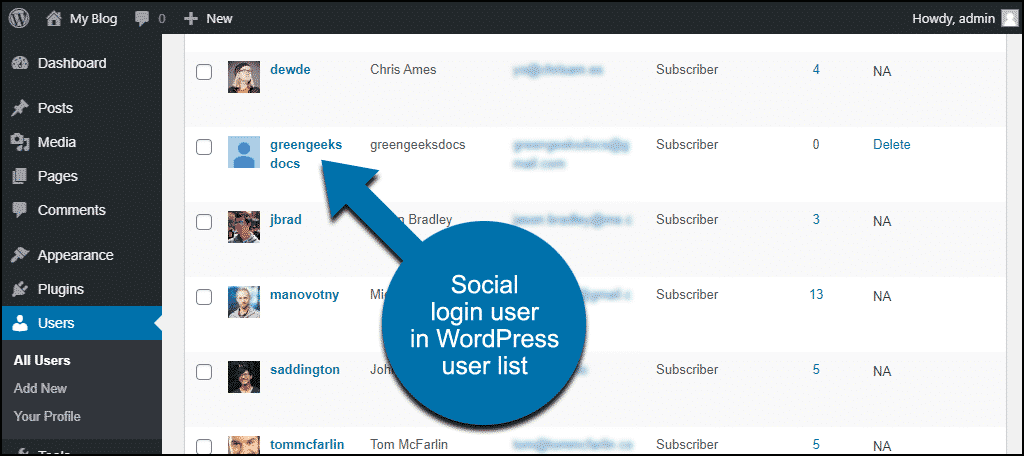
What Happens When Someone Logs Into Your Site With a Social Login
When a user logs in to your site using a social login, they are registered as a “Subscriber” and added to your user list.
Customizing the Social Login Icons
If you don’t like the default appearance of the login icons, it’s easy to make a change.
In the “Social Login” section, click the “Customize Social Login Icons” tab.
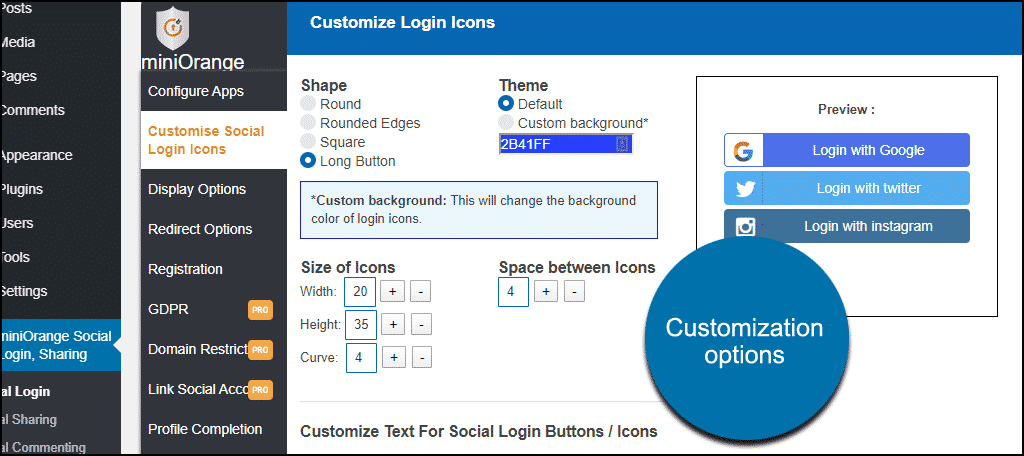
Options include the ability to use small square or round buttons and to change the button text and color. There’s a convenient preview window to show your changes in real-time. Changes aren’t saved until you scroll down and click the “Save” button.
Display Options
The “Display Options” tab controls where the login buttons are visible. By default, they’re on your login page, but you can place them on a registration page or even in your comments section.
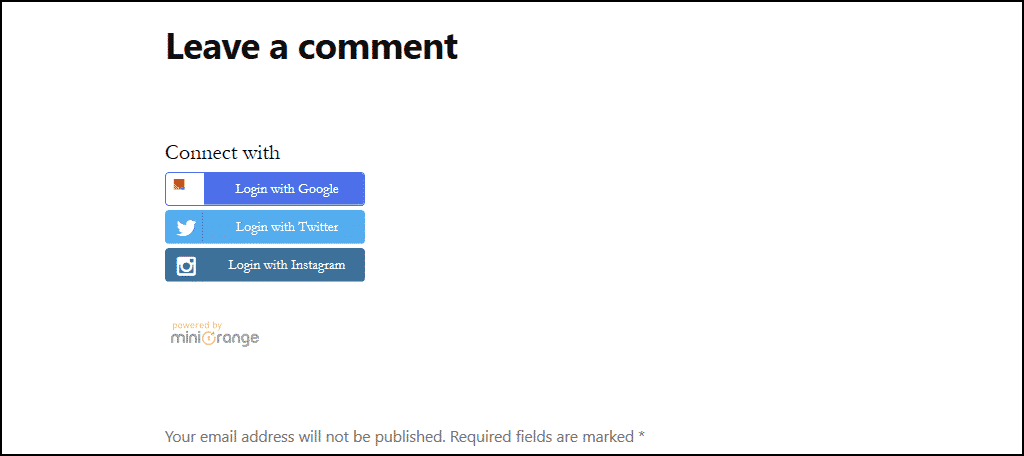
As you can see, when the login buttons appear on a page or post, the theme CSS is applied. In this case, using the WordPress Twenty Nineteen theme, the font has changed from what we saw on the login page. So you may have to apply some additional CSS to style the buttons.
In this case, the WordPress theme is customizable. So I went to
Appearance > Customize > Additional CSS
and applied a sans serif font to the login-button class like so:
.login-button {
  font-family: sans-serif;
}
And that helped with the appearance:
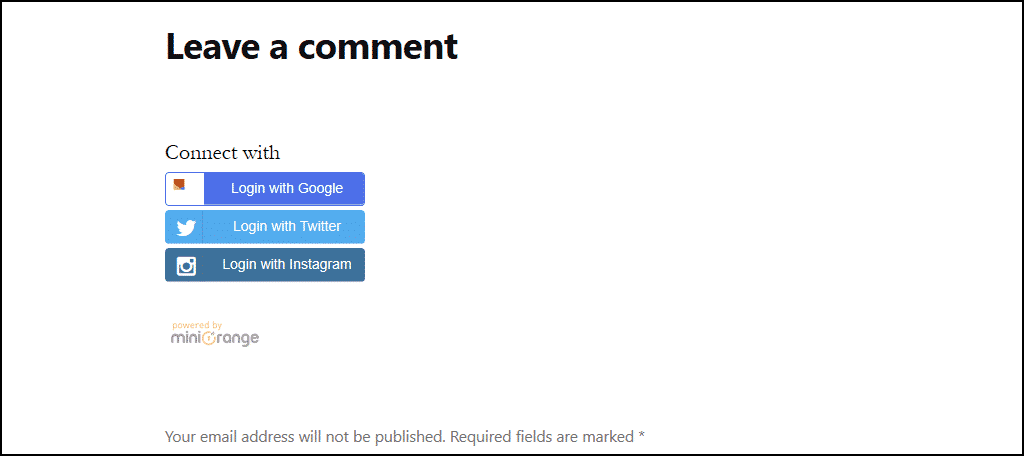
I’m not sure what’s going on with the Google logo when the buttons are displayed in the comments. I sent a message to the developer, and if I hear back, I’ll post an update.
A tip of the hat to the developer for providing a way to remove their logo from the button display. Just unclick the “Display miniOrange logo with social login icons on selected form” option on the “Display Options” tab.
![]()
Displaying the Login Buttons on a Specific Page or Post
You aren’t limited to displaying the social login buttons in the locations provided. There’s a shortcode you can use to place them anywhere:
[miniorange_social_login]
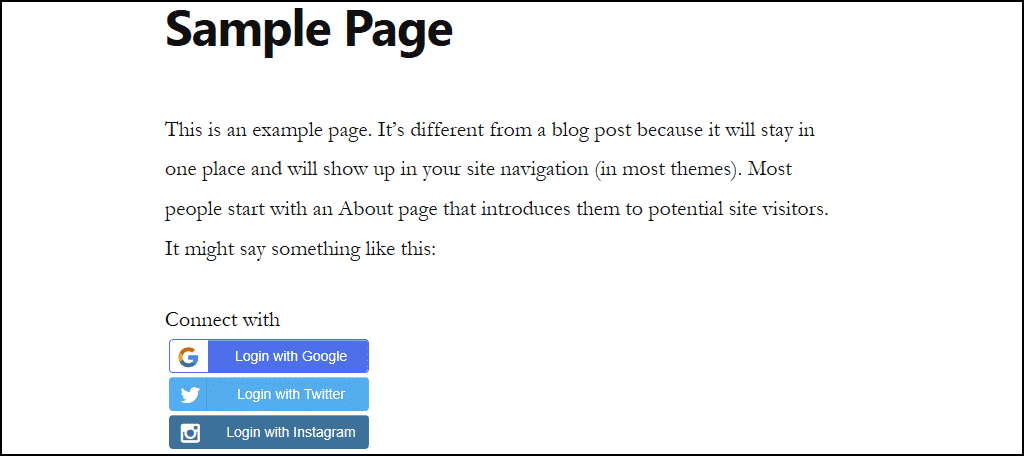
Here I’ve added the shortcode to the middle of a page.
Not that there’s any reason to add social logins to a page, but it’s here to show you the possibilities.
What Happens if You Uninstall the WordPress Social Login Plugin
If you uninstall the plugin, be aware of the following:
- Social logins will no longer be available.
- Users created when logging in via social login will no longer be able to log in. (Their email could be used as a username, but a password reset would be needed to create a password.)
- The plugin shortcodes will stop working, so the shortcodes themselves will be displayed anywhere they were used.
Reduce Friction, Increase Communication
Providing multiple ways to login to your WordPress website increases visitor engagement. That much is clear. So anything you can do to make it easy for visitors is in your best interest.
Handing over user authorization to another platform isn’t necessarily ideal. I get that. But if the alternative is a visitor being turned away by a barrier to entry, it’s probably a reasonable tradeoff.
Humans are social creatures. Your visitors want to engage. This plugin makes it easy for them to do so.
Do you allow user registration on your WordPress site? Have you ever explored alternative or additional methods? Let me know in the comments.