Adding social share buttons to your website is a fantastic way to allow people to interact and share your content. However, sometimes that just isn’t enough. Now, you can give users the ability to highlight and share excerpts of text content from articles you post on your website.
Why Add Highlight and Share to Your Website?
Many websites are full of more dynamic and interactive content. Website owners are always looking for unique ways to get their users to share more things from posts or pages.
A good example of this is when you see a website that uses a specific Pinterest Pin It button for images only. This allows users to share that image to Pinterest, reference the article title, but not worry about sharing it in a traditional article style format.
The ability to highlight text in WordPress is always there. You can of course copy and paste text, and pull images to share. However, more often than not, this does not give any type of credit to the author of the article you are pulling content from.
So, in this method, you are sharing text on Facebook, but you are not giving credit. Another great example of this is when you see websites add click to tweet boxes within their content.
This is a fantastic way to allow people to highlight text for Twitter based on content boxes you have preset. However, they can only share on one platform and it leaves out the rest of the social media platforms that people use.
You can now highlight and share text across social media platforms using a smooth plugin I found called “Highlight and Share.” Let’s take a look at the plugin together.
Highlight and Share

Highlight and Share is a great WordPress plugin that allows website users to highlight and share any text content within an article. The plugin gives people the ability to share text they highlight to a number of social media platforms quickly and easily. These platforms include:
It should be noted that sharing the actual text only can be done using Twitter, Facebook, and WhatsApp. However, the plugin does show the other social media icons when some text to share is highlighted, allowing users to share the article itself to those other platforms.
The plugin is lightweight and very easy to set up and use. It also comes with a Gutenberg block that is added automatically when the plugin is activated. The block acts as a click to share piece and works much like a click to tweet box would work.
The Highlight and Share plugin is packed with features. Some of the most popular ones include:
- Choosing a Theme to Display
- Enable or Disable on Main Content and Excerpts
- Enable or Disable Sharing on Facebook
- Disable or Enable Sharing on Twitter
- Customize Your Twitter Username
It also includes more advanced options for those who need it including override of font-awesome and the already mentioned Gutenberg block.
Let’s take a look at how to get the plugin installed and activated. After that, we will go over the plugin configuration and settings together.
Install and Activate Plugin
In order to allow your website users the ability to highlight and share text across multiple social media platforms, you first have to install and activate the plugin.
You can easily do this by going to the Plugins page in your WordPress admin dashboard and searching the name from there.
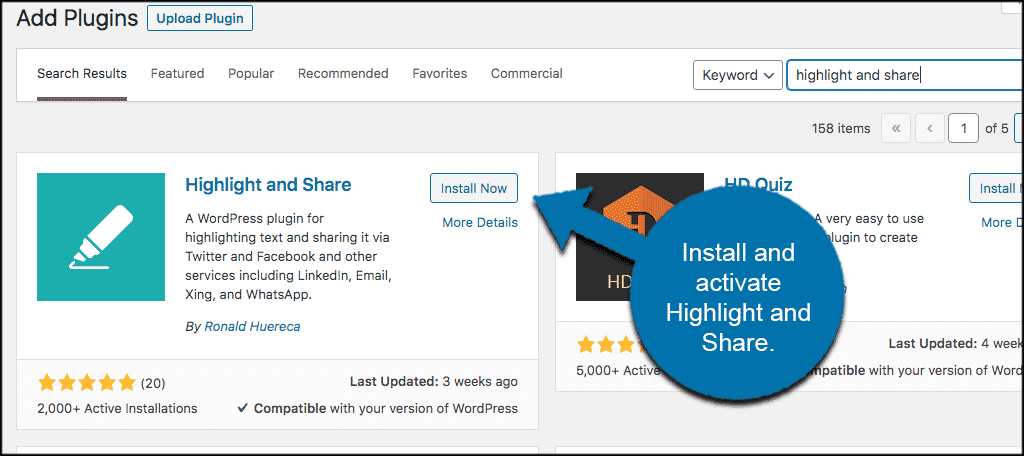
Once the plugin has been installed and activated, click on Settings > Highlight and Share. This is located on the left side menu area of the dashboard.

This takes you to the main configuration page for the plugin. Here, you can set the entire thing up and save your options so that users can highlight and share text from your content.
Configure the Plugin Settings
At this point, you should have arrived on the main setup page for the plugin. You see that the settings are all in one area. Let’s go through them together so you can see what all options are available to you.
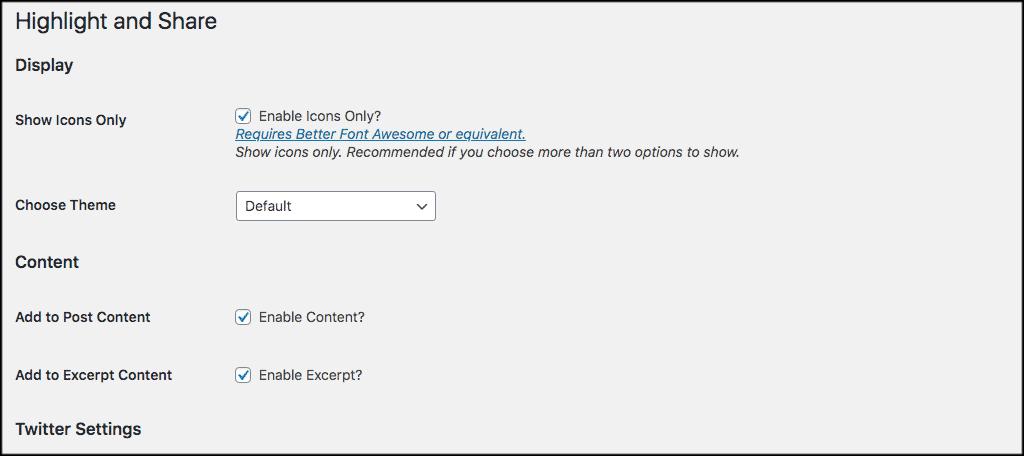
Icon and Content Settings
The first few options will allow you to enable icon settings, choose a theme for display, and also set content share up how you see fit. Go ahead and fill these out appropriately for your website.
Twitter and Facebook Settings
Now, scroll down just a little and the next areas to configure will include the Twitter and Facebook settings for the app. These include display and username options. The plugin allows you to put your own Twitter username in.
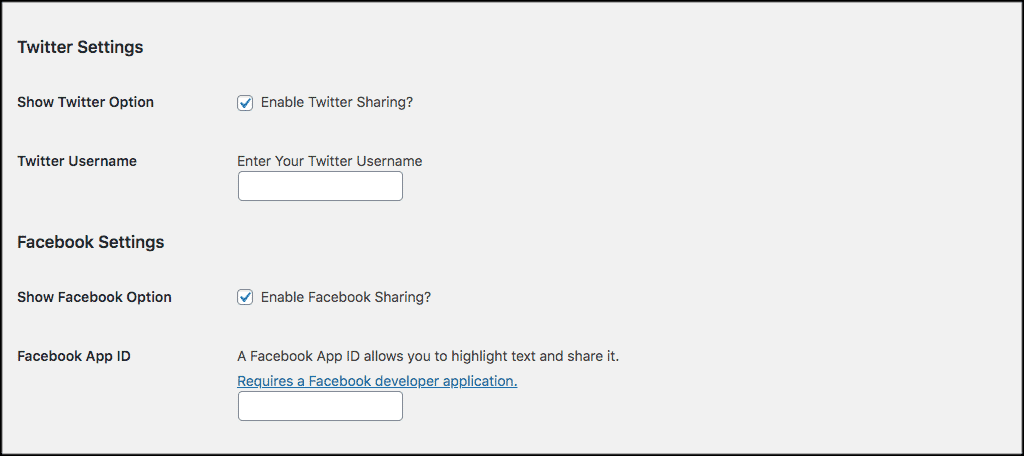
Note: In order to use Facebook to share highlighted text, you will need to go create a Facebook developer application. Just log in and follow the step-by-step instructions Facebook gives. It is very straightforward.
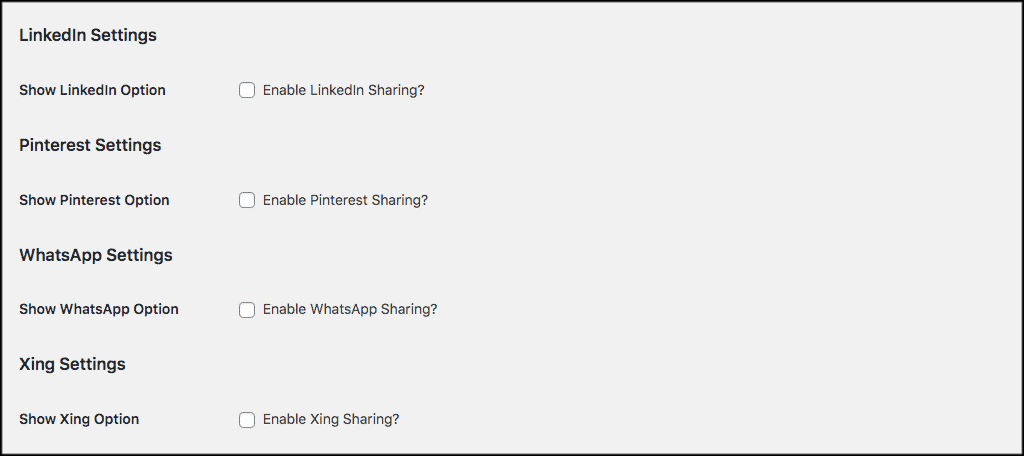
LinkedIn and Pinterest Settings
Scroll down a little more from the above settings and you will find the options for LinkedIn and Pinterest. WhatsApp and Xing are also right there. Go ahead and click on the checkboxes of all the social media platforms you want to use.
Copy, Email, Post Settings
Now, let’s start to wrap up the rest of the settings. If you want to enable copy and email sharing text options, then go ahead and click on the checkboxes.
After that, you will see a box to enable shortlinks. Go ahead and check that off as well and shortlinks will be enabled. When content is shared, your links will look much nicer and not be so long.
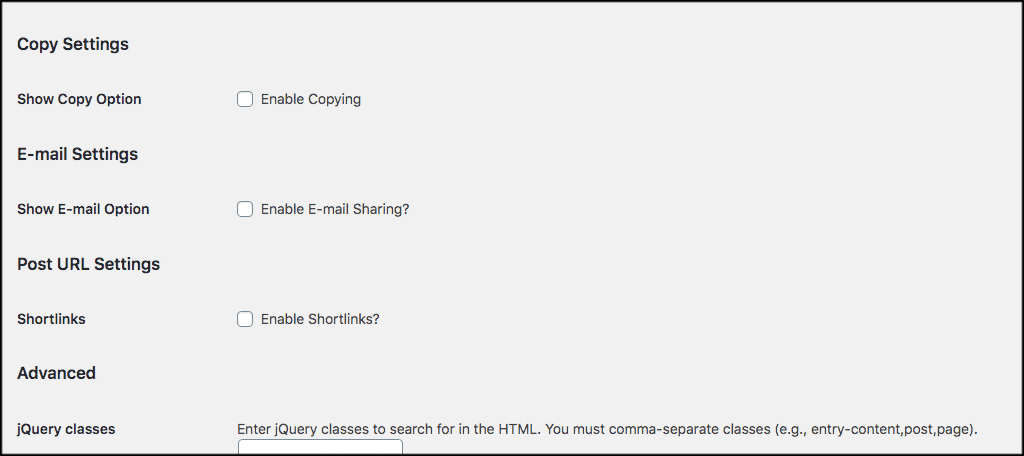
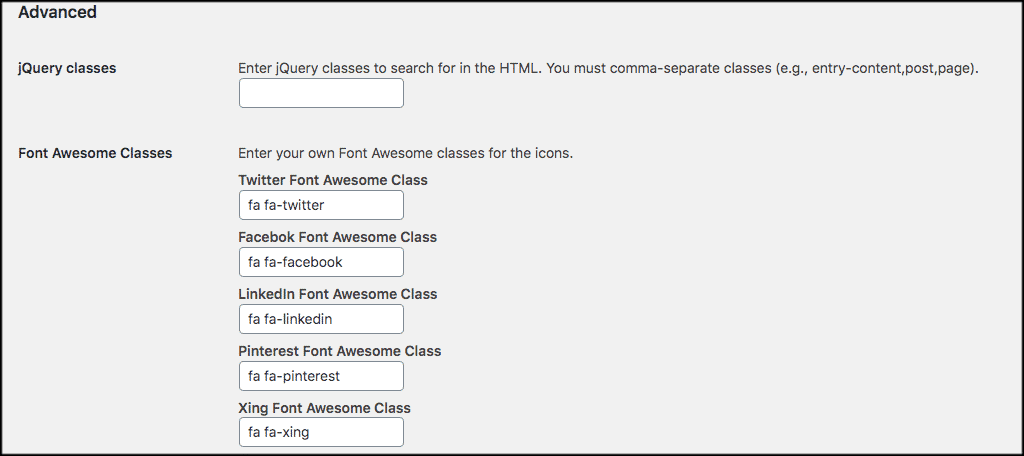
Advanced Settings
To finish up, go ahead and review the advanced settings. Remember, you may or may not need to use these options. These are more advanced based on your current setup. This includes jQuery and Font Awesome classes.
That’s it! You have gone through all the settings for the plugin. Click on the “Save Changes” button at the bottom of the page to save all the options you put in.
You are good to go.
Front End Highlight and Share
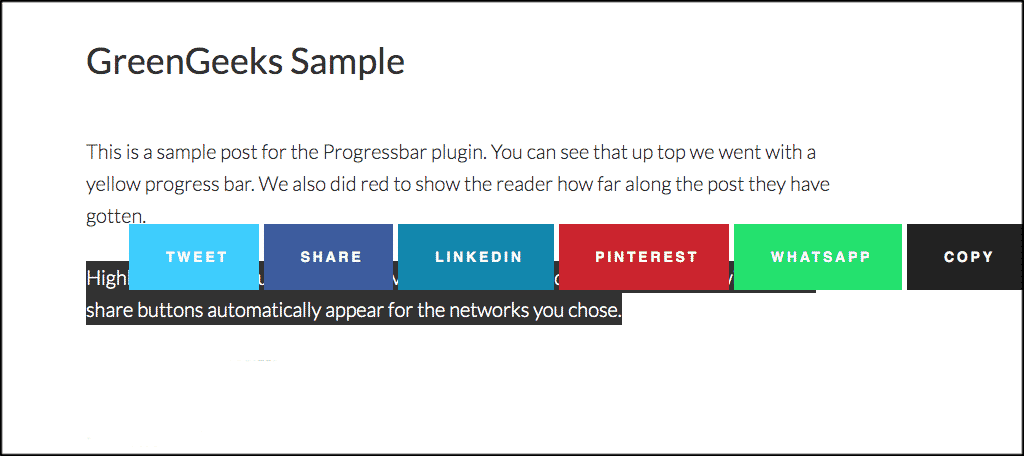
Now that the plugin is up and running, let’s take a look at what it looks like when used on the front end of your website. Please remember, that yours may look different based on the theme and share buttons you choose.
Go to any article on the front end of your website. When you arrive, select just a snippet of text to highlight. When you highlight it, the plugin buttons should automatically pop up and give you the options to share text across the social media networks you chose.
Final Thoughts
Giving your website users the ability to highlight and share snippets of text content allows a more diverse way of interaction with your website content. You don’t have to know how to write code to perform this function. Simply install and activate the plugin above, configure it, and you are off and running in just a few minutes.
I hope this tutorial has been easy to follow and helps you accomplish a new function on your WordPress website.
Have you ever used the Highlight and Share plugin before? Do you find that your content is shared more often and in different ways?
Thanks for this tutorial Jeremy, while copying page url also generating, but i want just content itself without URL , can you help on this please
Hey Tamil. I am not sure you can completely delete the URL link unless you simply do so manually before sharing. If you have JetPack or another shortlink option you can use that to make links shorter. However, the plugin will always want to show some sort of link for attribution purposes.