If you have a blog, you know how important your social media presence is. So it’s likely that you spend a lot of time promoting new blog posts on social media. What if there was a social media auto-poster that sent new posts to your social accounts automatically?
There is! It’s a WordPress plugin called Blog2Social: Social Media Auto Post & Scheduler, and I’m going to show you how it works.
Blog2Social will post to Twitter, Facebook, Instagram, Medium, Reddit, Pinterest, Tumblr, as well as seven or eight other networks. It will automatically generate hashtags based on the tags on your posts, and you can even re-post old blog posts.
Does it sound like it’s worth a try? I think it does. Let’s install it and set it up.
Installing the Blog2Social Plugin
Log in to your WordPress admin panel.
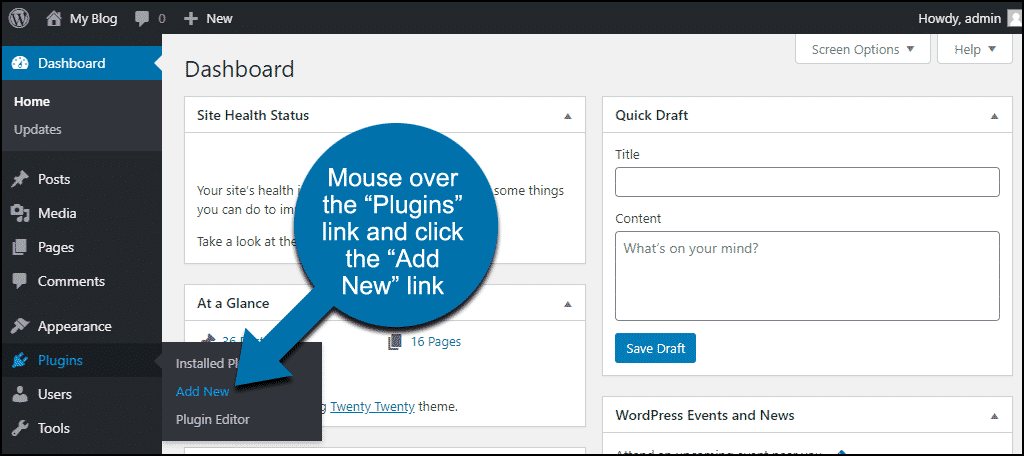
In the left column navigation, mouse over the “Plugins” link and click the “Add New” link.
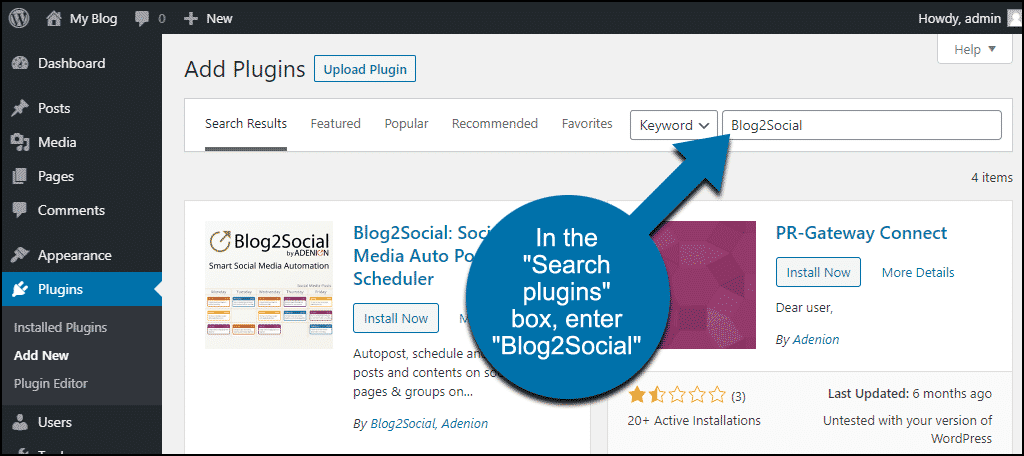
In the “Search plugins…” box, enter, “Blog2Social.”
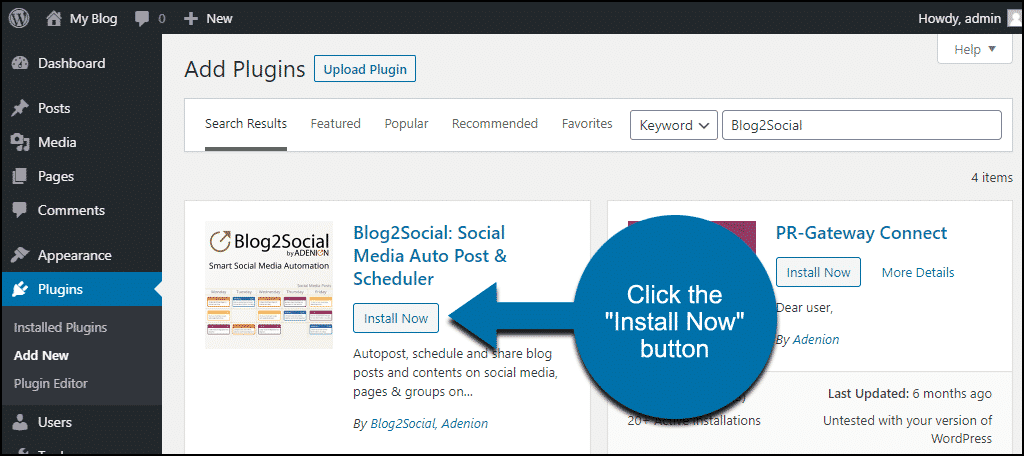
When you find the plugin, click the “Install Now” button.
Now the plugin is installed, but it has to be activated before you can use it.
Click the “Activate” button.

That’s all there is to it. Now let’s put the plugin to work.
Configuring Blog2Social
Before you can do any social media auto-posting, you have to connect the plugin to your social accounts.
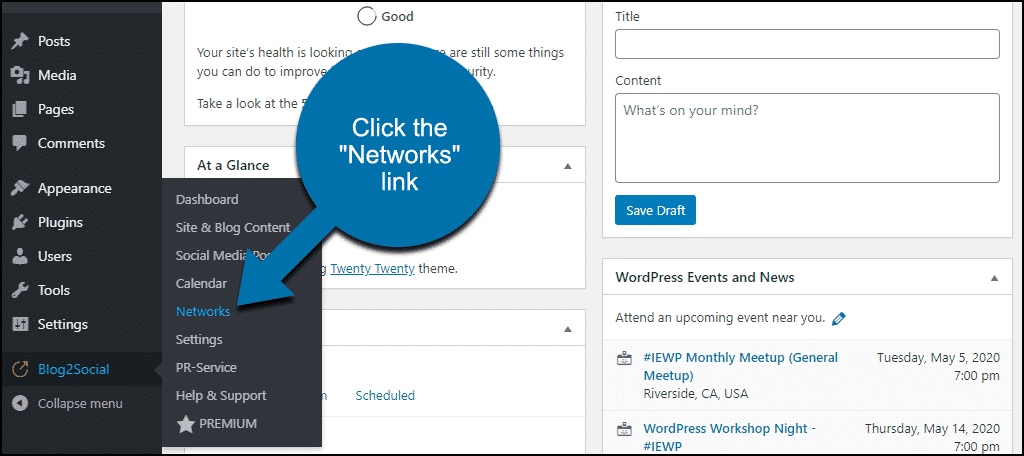
In the left column navigation, mouse over the “Blog2Social” link and click the “Networks” link.
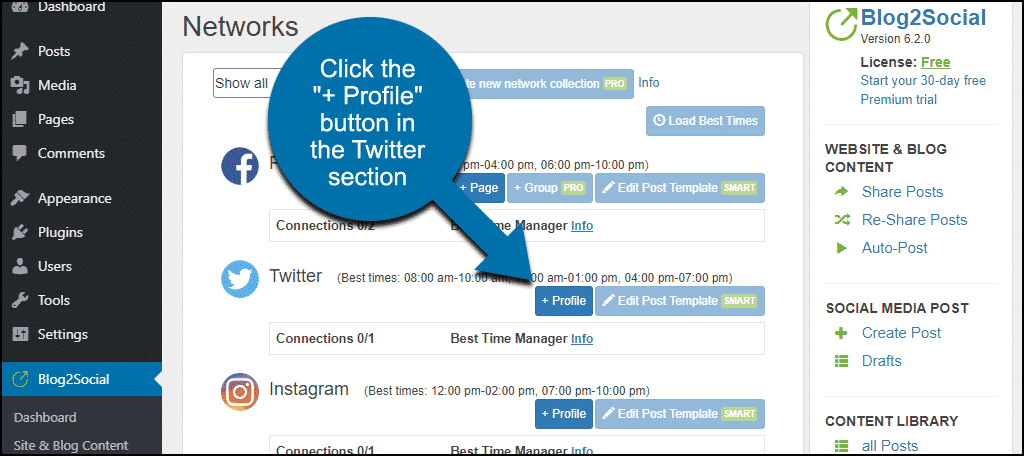
The Networks page lists the 15 (at the time I’m writing this) social networks the plugin can post to.
We’ll connect to Twitter, but the steps for most other networks will be similar.
Click the “+ Profile” button in the Twitter section.
A new browser window will open.
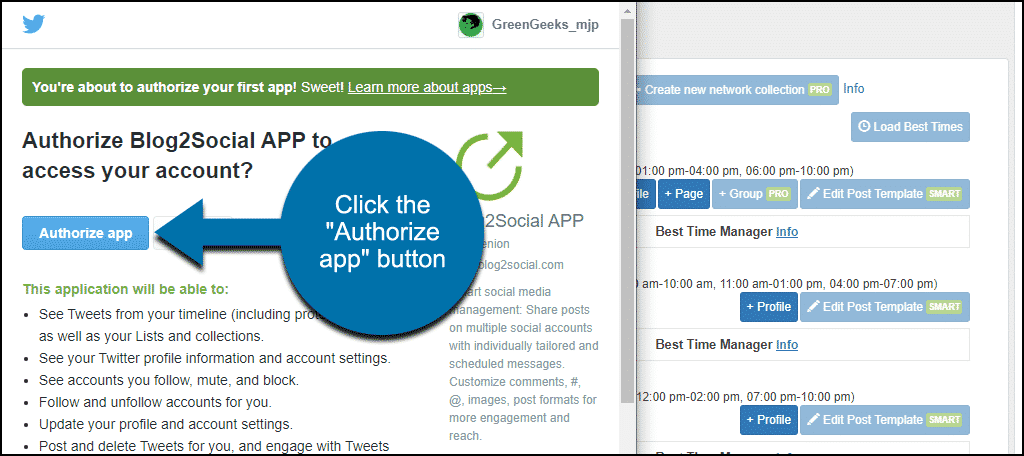
If you’re not logged in to the social network, the new browser window will contain a login. I’m already logged in to Twitter, so we were taken directly to the permissions screen.
Read the app permissions so you know what kind of access the plugin will have to your social account. You always read the terms, right? Admittedly, I don’t always read them either. But when it comes to application access, I do. Better safe than sorry.
Click the “Authorize app” button.
Now the list on the plugin’s Networks page shows that we’re connected to Twitter.
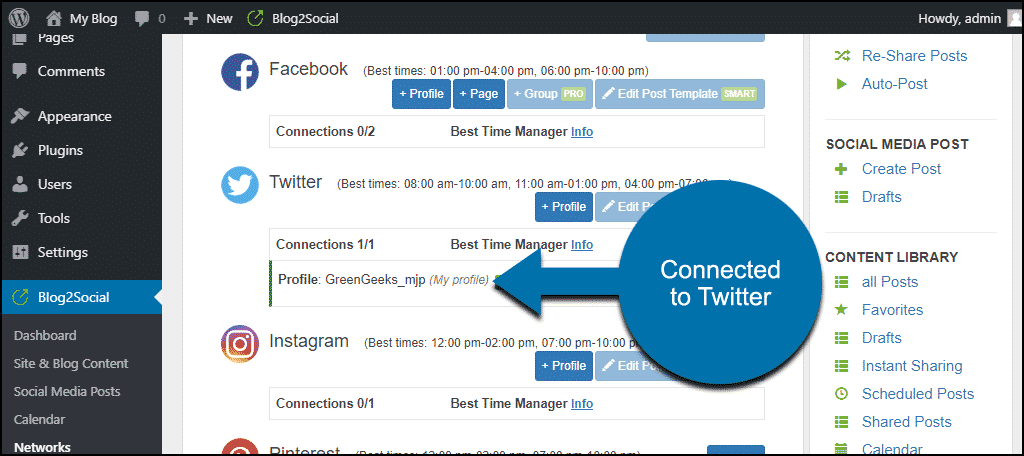
Repeat the process for every social network you’d like to connect the plugin with.
From Your Blog to Social Media With a Single Click
Now let’s look at a quick and easy way to post existing articles to your social media accounts.
In the left column navigation, mouse over the “Blog2Social” link and click the “Site & Blog Content” link.
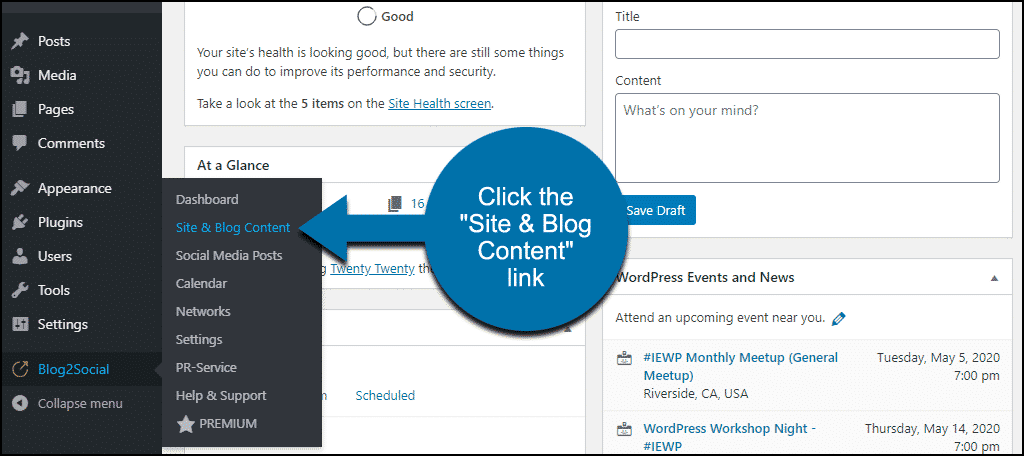
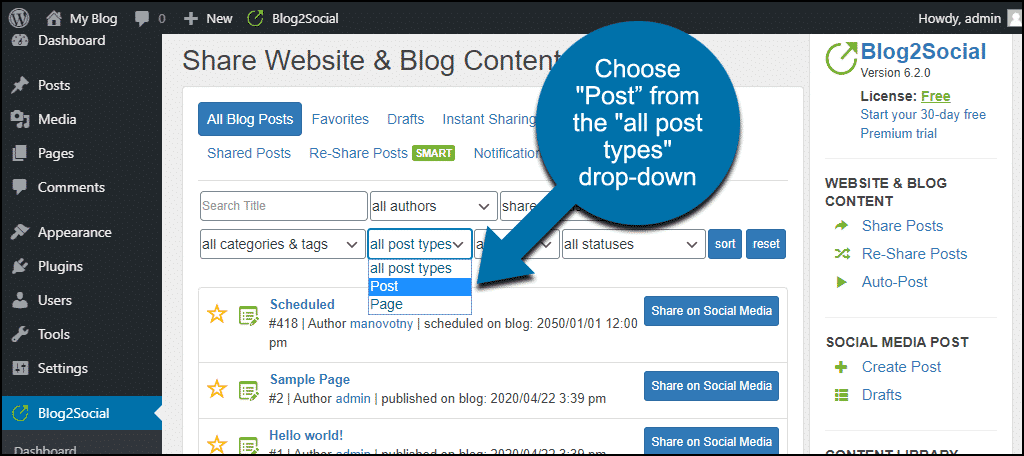
The Share Website & Blog Content page will open to a list of all your posts and pages. We’ll use the “all post types” filter to show only posts.
Click the “all post types” drop-down and choose “Post.”
Now click the “Share on Social Media” button for the post you want to share.

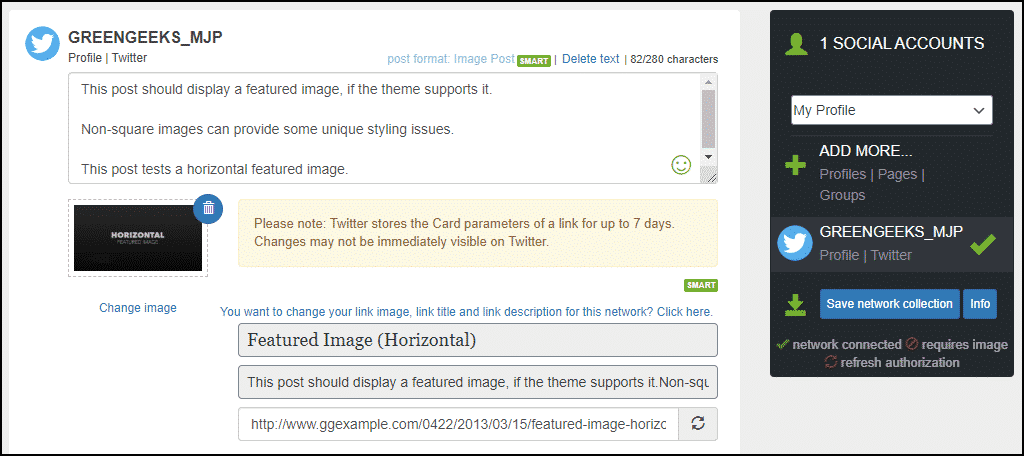
The social media post will open on the next page. Here you can edit the post, change the image, etc.
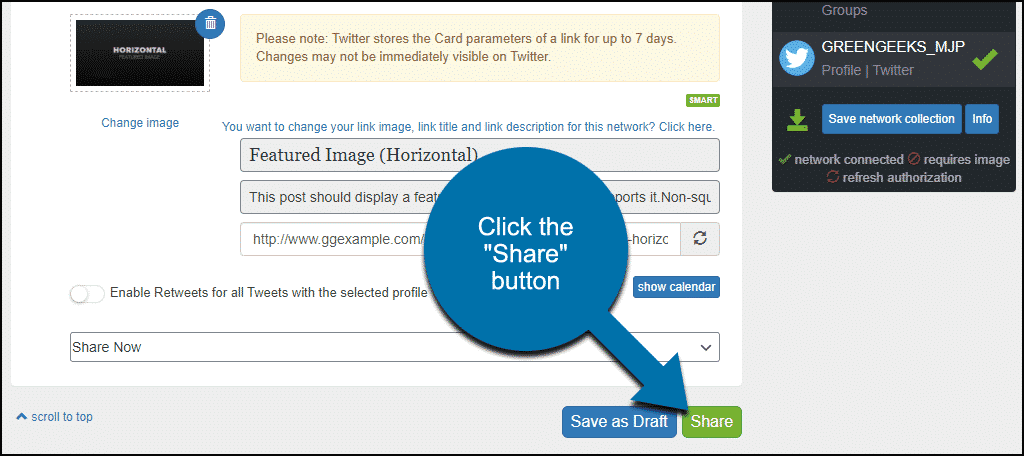
At the bottom of the post page are “Save as Draft” and “Share” buttons. Saving a draft could be useful to create a list of posts that you’ll send out at a given time. But we’re going to go straight to “Share.”
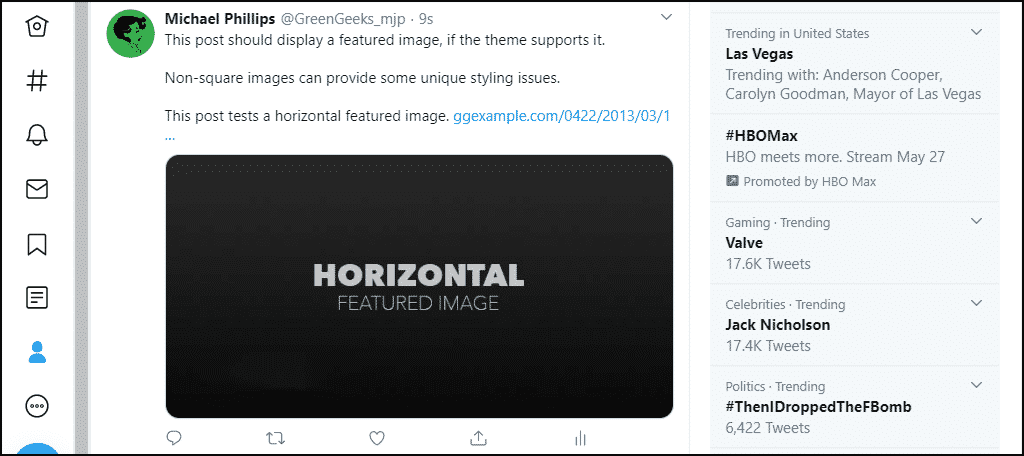
And now, if we pop over to Twitter, there’s our post.
While we were sending the Tweet, you likely noticed the scheduling option. Scheduling is only available in the paid “SMART” version of the plugin, so we won’t cover it here.
There are many other cool features available in the paid version. The plugin offers a 30-day free trial of the SMART features that you may want to take advantage of.
How to See the List of Posts the Plugin Has Sent
If you go back to the Share Website & Blog Content page, you’ll see a “Shared Posts” link.
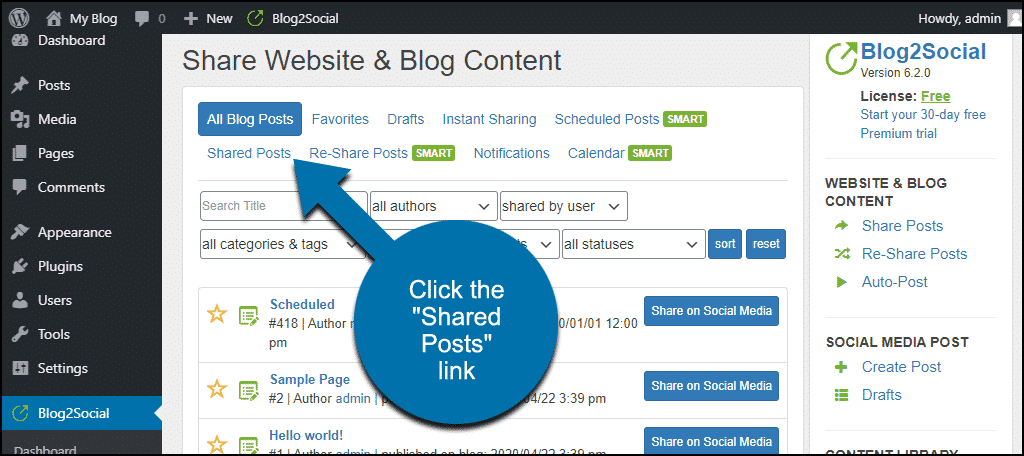
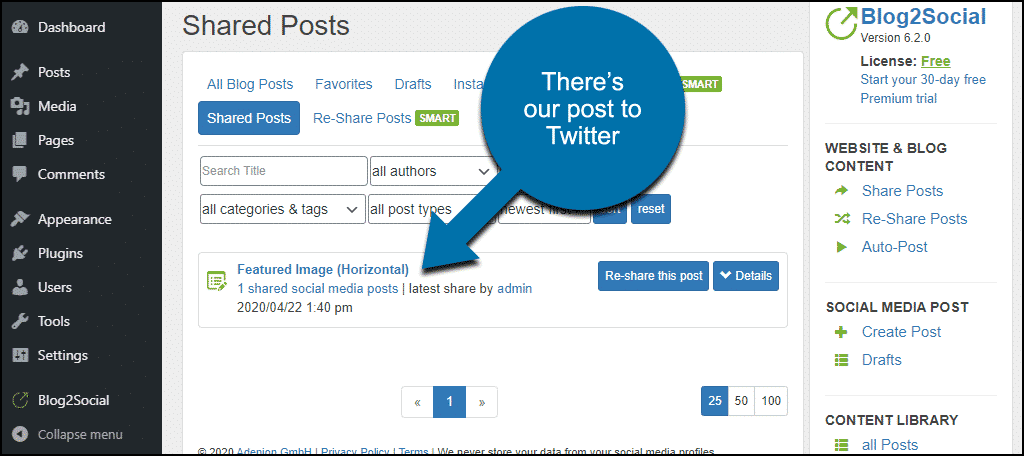
Clicking that link takes you to a list of posts the plugin has shared.
What Happens if You Uninstall the Blog2Social Plugin
Uninstalling the plugin does not have a negative impact on any pages or posts. However, you will lose the list of posts that the plugin has made as well as your social network connections.
Note that the app authorizations that you’ve set up on your social media accounts will have to be deleted. Uninstalling the plugin does not remove the authorizations.
So, for example, to remove the authorization that we set up for Twitter, we would do the following.
- Log in to Twitter and go to Settings > Apps and sessions.
- In the Apps list, click “Blog2Social APP.”
- In the “Permissions” section, look for the “Revoke Access” link.
- Click “Revoke Access.”
Every social media site will have a different process to remove app authorization. Here are some app authorization removal links that may help:
Jetpack and Other Alternatives to Blog2Social
If Blog2Social isn’t for you, or you don’t want to install another plugin, Jetpack’s Publicize feature will also auto-post to social media. It even does something the free version of Blog2Social doesn’t, which is auto-post when a post is published.
Are you a Hootsuite user? If so, check out Post to Social Media – WordPress to Hootsuite. If you’re not a Hootsuite user, I would suggest that you set up a free account. You can manage up to three social accounts, and schedule posts for the future on a calendar. And the WordPress plugin integration doesn’t hurt.
If you want to delve into the world of paid social media schedulers, the list becomes a lot longer. The feature lists become a lot longer too. But then you’d expect a paid service to offer features that a free service or plugin can’t. CoSchedule, Buffer, Sprout Social, and many others can seriously improve your social media game.
A Good Social Media Auto-Poster Is an Indispensable Tool
Blog2Social is an excellent first step to setting up auto social posts. Though as you can see, much of the actual automation is only available in the paid version of the plugin. But we wrote it up here because it’s still a useful tool. The ability to share your posts with a single click—without ever leaving WordPress—is handy.
However you choose to go about it, your blog will benefit from an active social media presence. Anything you can do to make sharing easier is likely to increase the number of posts you share. So every tool that integrates with WordPress is a potential time-saver.
And make sure your blog is running on a fast, reliable hosting service. That’s where GreenGeeks comes in. Our platform is optimized for WordPress. We’re WordPress experts, and our support team is always on hand to help. If your blog is essential to you, your choice of a host should be too.
GreenGeeks is powered by renewable energy. For every amp we pull from the grid, we match three times that power in the form of renewable energy via Bonneville Environmental Foundation. You can feel good that you’re helping make a difference by hosting on an eco-friendly platform.
Do you do any social media automation or scheduling? Have a tip for another social plugin we should check out? Drop a comment and let me know.