If you have ever registered as a user or tried to log into your user account on a WordPress website, you know that sometimes it can be a chore. This means you know that your website users feel the same way. However, there is a much better way for your site users to register and log into your site. You can allow them to login using social profiles by using a smooth plugin called Nextend.
Let’s take a look at the Nextend social plugin and see what all it offers. Then, I will go over the setup with you so that you can get the plugin working on your WordPress website.
Nextend Social Login and Register
Nextend Social Login and Register is a very lightweight and easy to use plugin. It stands out because it is professional and smooth and gives more registration and login options to a user.
The plugin is pretty direct and easy to understand. Once installed, it gives your website users and visitors the ability to register and log into your site using their social profiles. This is ideal because it won’t force them to spend valuable time filling out the default registration form that WordPress provides.
Your users will not have to wait for validation emails, or keep track of their usernames and passwords anymore either. The Nextend Social plugin takes care of all of this.
The plugin integrates very easily with the default registration form in WordPress. Any of your existing site users can add or remove their social accounts from their profile page.
Users can attach as many social profiles as they want. The most popular are Facebook, Google, and Twitter. As long as these social profiles are set and configured by you (site owner) then all current and future users have access to use them for registration and login.
Functionality and Features
The plugin is packed with functionality and features. Some of the main ones include:
- One-click registration and login using Facebook, Google, and Twitter
- Current users can connect accounts
- Define a custom redirect URL
- Display social profile pictures as avatars
- Login widget and shortcode
- Customize your designs to match your site
- Easy installation and setup
- Clean and user-friendly AI
Basically, the Nextend plugin gives you all the tools and functionality you need to easily allow social profile registration and login by your site users.
Let’s take a look at how to get the plugin installed and activated and then we will go through the setup and configuration together.
Note: This plugin does have a pro version. It extends functionality and gives access to other social profile logins. However, the setup below is based on the free version, as it provides you with everything you need, including a free Facebook login option.
Install and Activate Plugin
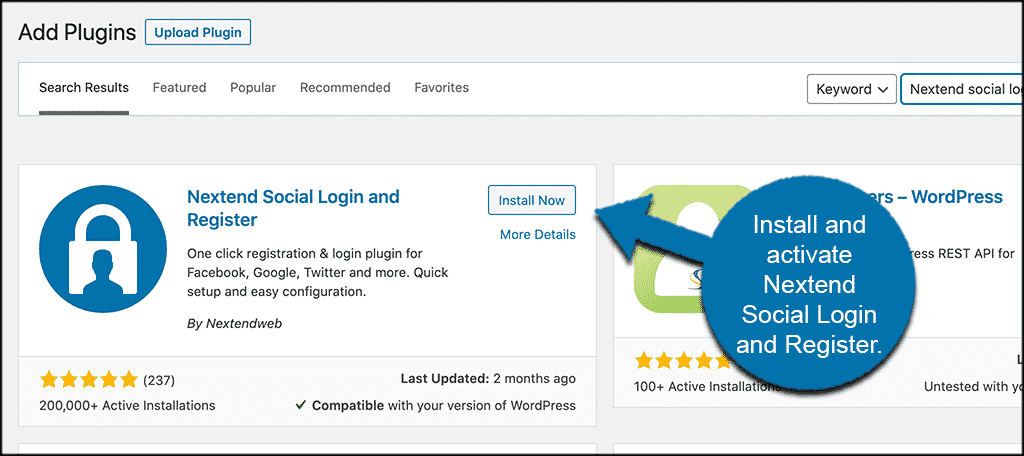
Before you can offer the ability of social profile login to your site users, you first have to install and activate the Nextend Social Login plugin. You can do this by going to the Plugins page within your WordPress admin dashboard.
Simply search the plugin by name and install and activate it from there.
Once the plugin is installed and activated, you need to access the main setup and configuration page. To do this click on Settings > Nextend Social Login.
You will find this on the left side menu area of your dashboard once the plugin is activated.

This will bump you to the main setup page where you can configure the plugin how you want and allow users social profile login and registration options.
Configure Nextend Social Access for WordPress
At this point, you should be on the main settings page for the plugin. You will see two main tabs. These include:
- Providers
- Global Settings
Before you choose and set up the social profile providers you will allow, click on the “Global Settings” tab real quick, and let’s configure that.
Global Settings
The Global Settings tab has a number of sub-settings in it. We are only going to focus on the first three, as the rest are only available if you have the pro version of the plugin.
General
These are simply all of the general settings options under the global tab. Go ahead and configure these how you want.

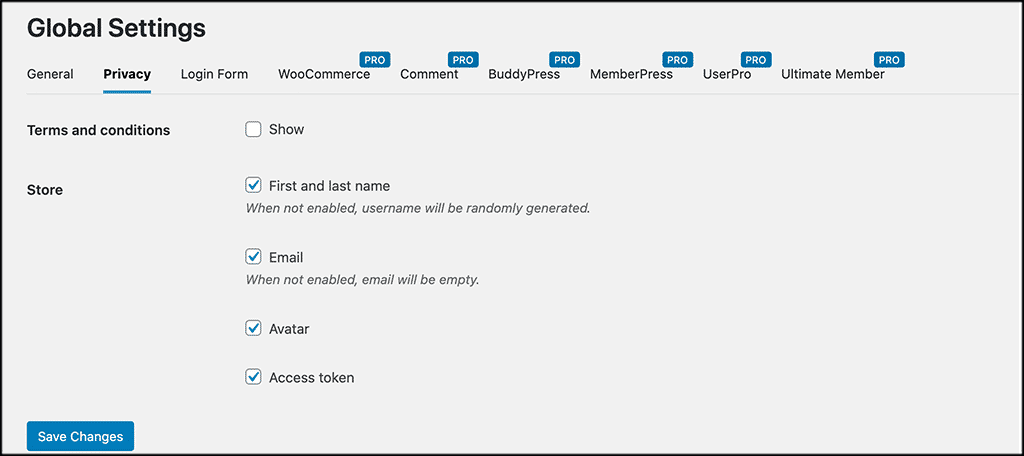
Privacy
Then, set up the privacy settings on how you see fit for your website.
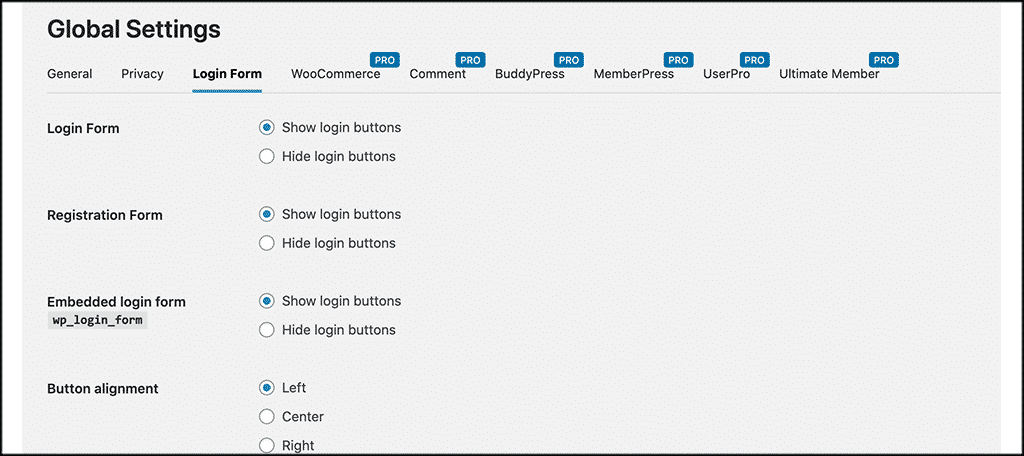
Login
These are the global settings for the login page. Set this up how you want it for your particular website.
The rest of the tabs are for the pro version, so just leave those for now.
Providers
Go ahead and click on the “Providers” tab now that your global settings are in place and saved. You will see that a lot of the available social login providers are displayed.
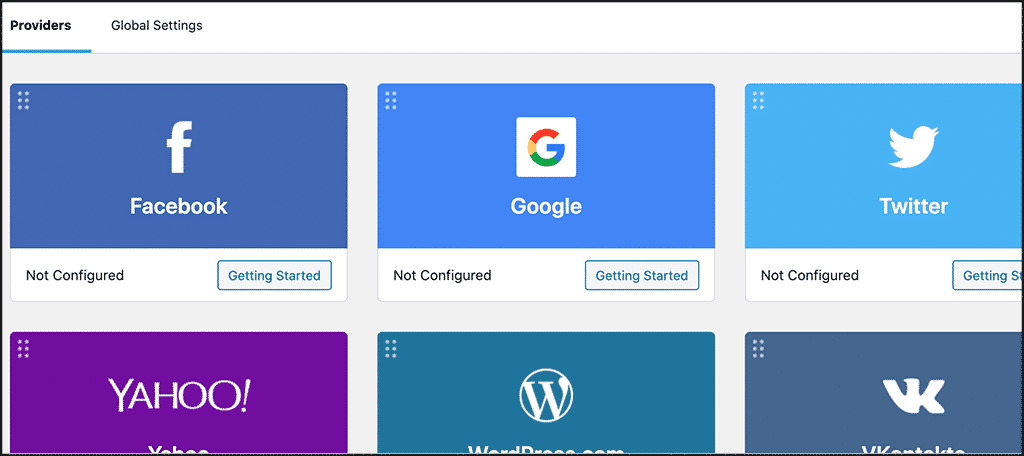
As we see, Facebook, Google, and Twitter are all provided in this free version. They simply have to be configured.
We are not going to configure all of them in the tutorial, but let’s click on the Facebook one and do that one together real quick.
Click on the Facebook box on the “Getting Started” button to open it up.
Note: You can click on any of them and simply follow the configuration instructions to activate that social platform.
WordPress Facebook Connect
Once in the Facebook connect area, you will see five tab links. These include:
- Getting Started
- Settings
- Buttons
- Sync Data
- Usage
Getting Started
If you do not have an SSL and are not running the HTTPS protocol, then you have to remedy that before moving forward.
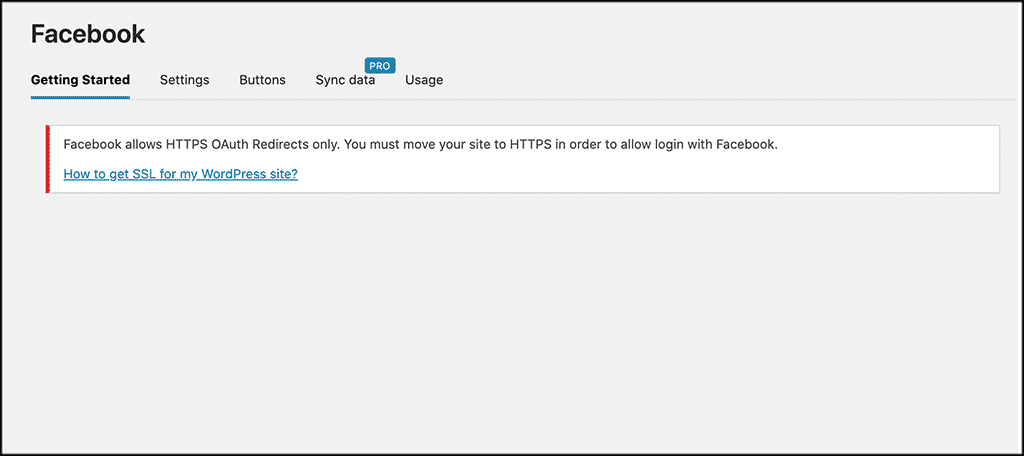
It’s probably a good idea to install an SSL anyway simply because Google prefers HTTPS protocol. Not to mention that it makes your site appear safer in the eyes of visitors as well as that of the Chrome browser.
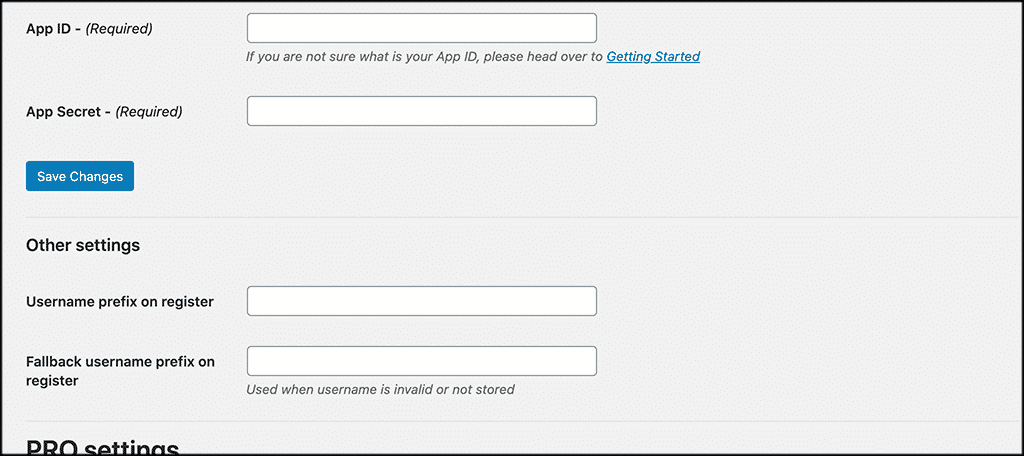
Settings
This is where you will set up your app id and app secret. Just click on the link and follow the instruction to get it.
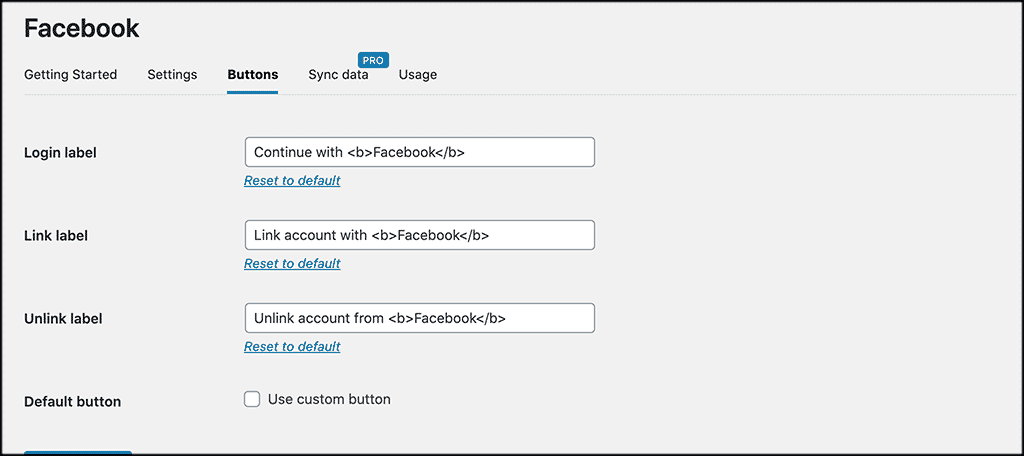
Buttons
Configure your buttons under this tab link.
Sync Data
This feature is only available when using the pro version of the Nextend plugin.
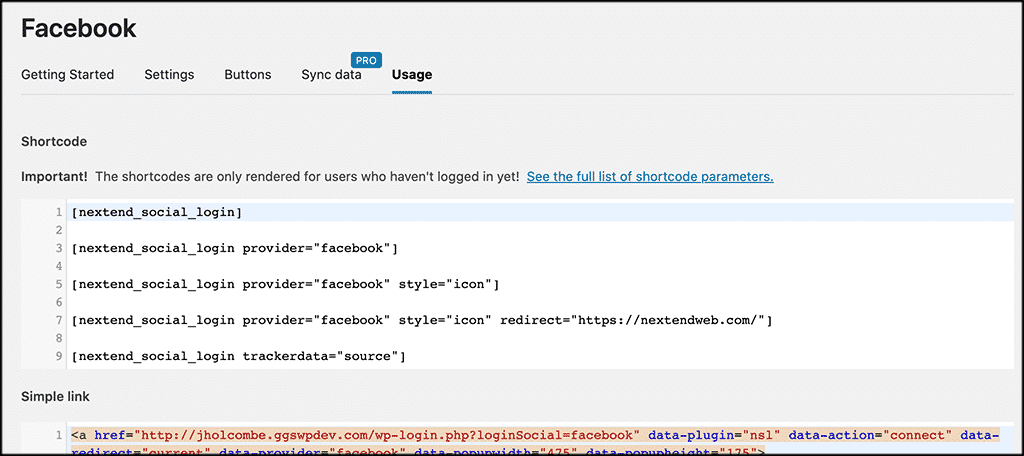
Usage
Here, you will find shortcodes and links for the plugin.
That’s it! Simply save all your settings and now the Facebook social registration and login option is made available for your users.
You can go through the other available social login options and set them all up.
Why Allow Social Login Access to WordPress?
If you allow a website login or registration via something like a WordPress Facebook Connect, then you are giving your visitors easier options to sign in. Allowing them to bypass the WordPress registration and login page saves them time and gives them easy access through their social media profiles.
When using the Nextend Social plugin, you give your site users several different login options using different social media platforms. This allows you to get the relevant info needed from the user, while allowing them a fast and efficient way to log in.
No need for anyone to fill out a registration form or anything else, as proper data is automatically pulled from the user’s social profile of choice.
Final Thoughts
Giving your site users the ability to register and login to your WordPress site using their social profiles is not difficult. You simply have to find the right tool to accomplish it.
Sure, you can write and build your own code, but the Nextend plugin does all of this seamlessly for you. Just install it on your site, configure it using the instructions above, and you will open up a great way for users to register on the website.
Remember, social profiles are huge these days, and most everyone has them. This is another great way you can allow them to be used.
Have you tried the Nextend Social Login plugin already? Have you found that you are getting more site registrations because of the ease of use?