Even if you’re not familiar with the term, you know what an image carousel is. It’s a group of large images usually placed across the top of a web page. The images automatically rotate or “slide” into and out of view. And tools like Smart Slider 3 makes adding them quite easy.
In some cases, the images don’t automatically rotate as the visitor navigates through them manually using an arrow or dot links.
Depending on the imagery, image carousels or “sliders” can be bold statements and tell a visitor a lot about your site without saying a word. If you’ve always wondered how to achieve the carousel effect on your website, wonder no longer.
In this tutorial, we’re going to install an image carousel in WordPress called Smart Slider 3.
Before we jump in, there is one caveat. If you’re selling a product on your website you may want to steer clear of image carousels. They may not be a good fit if conversions are your goal.
But if you’re running a design or photography website, or you just find them aesthetically appealing and want one on your personal site, read on.
A Note on Image Sizes
The Smart Slider 3 plugin will resize and crop images to make the heights consistent and fit them into the size of the presentation that you choose.
That means that very large images will be scaled down and small images scaled up. As you may know, when you increase the size of smaller images, the quality usually suffers. So try to avoid using images smaller than the dimensions of your slider/carousel.
Large images generally look better in an image carousel. But also bear in mind that larger images have a longer download time. You have to balance image size and quality and come to a compromise that still looks good.
An image carousel is a horizontal feature, so a carousel made with images that are wide will look much better than one using images that are square.
Installing Smart Slider 3
Log in to your WordPress admin panel.
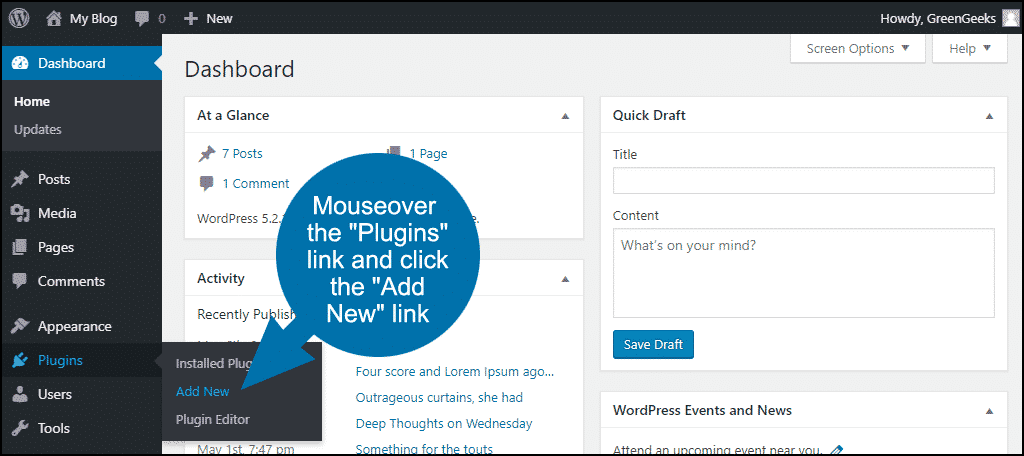
In the left column navigation mouse over the “Plugins” link and click the “Add New” link.
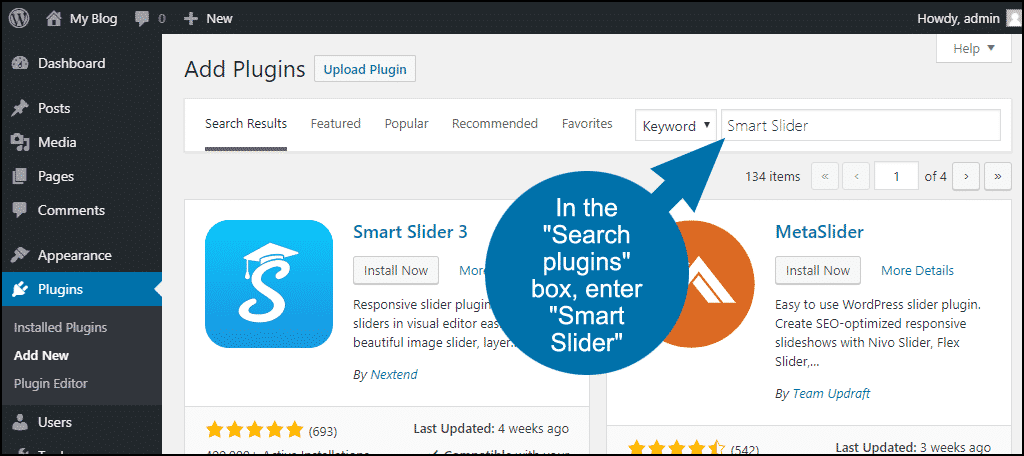
In the “Search plugins…” box, enter “Smart Slider 3.”
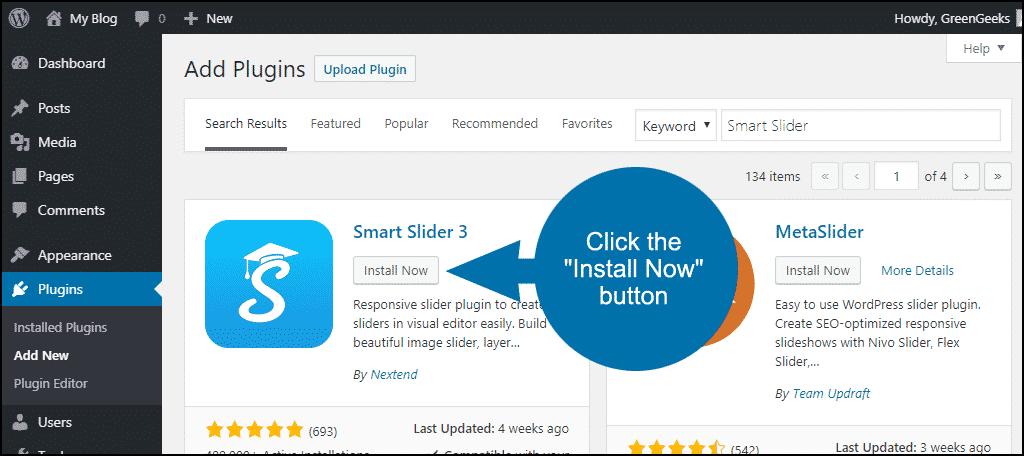
Once you have located the plugin, click the “Install Now” button.
When the plugin has been installed, click the “Activate” button.

Creating an Image Carousel
Smart Slider 3 pulls images from your media library. Before you set up a carousel, upload the images that you intend to use.
We’re going to go through the slider set up process using all the defaults. Then we’ll add a carousel to a post so you can get a feel for how the system works. Later, we’ll address some more specific settings, configuration, and uses.
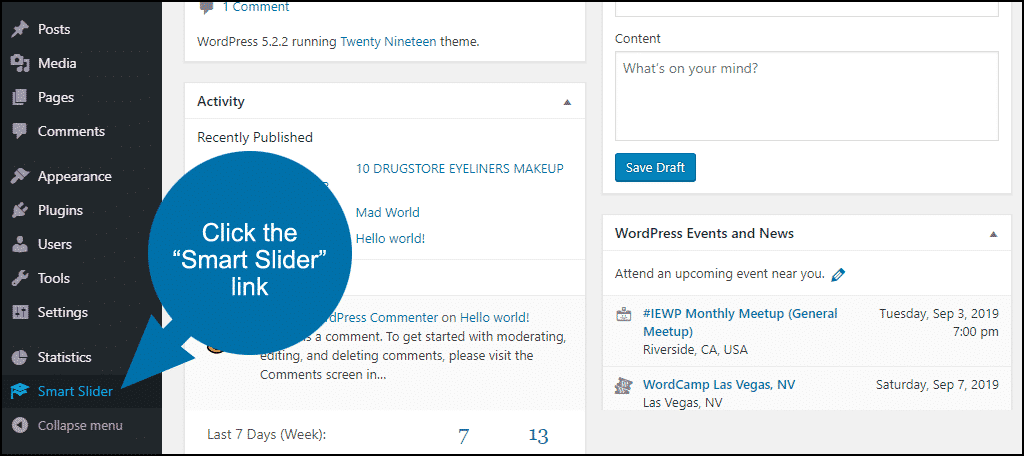
In the left column navigation, click the “Smart Slider” link.
You have an option to watch a “Learn Smart Slider 3” introductory video that goes into some detail on the basics of setting up a slider or image carousel.
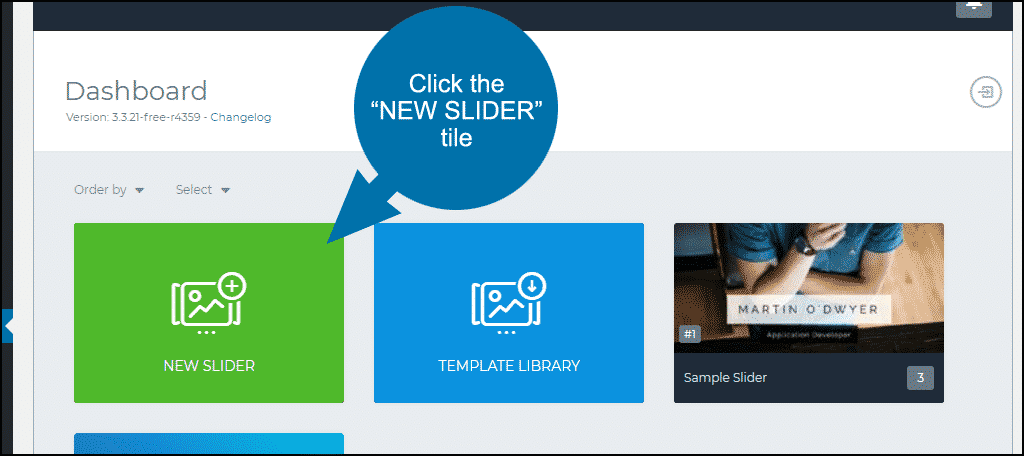
You may want to take a look at the video, or you can boldly skip ahead with us now and click the “NEW SLIDER” tile to get started.
Enter the basic options in the popup.
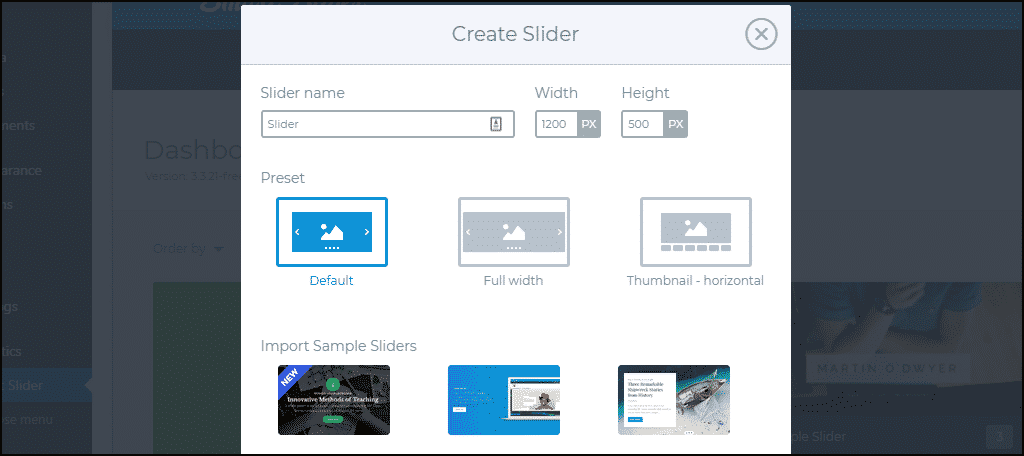
Slider name is just a name for your own purposes. Make it descriptive if you intend to set up multiple carousels.
Width and Height are the dimensions for the carousel. It’s not necessary to enter pixel values here if you intend to configure the carousel to take up the full width of the browser or device window.
Preset – “Default” matches the dimensions you provided in the Width and Height fields. “Full width” ignores the dimensions and creates a responsive carousel that spans the entire width of the browser or device window.
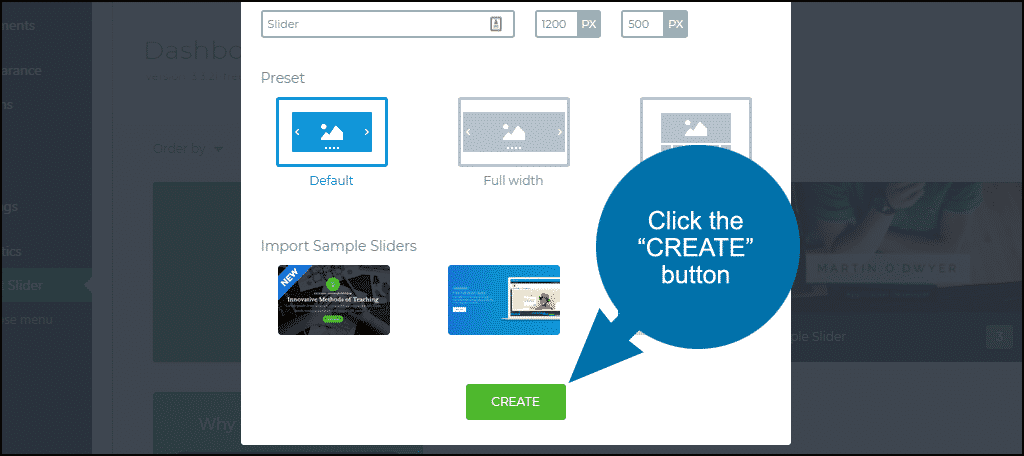
Click the “CREATE” button.
Adding Images to a New Slider
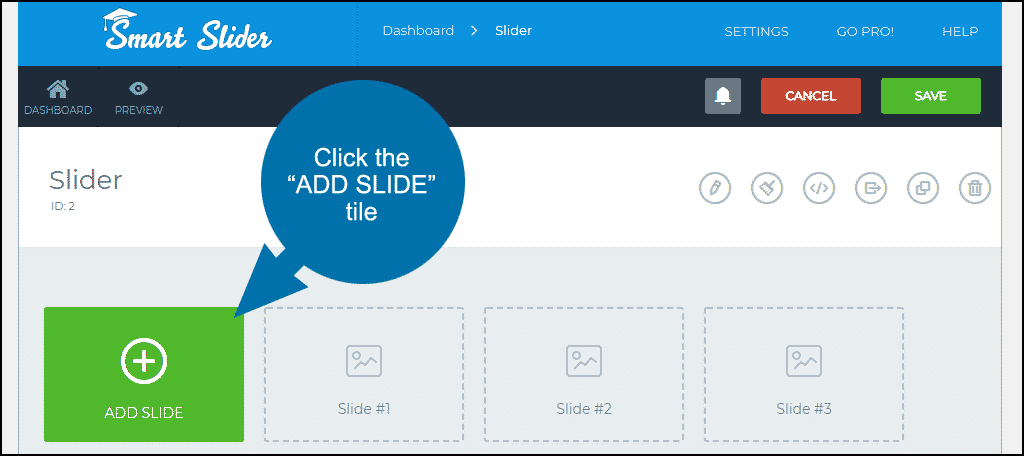
The slider that we have just created is empty, so let’s add some images.
Click the “ADD SLIDE” tile.
Click the “Image” tile.

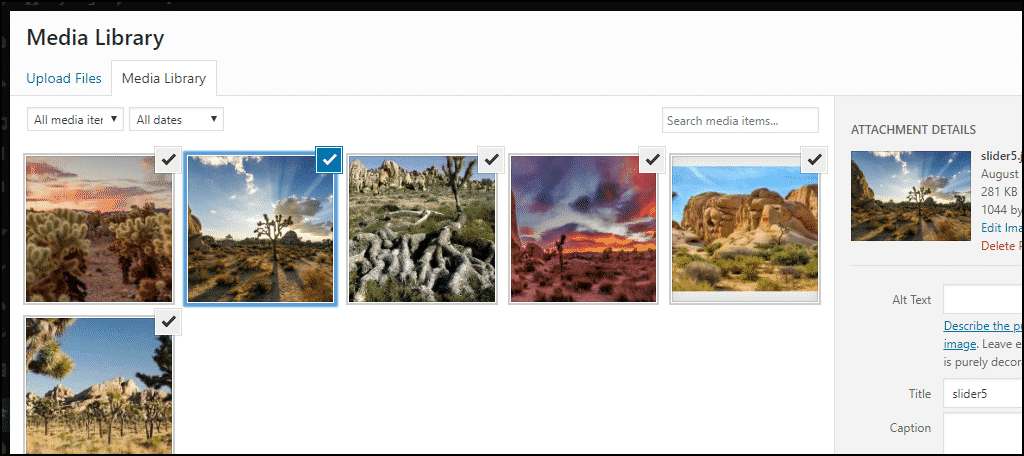
Select the carousel images from the WordPress media library.
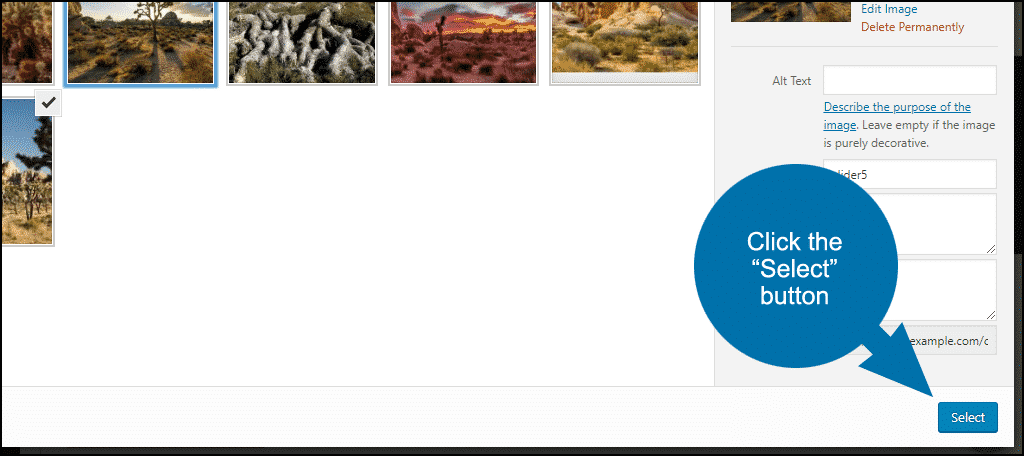
Click the “Select” button.
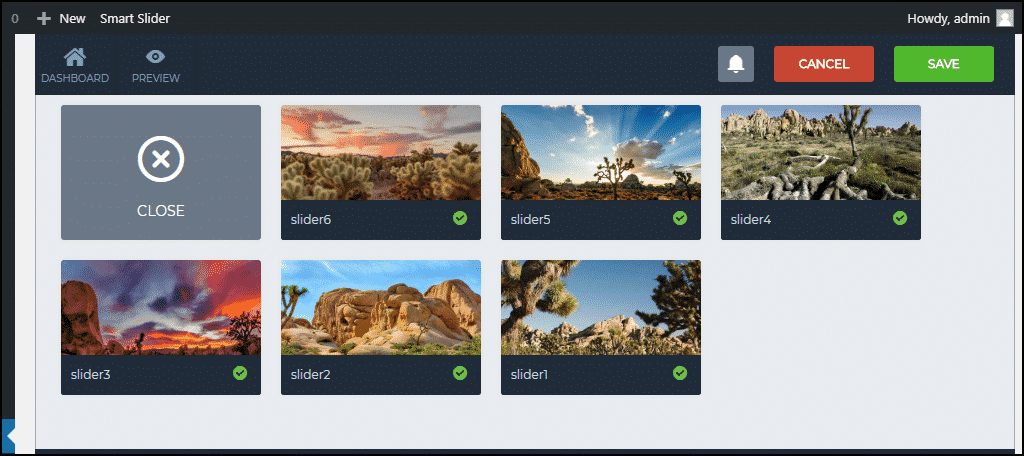
The images you selected will then show up in the plugin.
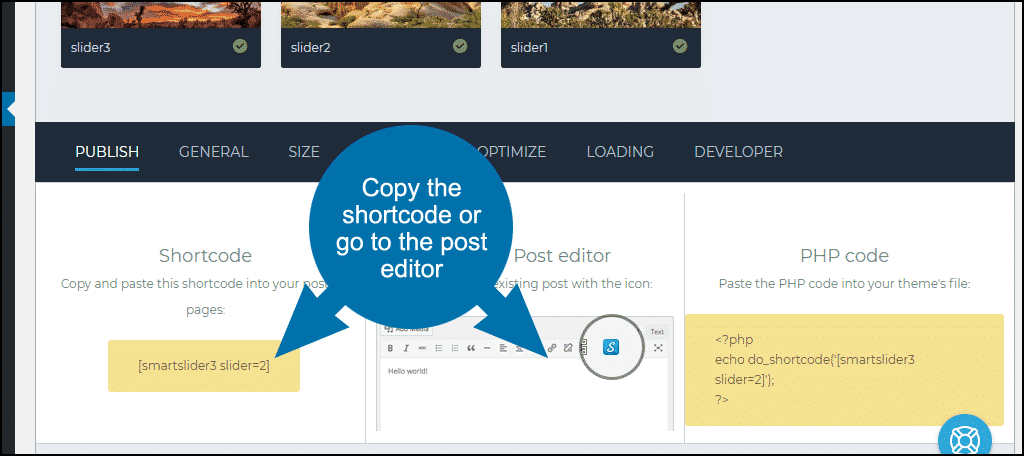
Scroll down to the “Publish” section.
Copy the shortcode or go to the post editor. There’s also a snippet of PHP that you can copy if you are going to insert the carousel into the site code somewhere.
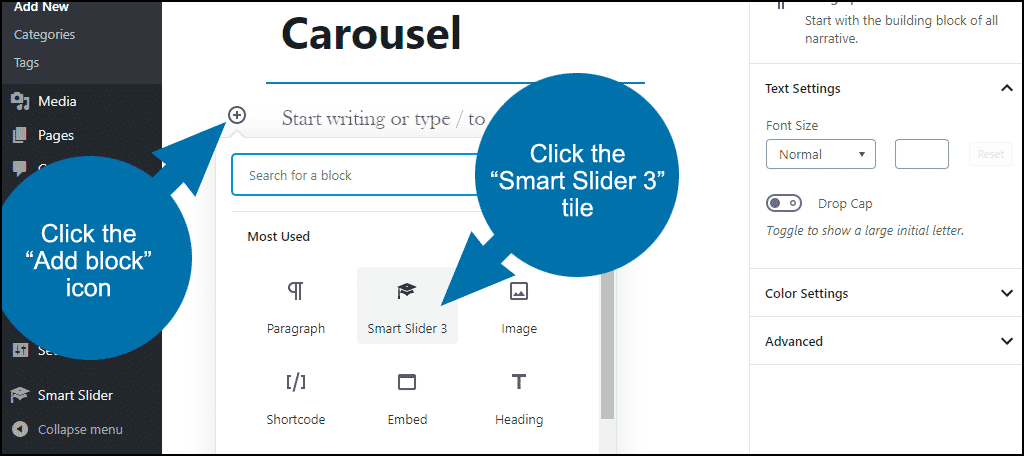
Start a new post. Enter a title, and click the “add block” icon.
Click the “Smart Slider 3” tile.
If you’re using the WordPress classic editor, click the “Smart Slider 3” icon.
![]()
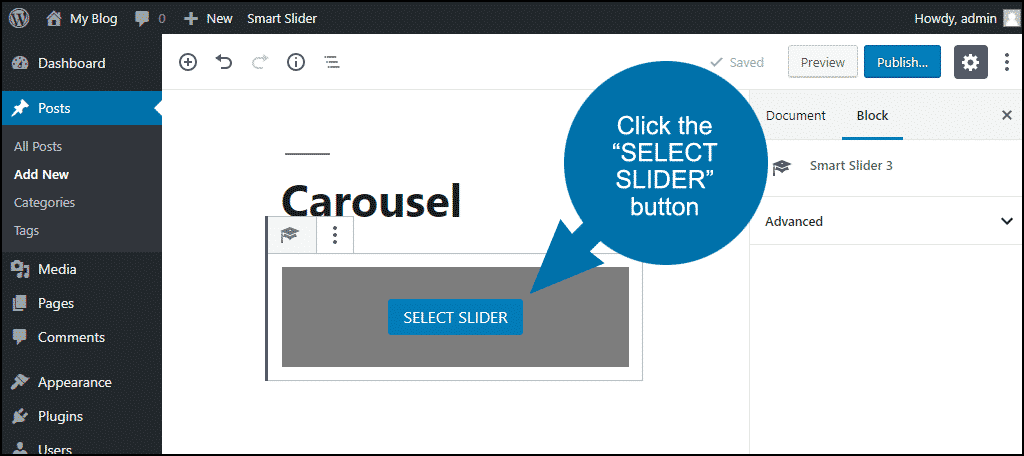
Click the “SELECT SLIDER” button.
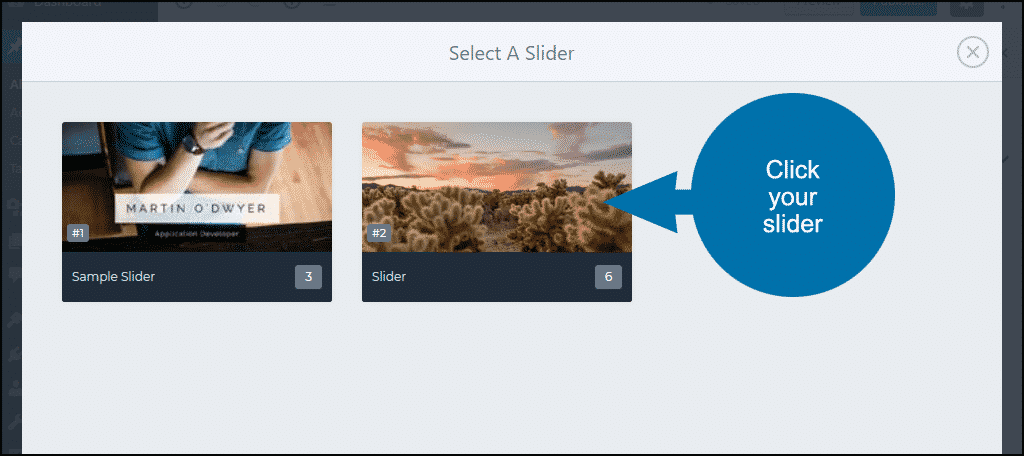
Click your slider to insert it into the post.
Publish the post.
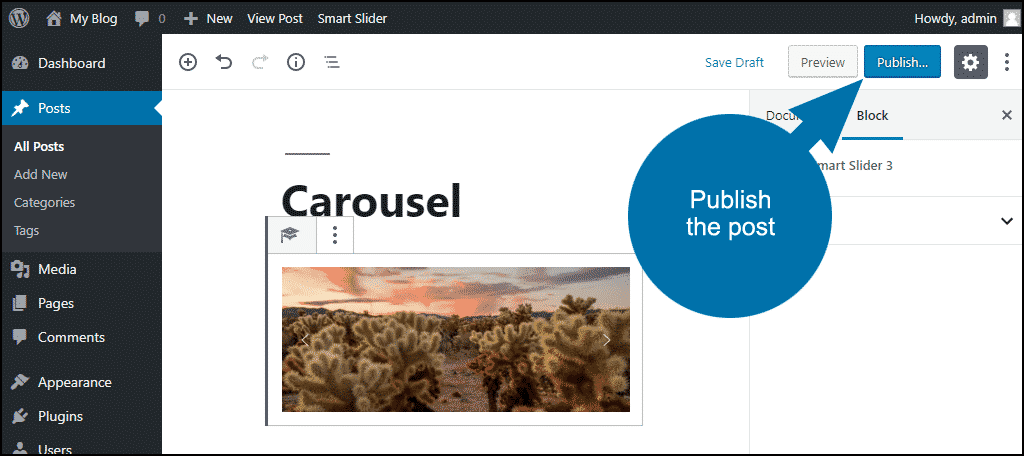
The carousel is now published in a post with “forward” and “back” links on either side of the image.
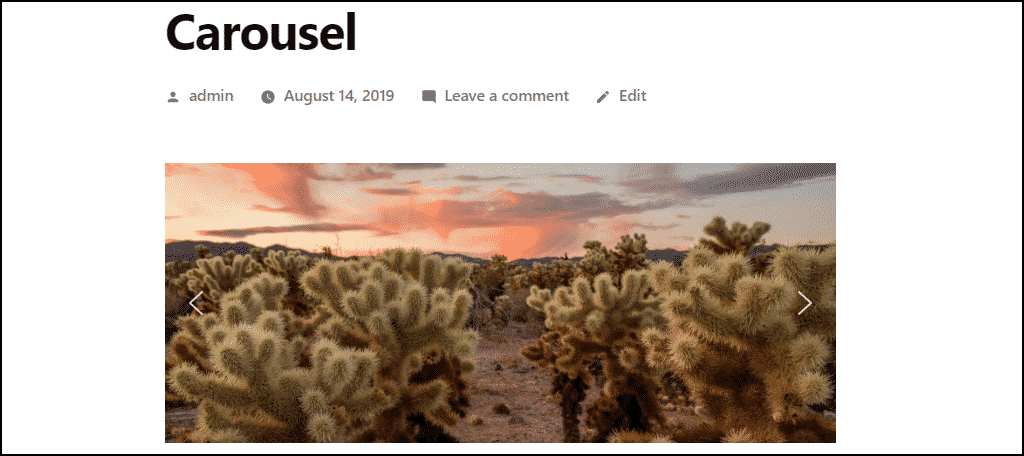
By default, the images don’t cycle automatically, but we can change that.
To Automatically Cycle Through the Carousel Images
In the WordPress admin panel left column navigation, click the “Smart Slider” link.
In the Smart Slider dashboard section, mouse over your slider and click the “EDIT” button.

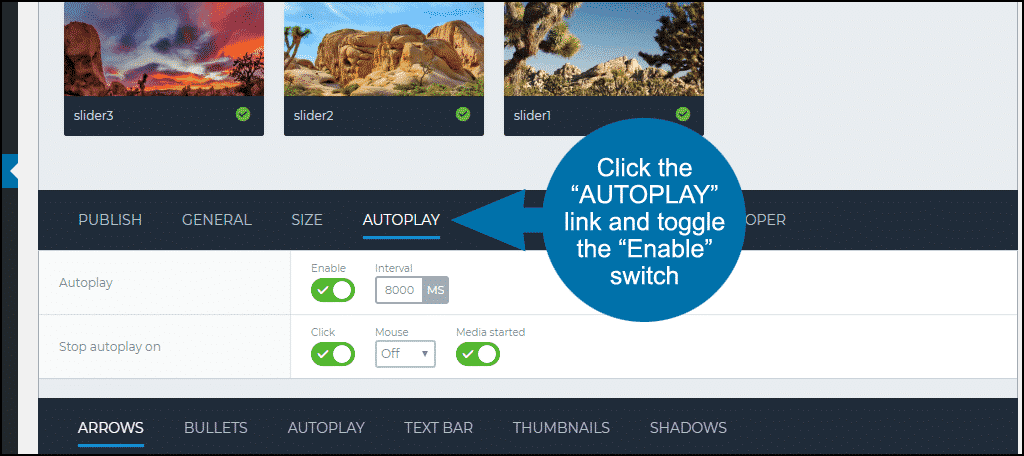
Click the “AUTOPLAY” link and toggle the “Enable” switch. The default time between images is 8000 ms (8 seconds).
Scroll up and click the “SAVE” button.
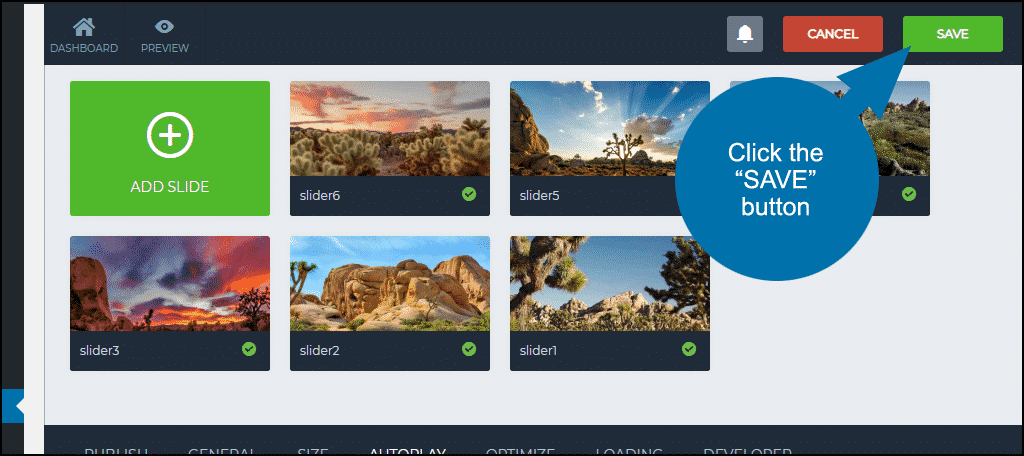
Now your carousel will automatically cycle through the images.
Image Carousel As a Widget
Smart Slider is also a WordPress slider widget. You can add a slider anywhere you can add a widget element, such as the sidebar.
- In the left column navigation mouse over the “Appearance” link and click the “Widgets” link.
- In the “Available Widgets” section, click the “Smart Slider” button.
- Choose where you’d like the slider to be displayed and click the “Add Widget” button.
- Smart Slider moves over to the active widgets list. Select your slider from the dropdown and click the “Save” button.
Inserting a Carousel Into the Website Code
Earlier I mentioned that you can copy and paste PHP code to insert the carousel into the website code or WordPress template.
The method for editing the header of a WordPress site varies depending on the WordPress version and the theme that you use.
In any case, you can simply copy the PHP code and paste it in the location you see fit.
To Slide or Not to Slide, That Is the Question
Website design is a subjective thing. What one person finds appealing, another may not. That will never change. But web design also goes through fads and phases, and image carousels certainly had a moment of popularity when it seemed that they were everywhere.
Now we know more about the effectiveness or ineffectiveness of carousels. So before you decide to implement a slider, make sure you know the pros and cons. For a strictly visual, creative site, they can still be useful and effective. However, they are less so for your typical e-commerce site.
Have you used an image carousel on a site in the past? Are you concerned with the effects of your design choices, or just go for what looks great to you? (There’s nothing wrong with doing what you think looks great despite what “experts” may believe!)
Hi,
Great info., thanks.
I like Smart Slider and I have several libraries of edited images. Is there any way to ie: save, copy, export images from one library, or make a new library using chosen images, without doing all that editing a second time.
I tried doing an export but it requires an ss3 file which I don’t have, so I wasn’t able to try that route.
Thanks, Marilyn
how can i add woocommerce image link inside elementor pro image carousal , so that i can show my single product image with veriest on slide mode