If you want your website to succeed, there are two major factors that you need to excel at: content and SEO. And trust me when I say, making good content is the easier of these two. Perfecting your website’s SEO is difficult and will require help. And The SEO Framework plugin can do just that.
This tool helps automatically fills in your website’s metadata along with other helpful information. It was made with the latest Google webmaster trends and information in mind and is updated regularly when changes are made.
Today, I will demonstrate how to use The SEO Framework plugin to boost your site’s rankings.
The Importance of WordPress SEO
There is one thing that every successful website has in common, they get visitors.
Anyone who starts a website from scratch understands that getting traffic is the hardest part of starting out. It isn’t building the website or creating content. it’s getting search engines, mostly Google, to acknowledge your site even exists.
The algorithms search engines use is extremely complicated, and no one fully understands them. Not even Google themselves. Instead, the only way to do well is to take advantage of SEO findings from the community. And there is a large community trying to crack the code.
I know what your thinking, there are a ton of other ways to get traffic instead of SEO, such as social media, advertising, backlinks, and more. However, none of these comes even remotely close to search engine traffic.
On average 51% of your website’s traffic will come from organic searches through search engines. For reference, social media only accounts for about 5%.
As you can see from the numbers, there is no comparison or way to avoid SEO.
How to Boost Rankings With SEO Framework
Step 1: Install SEO Framework
SEO Framework is an SEO extension plugin that highlights what your content is lacking in specific areas. It is one of many free SEO tools for WordPress and works great. With it, you can see this information for every post and page and the plugin does a lot of it automatically.
Think of the plugin as a built-in guide for your website. It will tell you what and where it has to be done. For established websites with possibly hundreds of posts, it can automatically fill in metadata, which is one of the most important aspects of SEO.
To begin, click on Plugins and select the Add New option on the left-hand admin panel.

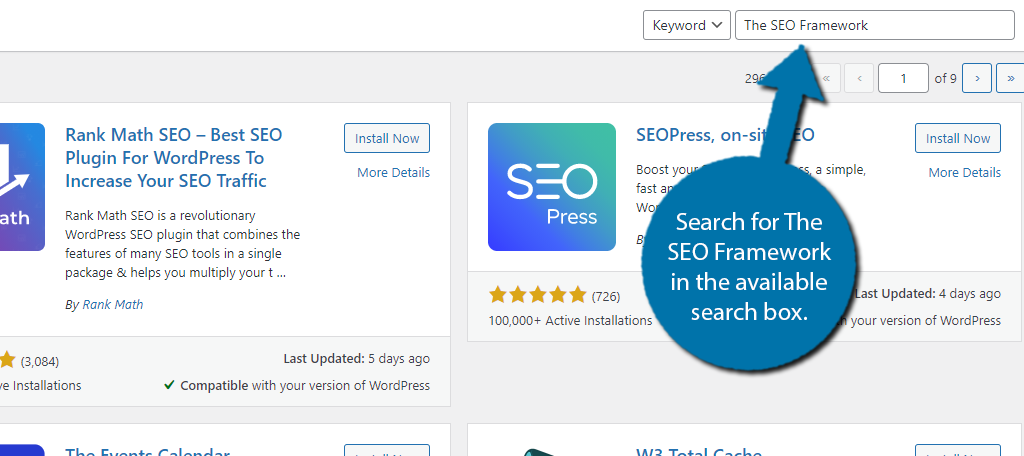
Search for The SEO Framework in the available search box. This will pull up additional plugins that you may find helpful.
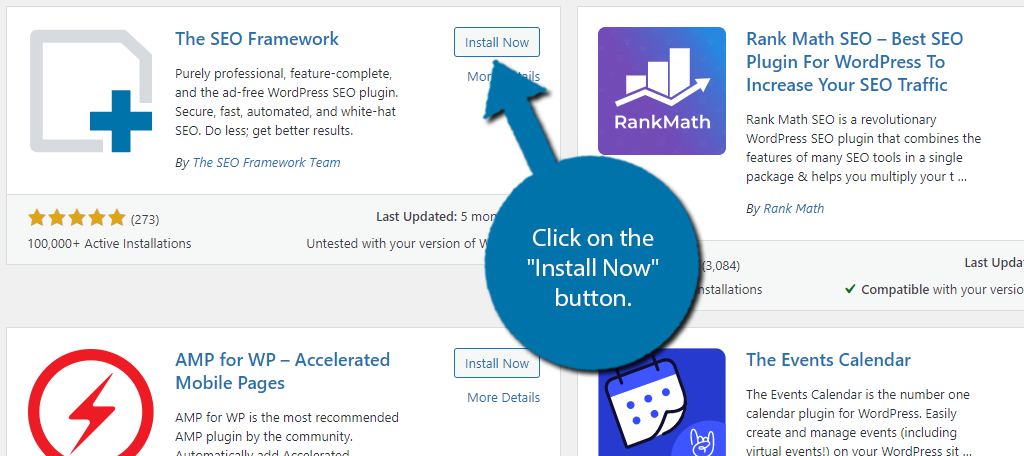
Scroll down until you find The SEO Framework plugin and click on the “Install Now” button and activate the plugin for use.
Step 2: Settings
This plugin has a very comprehensive settings section that will take quite some time to go through. That said, many of the settings can and should be left in their default values. However, there are many others that can be customized to help the plugin work for your specific website.
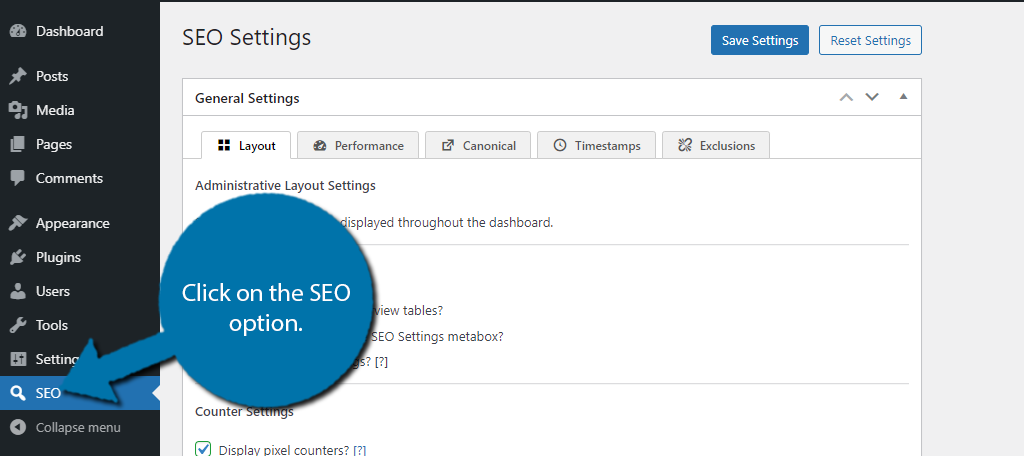
On the left-hand admin panel click on the SEO option.
I will now try to cover the settings in their entirety. Though, since every website is unique, what is best for your website can be very different.
General Settings
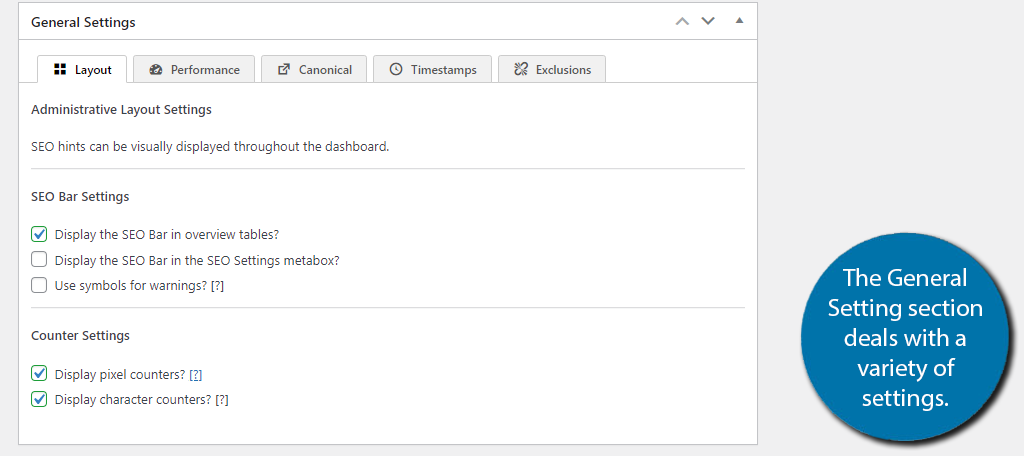
The General Settings section consists of five tabs. They influence site layout, performance, canonical URLs, timestamps, and exclusions. All of the settings here consist of checkboxes, and you simply need to pick the best options for your website.
In reality, most websites will not need to make any changes in this section.
Title Settings
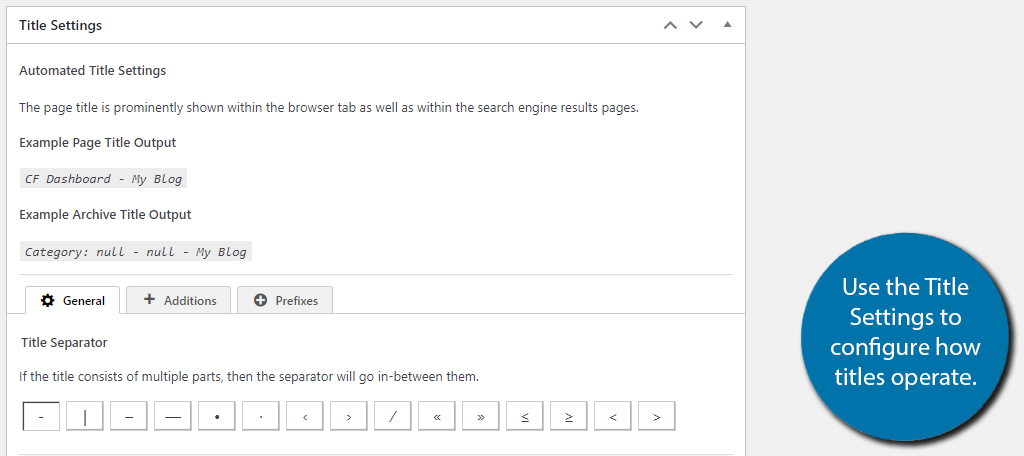
The Title Settings section is all about your website’s titles. Shocking, I know. In the General tab, you can select the title separator and strip HTML from the generated titles. In the Additions tab, you can select the title location. Or, you can remove the title completely (not recommended).
Finally, the Prefixes tab allows you to remove prefixes. Again, there is really no need to change any of these settings from the defaults for most websites.
Description Meta Settings
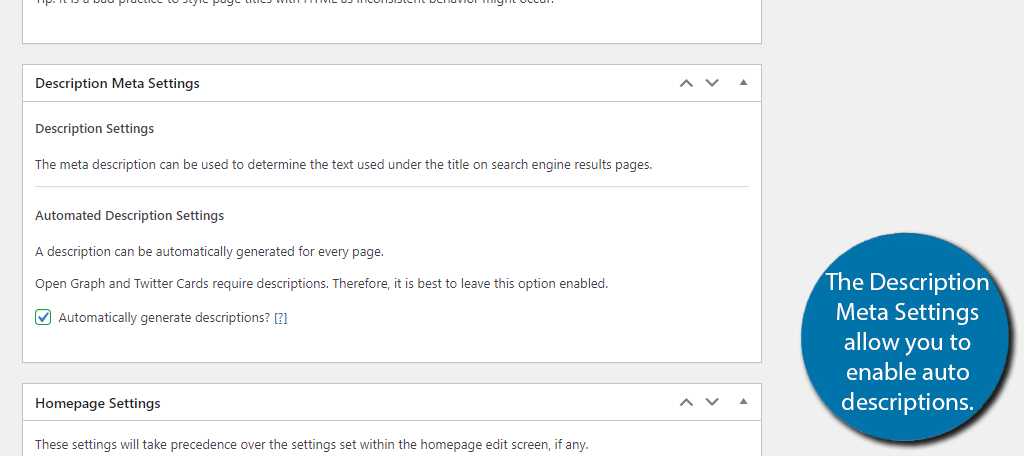
The Description Meta Settings have just one option, to enable or disable automatically filling meta descriptions on your website. By default, it is on and highly recommended to leave it that way. Not only do search engines prefer this, but Open Graph and Twitter Cards also require it.
Thus, once again, there’s no need to make any changes.
Homepage Settings
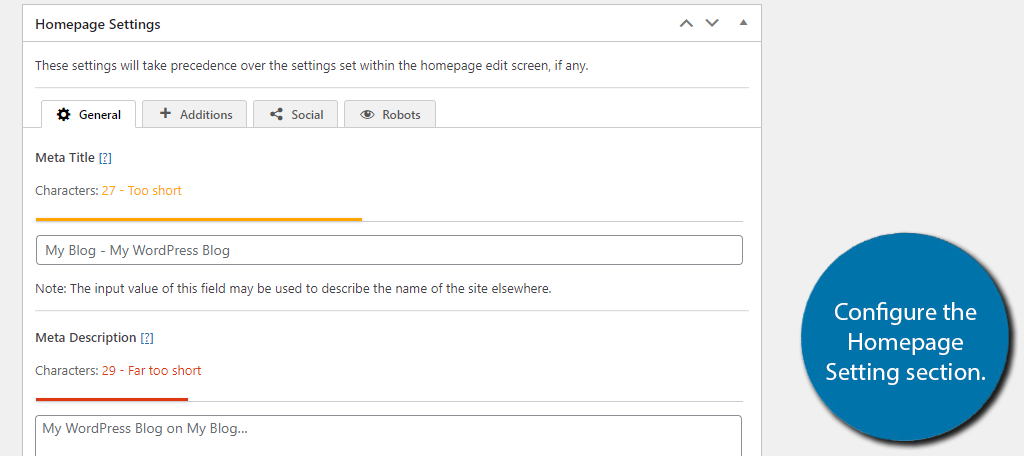
The Homepage Settings actually should be changed. These contain a variety of information including the meta title and meta description of your entire site. You can choose to add additions to the title or disable the feature entirely.
This is also where you will fill out information for Open Graph and Twitter Cards. And finally, you can add noindex, nofollow, and noarchive settings to the home page, but you shouldn’t.
No home page should ever do this if search engine traffic is your goal.
Social Meta Settings
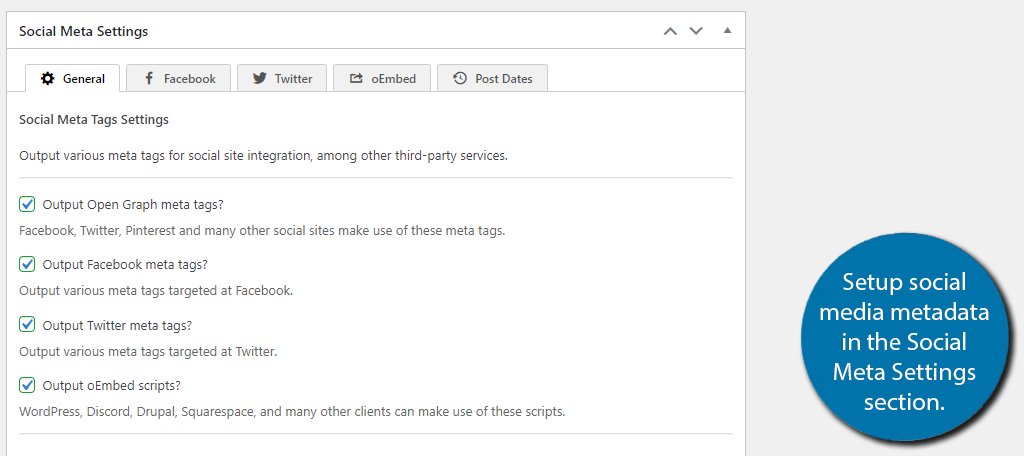
The Social Meta Settings is the longest section of settings this plugin contains and features 5 tabs. This is also a section that you should consider making some alterations to. The General section lets you configure how social tags, titles, images, and colors should operate.
The Facebook and Twitter tabs contain site-specific information for those platforms and connect your website to an account. These absolutely need to be customized if you plan to use those platforms at all.
The oEmbed and Post dates tab has a few settings, but the default options will serve most websites.
Schema.org Settings
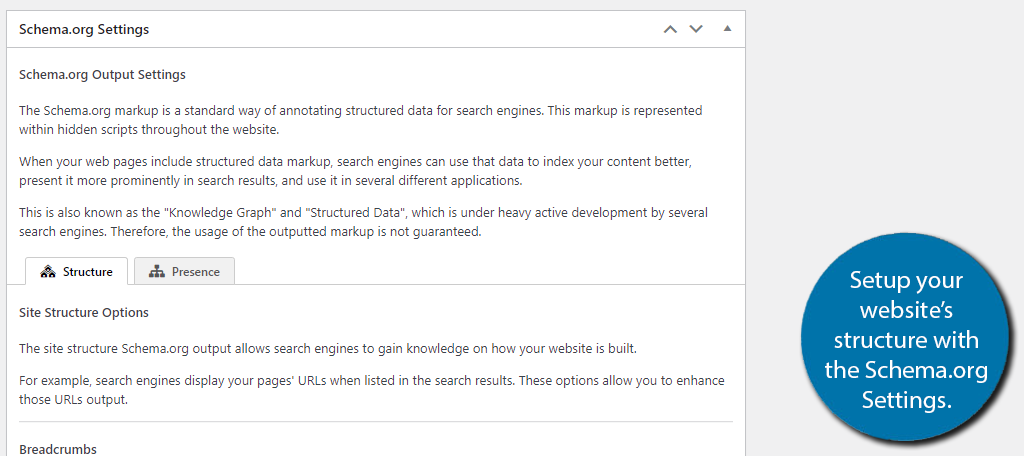
The Schema.org Settings section allows you to select the site structure. That said, it only gives you the choice of breadcrumbs, which are enabled by default. You can also enable that users can utilize sitelinks search.
The presence tab allows you to enter personal information like organization name and add a logo URL. It lets search engines know more about your website, which is a good thing.
Robots Meta Settings
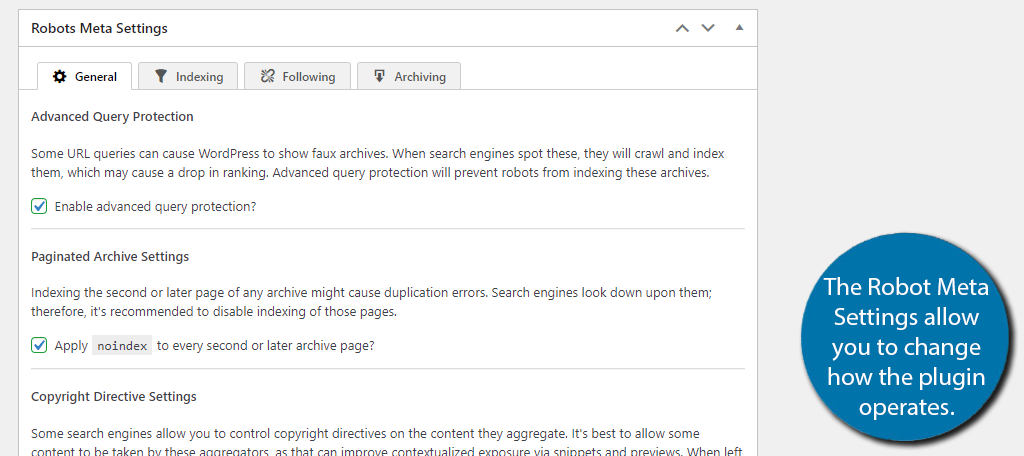
The Robots Meta Settings is where all the magic happens. This is where you will find things like no follow settings, archiving, and most importantly, indexing. Frankly, unless you have a deep understanding of SEO practices, I would not suggest making any changes to this section.
The plugin knows what it is doing, and you should let it do its job.
Webmaster Meta Settings
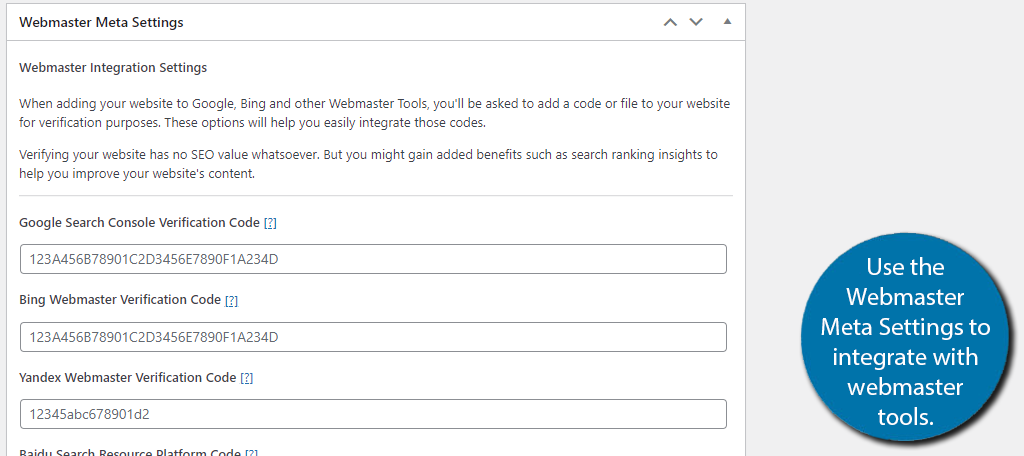
A big part of any website is connecting with webmaster tools to correct problems that search engines find. Making sure your website complies with search engines is one of the most important aspects of SEO. This section allows you to enter your verification and platform codes.
It supports major search engines like Google and Bing.
If you are unsure of where to find these codes, just click on the blue question mark next to the field. It will bring to the exact page with the information after logging into the respective platform.
Sitemap Settings
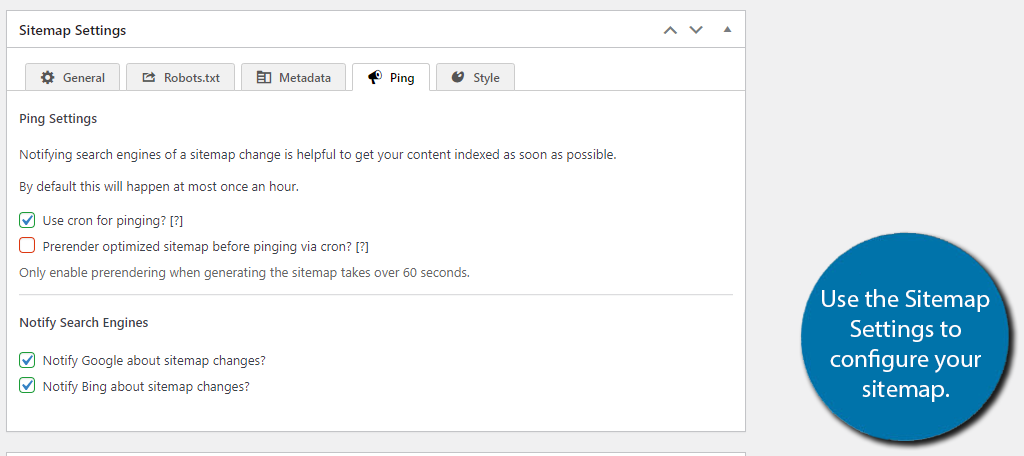
Every website should have a sitemap to help search engines crawl and find the content. Luckily, this is another section that doesn’t need to be changed. The plugin creates sitemaps automatically, and the rest of the settings are fine as is.
If you are using another plugin to create a sitemap, you won’t need it anymore.
Feed Settings
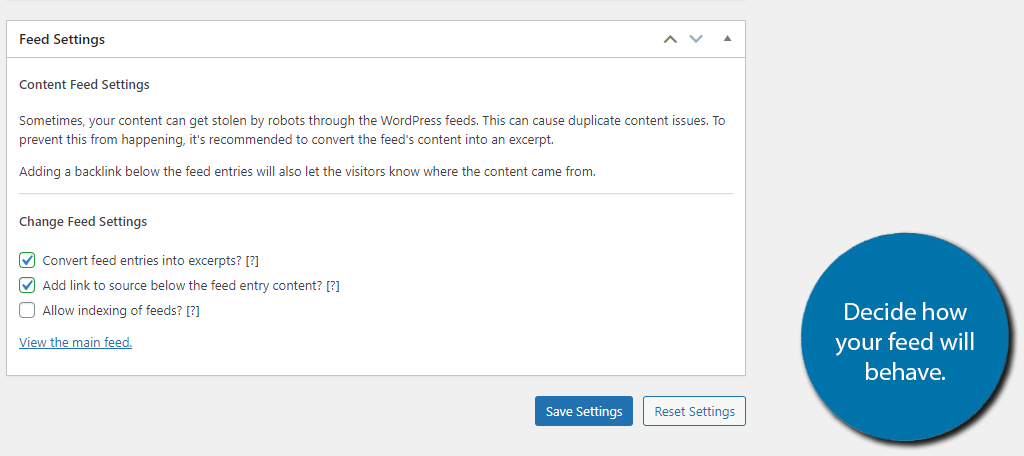
Feed Settings are the final setting on this list so take a deep breath, it’s finally over. And the default settings are ideal for most websites.
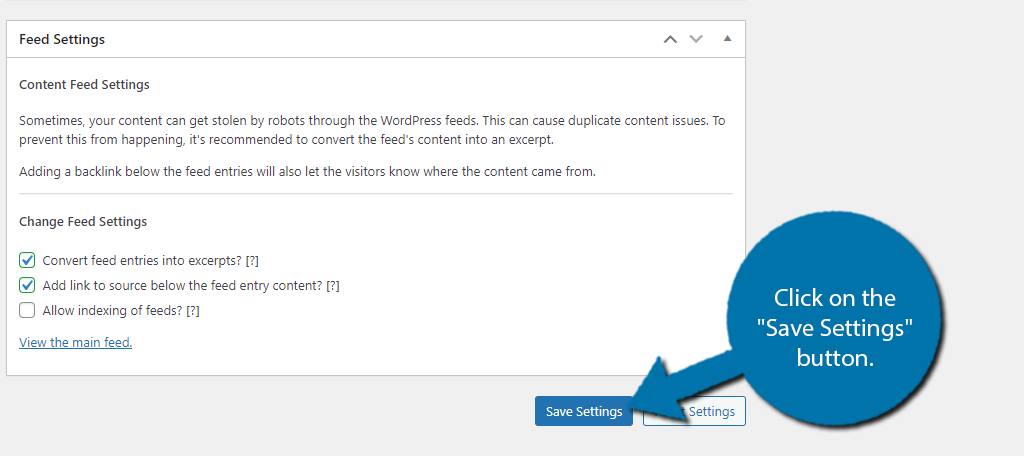
Underneath this is the “Save Settings” button, click it to complete the plugin setup.
Step 3: Identifying Problems with Posts & Pages
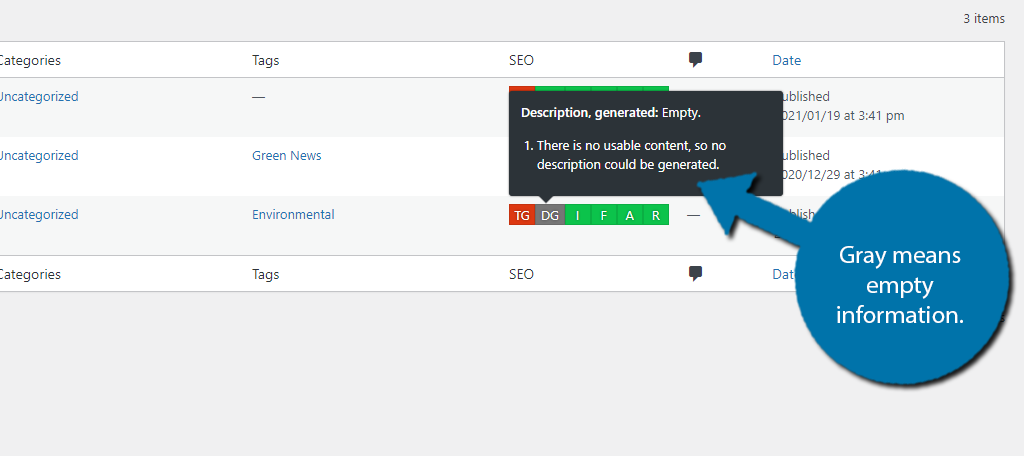
Every post and page on your website will now have an “at a glance” SEO status bar that helps you discover potential problems.
Go to either the post or page section of WordPress and you should notice an SEO column.
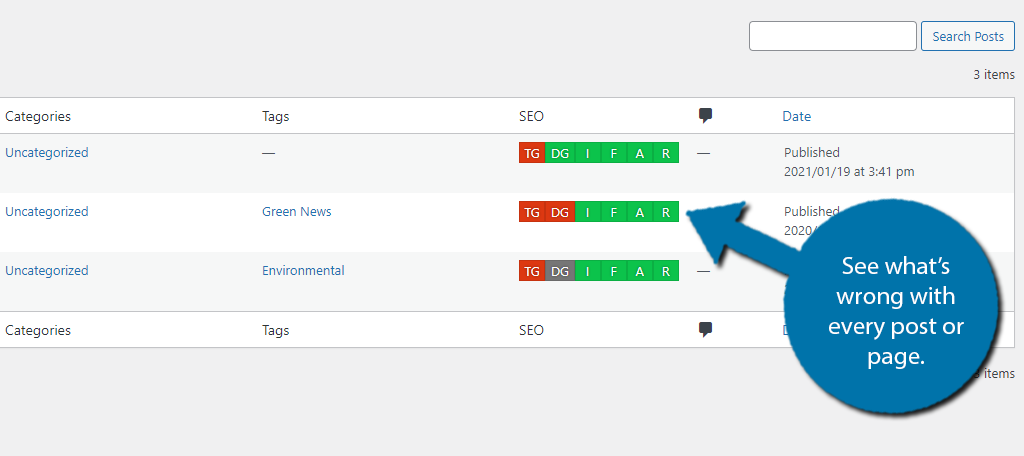
It’s very simple to understand; green is good and red is bad. You can hover your mouse over the red to see what is wrong.
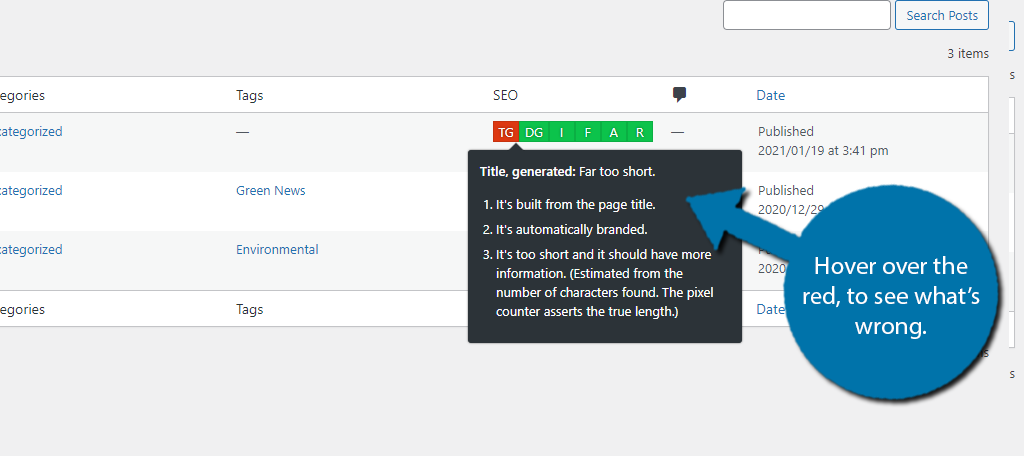
There is also a gray option that could happen, but it is very rare. This just means that the data is completely blank and can only happen on blank posts or pages if you have the default settings in place.
By configuring the settings and keeping an eye on the SEO status, you on your way to boosting your ranking.
Congratulations on setting up the SEO Framework plugin.
Always Keep SEO In Mind
Content creation should go hand-in-hand with following the best SEO practices. This plugin excels at automatically improving certain SEO elements and helps you identify problems within posts and pages. And the best part is that it’s free.
Never create content without considering the SEO side of things.
How easy did you find this SEO plugin to set up? Have you noticed a traffic increase in the following months after installation?
Thanks for the update this article has really taught me a lot about SEO frame work
You’re welcome.