Is your website suffering from a high number of requests from bots and crawlers? This can cause massive performance issues and even cause 404 errors in some cases. However, you can avoid this by using the right plugin, like Booter.
This plugin is able to help block harmful bot and crawler requests, while not impacting the good ones, like search engine bots. It also blocks links in the fastest ways by sending HTTP status code to ensure search engines forget about them.
Today, I will demonstrate how to use the Booter plugin to manage crawlers WordPress.
Why Bot Management Matters
Bots are computer programs that simulate the activity of a normal user. They can continue operating indefinitely if left alone. They can serve many purposes, and not all bots or crawlers are bad. In fact, many of them are necessary like Google’s crawler.
However, just like everything else, bad bots exist and they can cripple websites.
The bad type of bots can steal data, upload malware or ransomware, launch Denial of Service (DDoS) attacks, and a variety of other things you don’t want to happen. These can affect any type of website. But since WordPress sites are the most common, they are a bigger target.
That said, with a proper security plugin, you should be fine.
However, as your website grows and the data you house becomes more valuable, the security measures you take should also grow. Thus, managing bot and web crawler activity is a must.
How to Use Booter in WordPress
Step 1: Install Booter
Booter is a website bot manager that can detect and block bot activity in WordPress. Once you set it up, it will operate with next to no input on your end. However, due to the complexity of bot management, you are going to need to enter some data that cannot be automated.
Overall, the setup process isn’t very difficult but does require some specific information.
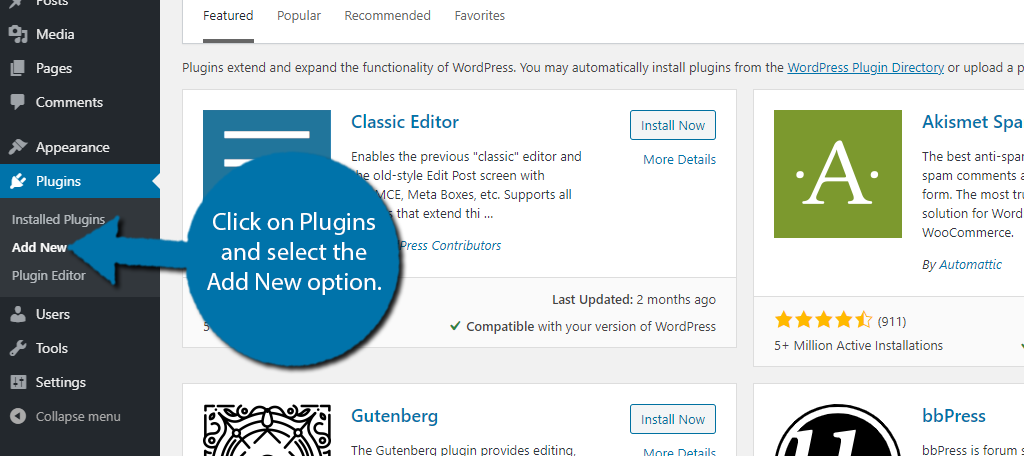
To begin, click on Plugins and select the Add New option on the left-hand admin panel.
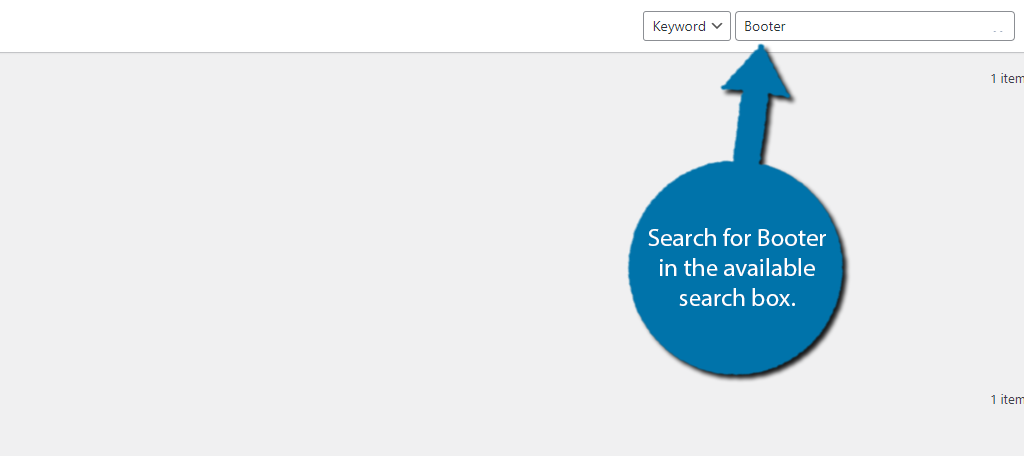
Search for Booter in the available search box. This may pull up additional plugins that you may find helpful.
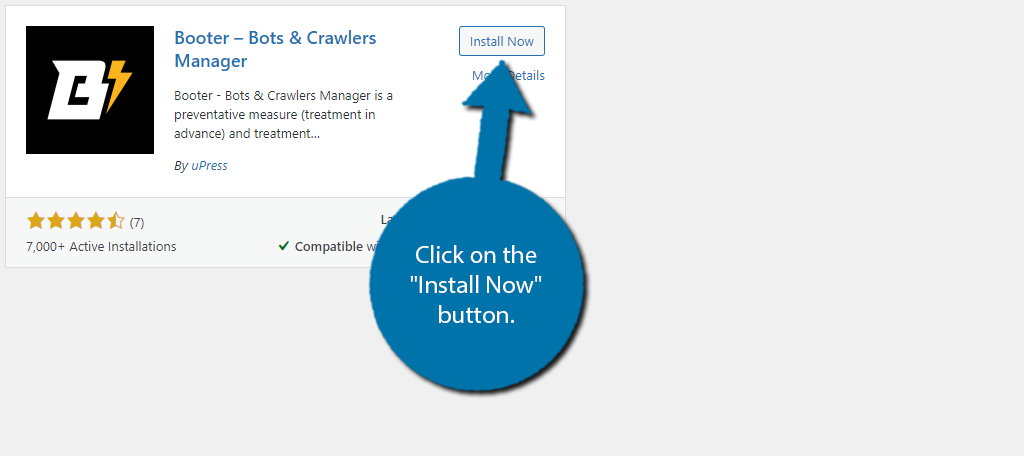
Scroll down until you find the Booter plugin and click on the “Install Now” button and activate the plugin for use.
Step 2: Configure Settings
The plugin will immediately begin working after activation. However, some of the key features are not online by default. You will have to go through the settings to make sure the plugin works exactly how you want.
On the left-hand admin panel, click on Settings and select the Booter option.
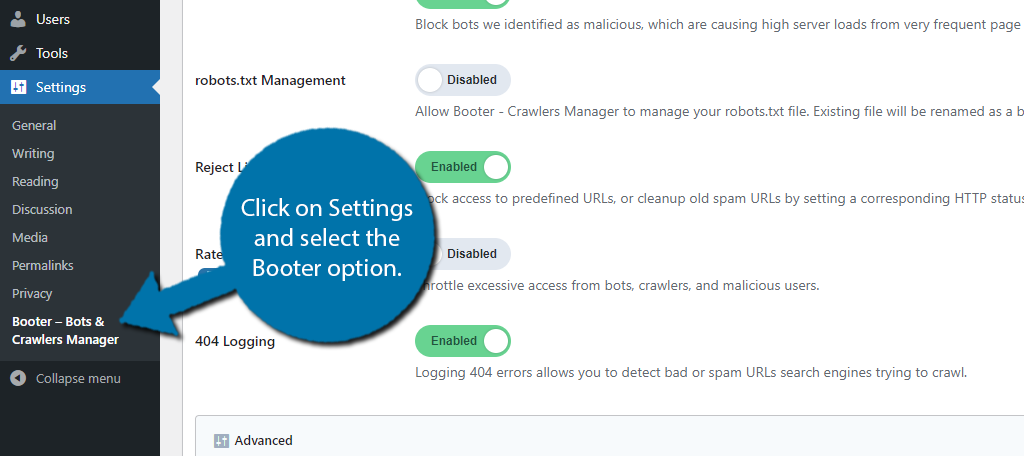
Luckily, the plugin does a good job at explaining each setting, but there are several tabs to go through.
Let’s take a look at these together.
General
The General tab has all of the main features of the plugin. You choose to enable or disable any of them by using the slider.
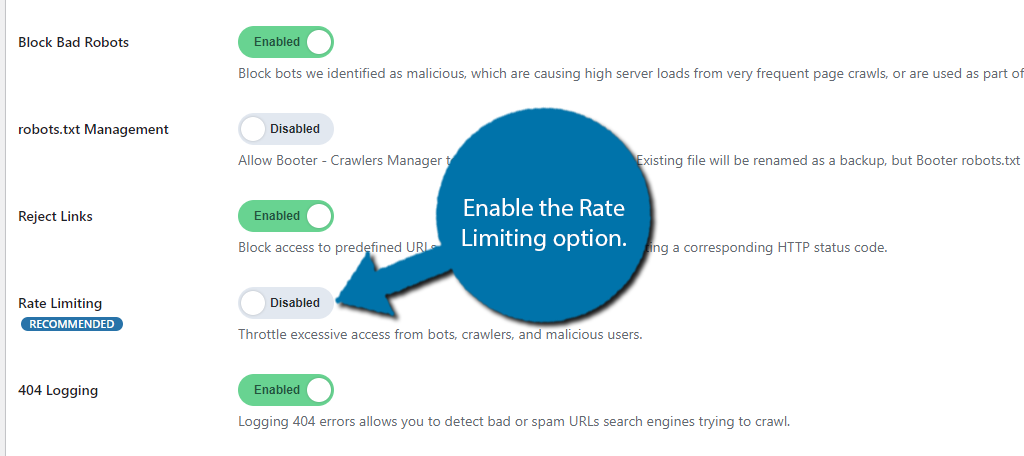
By default, the Block Bad Robots, Reject Links, and 404 logging features are enabled. While the robots.txt Management and Rate Limiting options are off by default.
The Robots.txt Management better protects the file from bots. It can even help SEO efforts with some of the more advanced options, that we will discuss later. Just keep in mind that it will save the original file as a backup and create a new one if enabled.
The plugin recommends enabling the Rate Limiting feature which will throttle any excessive activity from a bot.
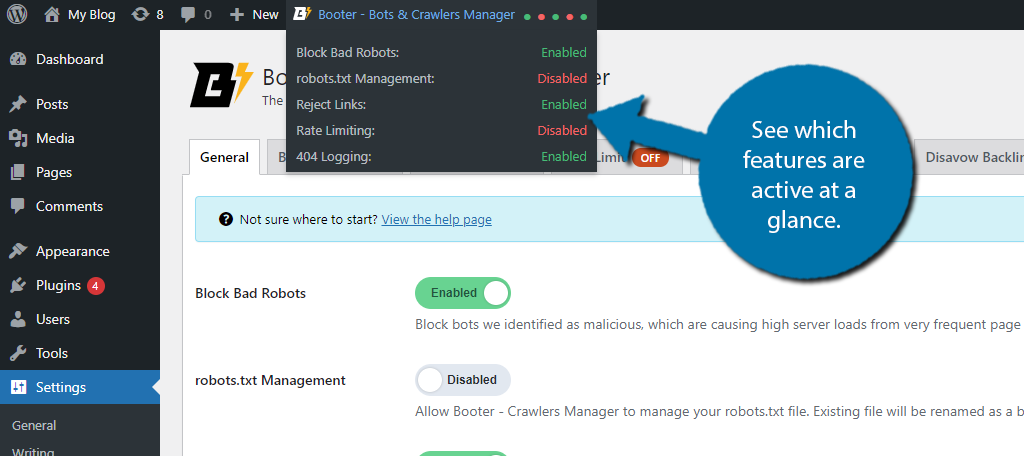
You can also check the status of all of these features at the top of WordPress.
The advanced settings consist of two options. The first allows you to delete all data when you uninstall the plugin. While the second activates the plugin’s debug mode to view every single event and track down issues.
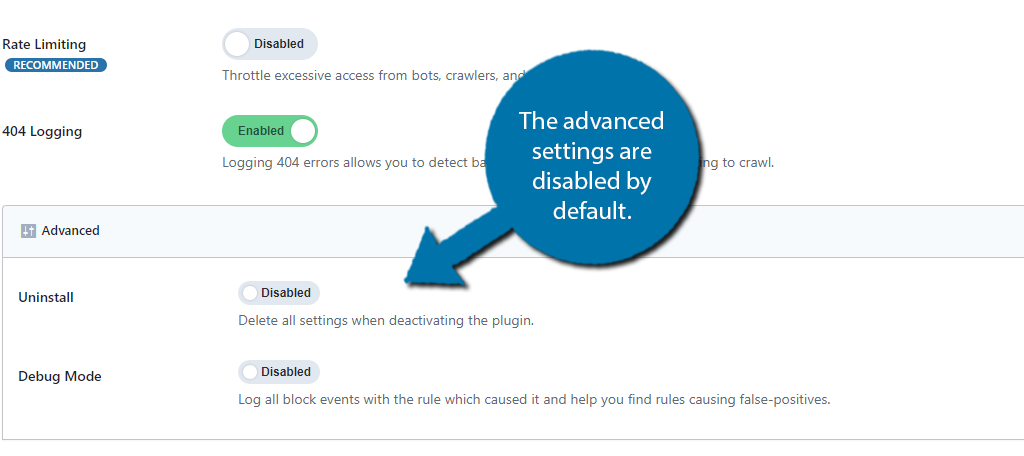
If you made any changes, click on the “Save Changes” button at the bottom.
Bad Bots Blocking
This section requires no input on your end, but it does include a full list of bots that the plugin automatically blocks. The list is compiled from bots with malicious history and is constantly updated.
You can manually update the list by clicking the “Update Bad Bots From Predefined List” button.
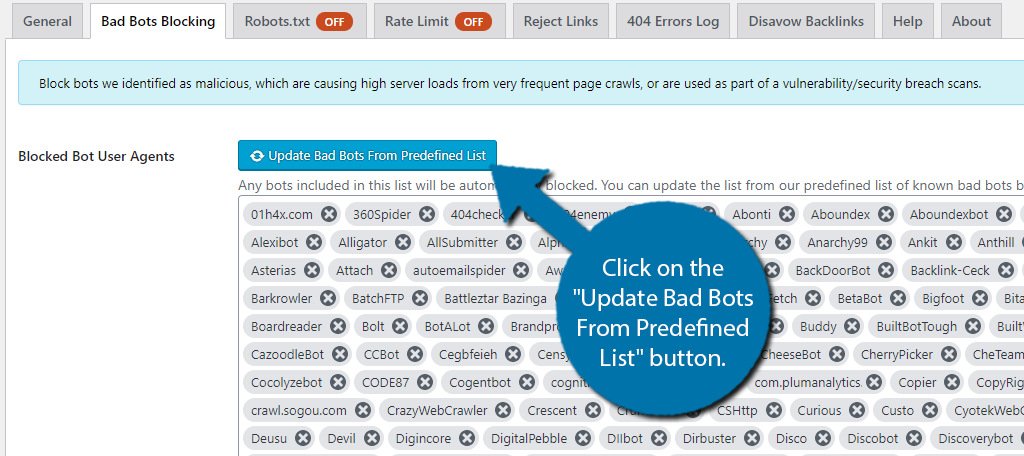
You can also manually remove any of the blocked bots. Though, I do not recommend doing this. They’re on the list for a reason.
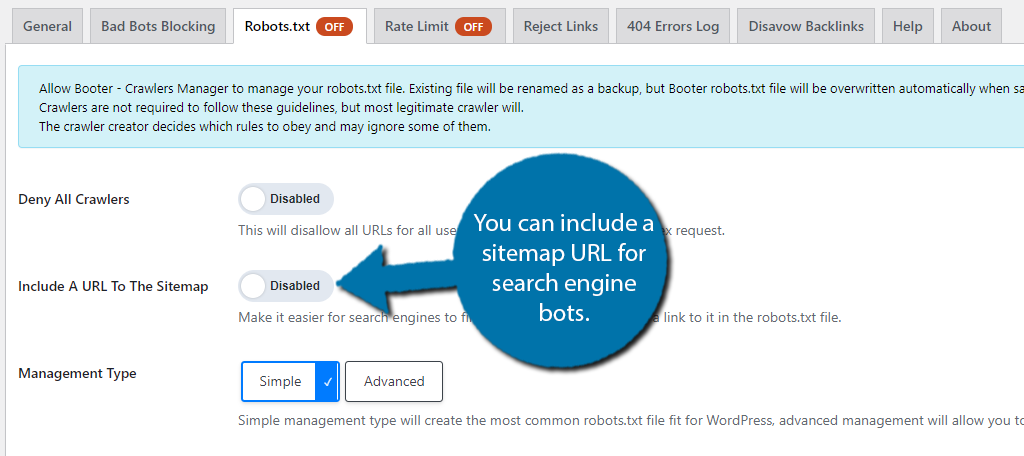
Robots.txt
The Robots.txt section is off by default. It allows you to further customize the feature. You can choose to deny all crawlers access to the file. All legitimate crawlers will listen to this request.
You can also make sure a link to the sitemap is in the file to help the search engine webcrawler bot find it. I highly recommend turning this option on if you have chosen to enable the feature as a whole.
Don’t forget to save if you made a change.
Rate Limit
The Rate Limit section allows you to further customize the plugin. By default, it is off. Yet, it is recommended to be on. You can choose to limit logged-in users, how many requests trigger the limit, how long they should be blocked for, and exclude any user agents.

Note: Limiting real users can lead to a poor user experience. That said, some malicious users could create an account to get by this setting. Thus, setting a high request limit that only a bot could achieve is ideal.
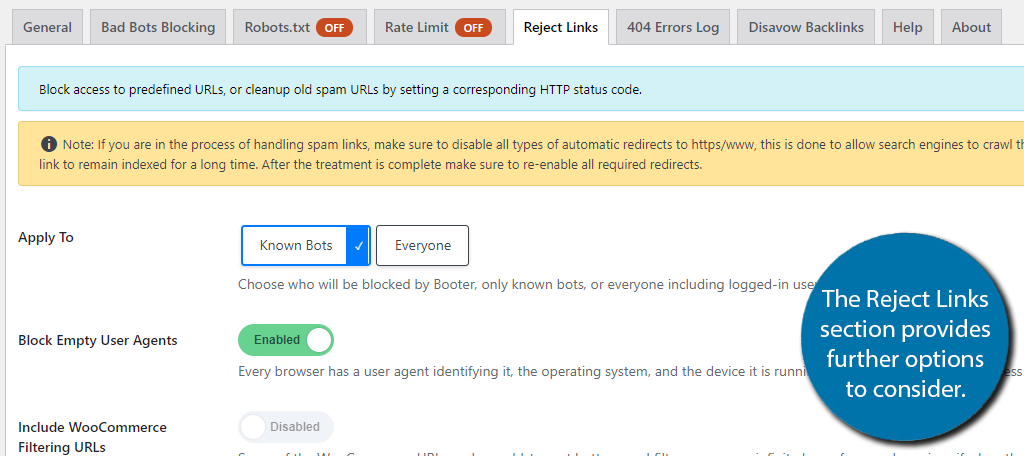
Reject Links
Similar to the previous two, the Reject Links section allows you to further customize this feature. This one is on by default and the additional options include the ability to reject links from everyone or just bots, an option for WooCommerce URLs, URL strings, and multiple options for regular strings.
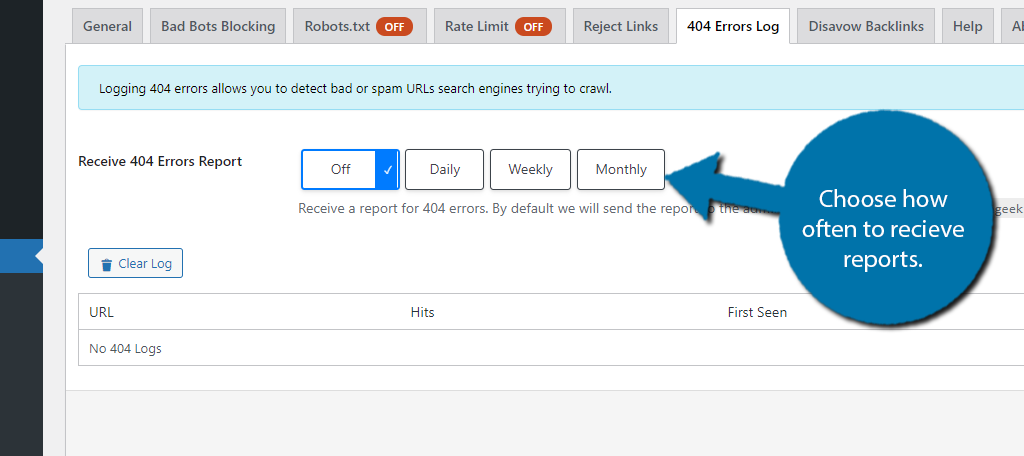
404 Errors Log & Disavow Backlinks
The next two sections require very little, thus I will combine them.
The 404 Error Log section allows you to decide how often an error report is sent to your email. By default, you will not receive one. But, you can set it for daily, weekly, or monthly.
Note: The plugin will send the reports to the admin email address. You cannot change this.
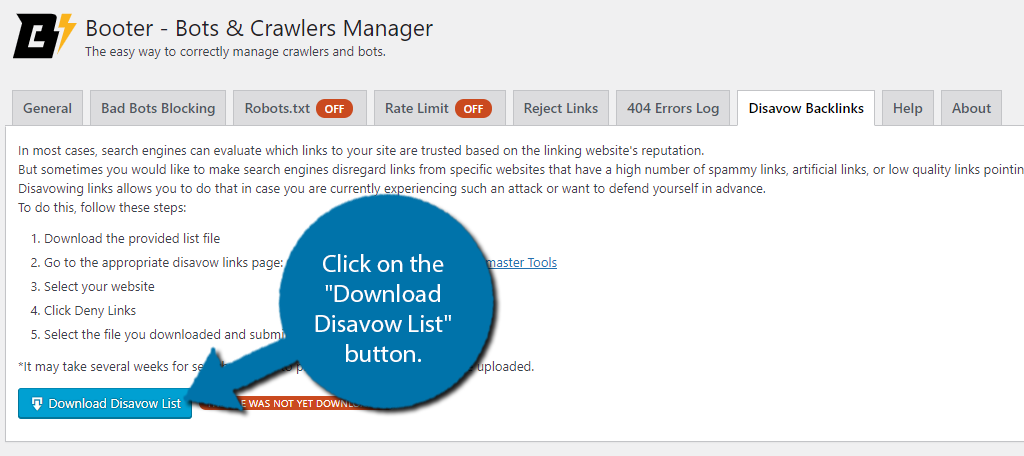
The Disavow Backlinks allows you to download a file that you can upload directly to a search engine (Google Search Console, Bing Webmaster Tools, etc.). It allows you to protect yourself against low-quality links leading to your website.
Click on the “Download Disavow List” button to receive the file.
The remaining sections just provide more information on how to use Booter and other facts. After going through all of the settings and saving any changes made, you are officially done, congratulations.
Bots Are Becoming More Common
As the internet has aged, bots have become a much bigger part of it. While bots can be used for good or bad, there is no denying the risk. Thus, every website should have safeguards in place to protect data and ensure the website is running well.
Booter does this and then some. It is the ideal tool for WordPress websites to manage bots because everything happens with very little interaction from you. Instead, you can keep focusing on making great content.
Do you find it easy to manage webcrawler bots in WordPress? Are there any other plugins you use to handle bots?