While most WordPress themes support the post grid format by default, there are quite a few that don’t. In those cases, you can add it with the Post Grid plugin. It gives you a variety of layouts and formats to choose from.
In fact, there are so many options, you might even want to add it if your theme natively supports the format to take advantage of the additional options. And the good news is that it’s free and easy to use.
Today, I will demonstrate how to use the Post Grid plugin in WordPress.
What Is A Post Grid?
A post grid is a layout structure that allows users to show multiple items in a grid format, but in this case, those items are posts. This is most commonly found on the home page of a blog, as it allows visitors to see a wide variety of posts on your website.
The grid format can be used for other items like products or images, but those are called product grids or image grids. Yet, they really are the same thing.
The main advantage of using a post grid in WordPress is to show off a lot of your work in a small area. Larger websites produce a lot of posts on a daily basis. In those cases, they need to make sure they are getting the attention they deserve.
Post grids also put a lot of emphasis on the thumbnail. In fact, they are the center of attention. Thus, a good thumbnail can make or break a post.
How to Add A Post Grid Format in WordPress
Step 1: Install Post Grid
The Post Grid plugin is all about the grid format. Even though the name has “post” in it, this plugin supports everything from a product to a team member showcase. Thus, the plugin is a perfect fit for every website.
Each grid is responsive by default and supports custom post types. One of the most useful features is the pagination feature. With it, you can set up multiple pages for your grid, which can help improve loading times.
The post grid can be placed anywhere using a shortcode, so let’s begin.
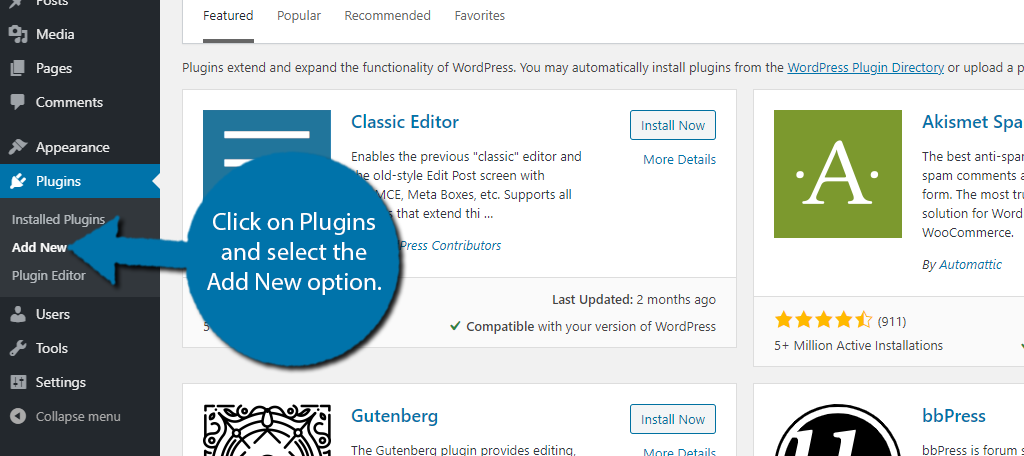
Let’s start by clicking on Plugins and selecting the Add New option on the left-hand admin panel.
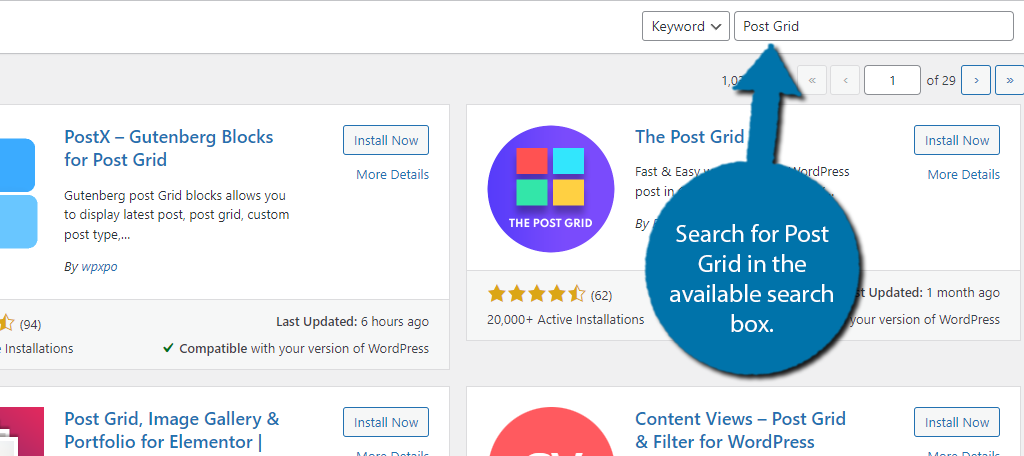
Search for Post Grid in the available search box. This will pull up additional plugins that you may find helpful.
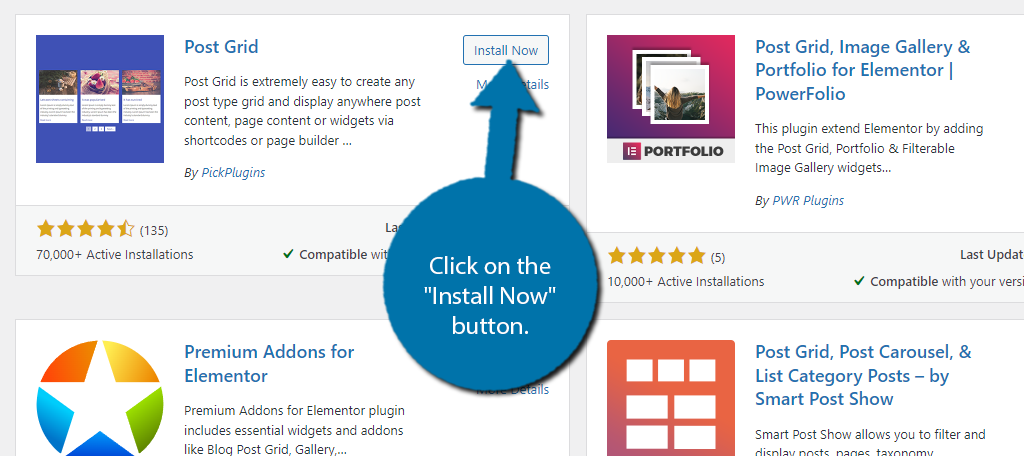
Scroll down until you find the Post Grid plugin and click on the “Install Now” button and activate the plugin for use.
Step 2: Import Layouts
You immediately start creating a post grid, but I recommend starting out by choosing the layout you want to use. The free version of this plugin provides several free layouts to choose from, but the majority are locked behind the Pro version.
However, you have to actually import those free layouts to use them, so let’s begin with that.
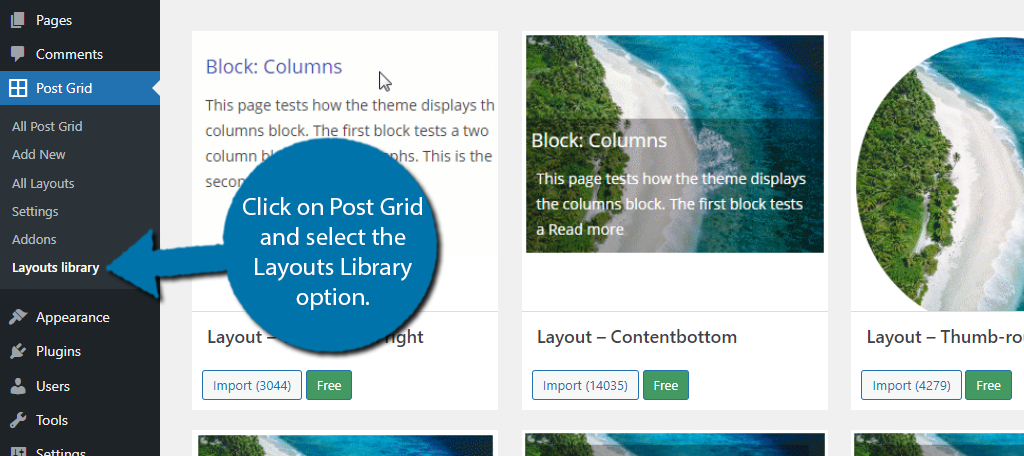
On the left-hand admin panel, click on Post Grid and select the Layouts Library option.
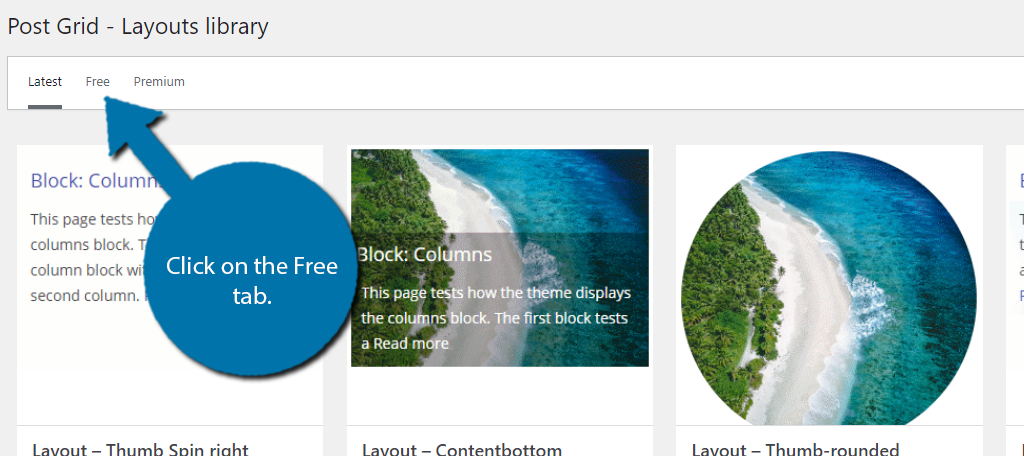
There are a lot of layouts to choose from, but you need to pick the ones you have access to. The plugin does a good job at labeling premium and free options. In fact, there are tabs you can use to separate those layouts.
Click on the Free tab.
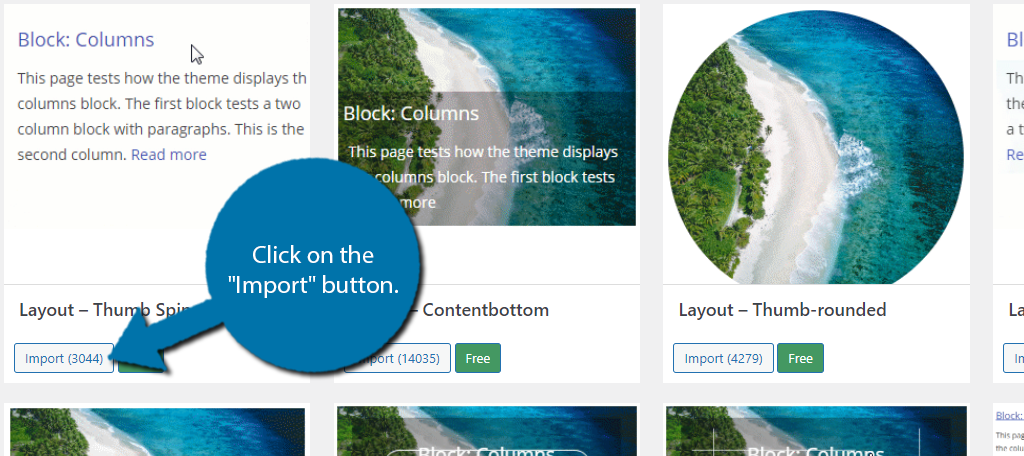
Now you can see all of the free options available to you. Once you find a layout you like, click on the “Import” button.
Feel free to import multiple layouts so you can use them later. If you plan on using an imported layout, then skip to Step 4.
Step 3: Create/Edit Layouts
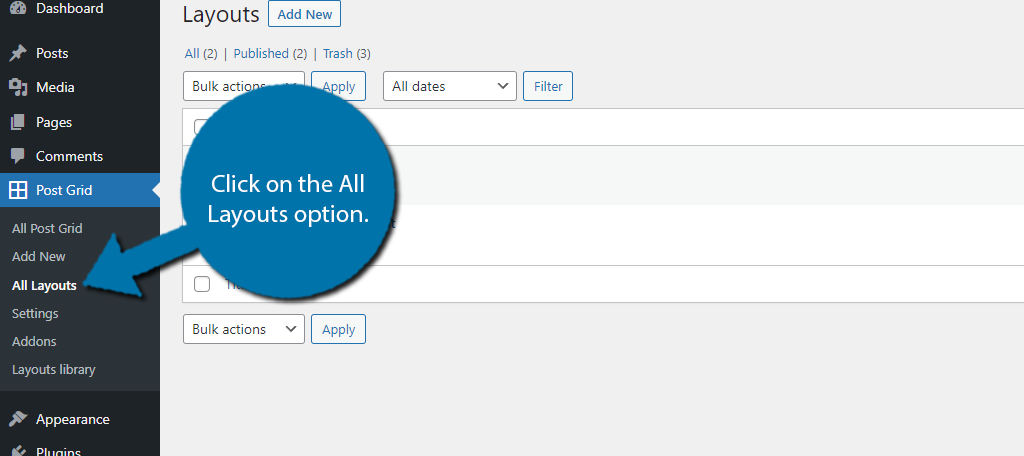
To view or edit the layouts you have imported, click on the All Layouts option.
Think of the layouts you imported as templates. Each one is customizable by clicking on the Edit option. You can also create your own from scratch using the “Add New” button.
It’s the same process regardless of what you choose, so I will start from scratch.
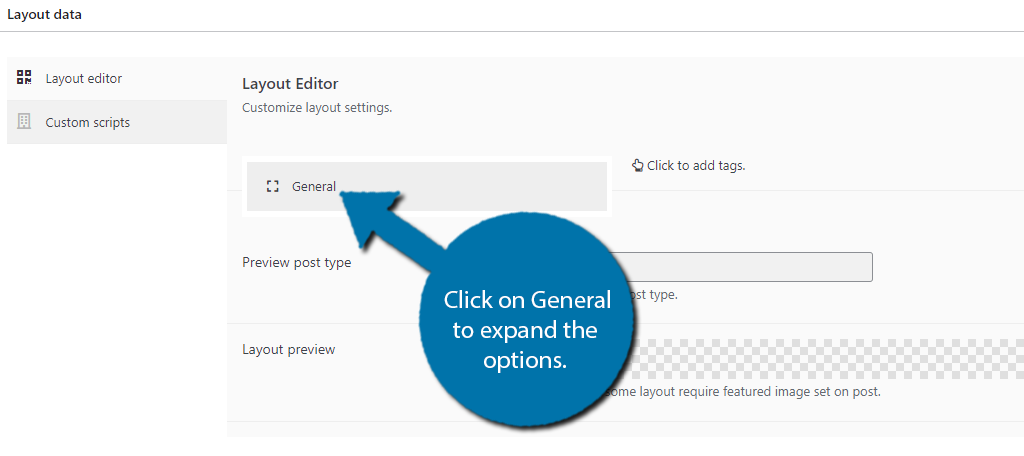
The Layout builder interface is straightforward, but even then, I will say it’s a bit confusing due to the lack of visual aid. Click on General to expand the options.
You will now see a series of tags. Click on the one you want to use.
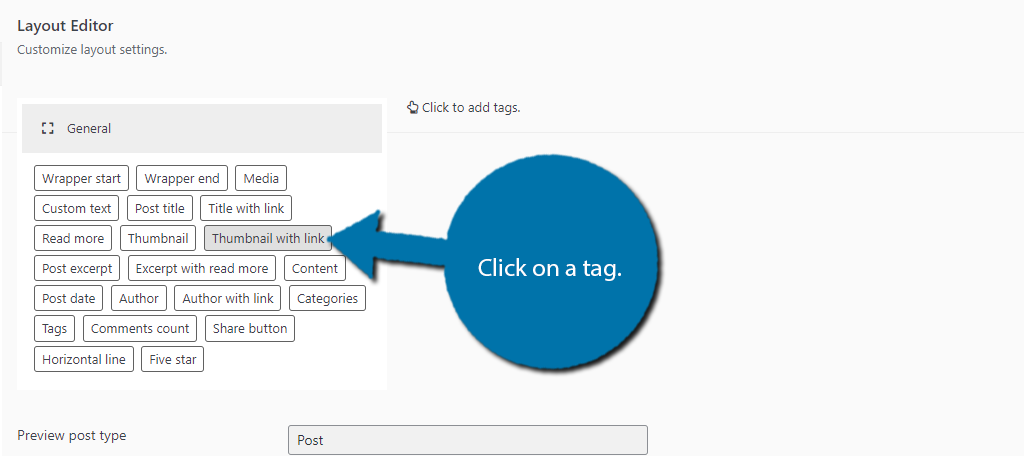
It will be added to the right. You can add as many tags as you want and rearrange them to get the desired effect. Click on a tag on the right to expand the options and customize the content within.
Each one is unique, so I won’t cover them all, but it is simple.
For example, the Thumbnail with link tag just requires you to upload a thumbnail and to choose where it will link to.
You can see a preview at the bottom once you add content to the tags. Don’t forget to save.
Step 4: Create A Post Grid
Now, it’s time to create a post grid, which is really easy, but there are a lot of settings to cover.
Click on the Add New option.
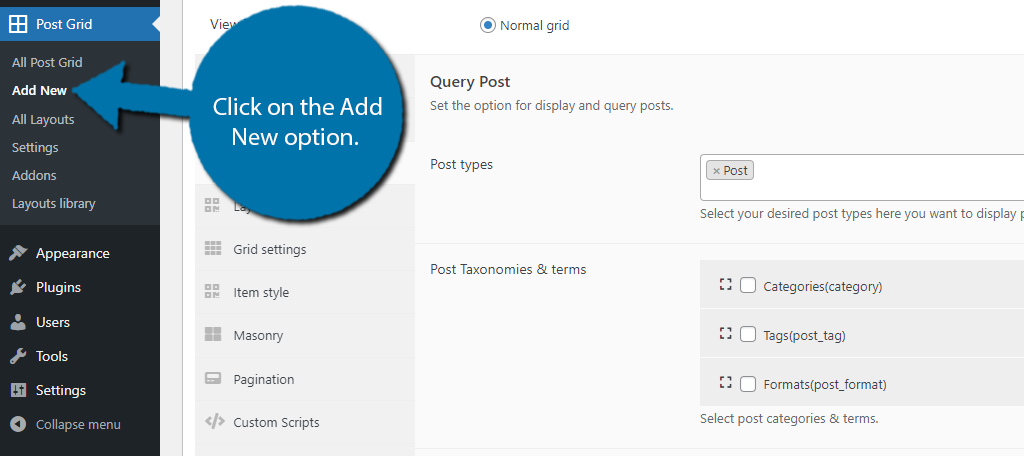
The Grid Builder is a series of options that you can change to your liking. It’s broken down into several different sections that focus on different aspects. I’ll cover a few key details, and leave the rest for you.
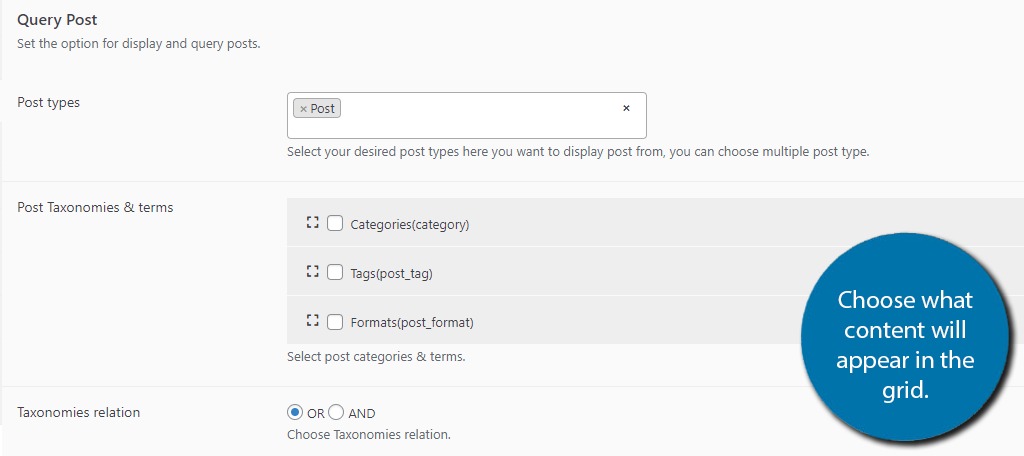
You will start in the Query Post section. This section is dedicated to figuring out what will appear in the grid. By default, it is set to posts and will display any post that is published.
For most websites, the defaults settings will accomplish what you want.
Use the options in this section to make a change if need be.
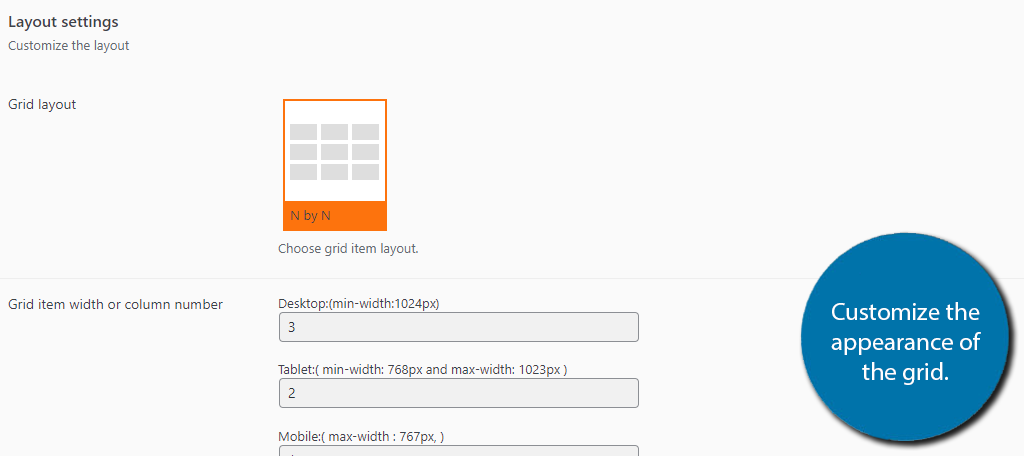
The Layouts section is dedicated to choosing a layout, which you should already have available from the previous steps. Just pick the one you want to use. The next three sections determine the way the grid will appear.
This includes how many rows and columns there will be, height and width, background color, masonry mode, and more. Pick the options that suit your website.
Once you have gone through all of the sections and are satisfied, click on the “Publish” button. You can then click on the Shortcode section and copy the shortcode.
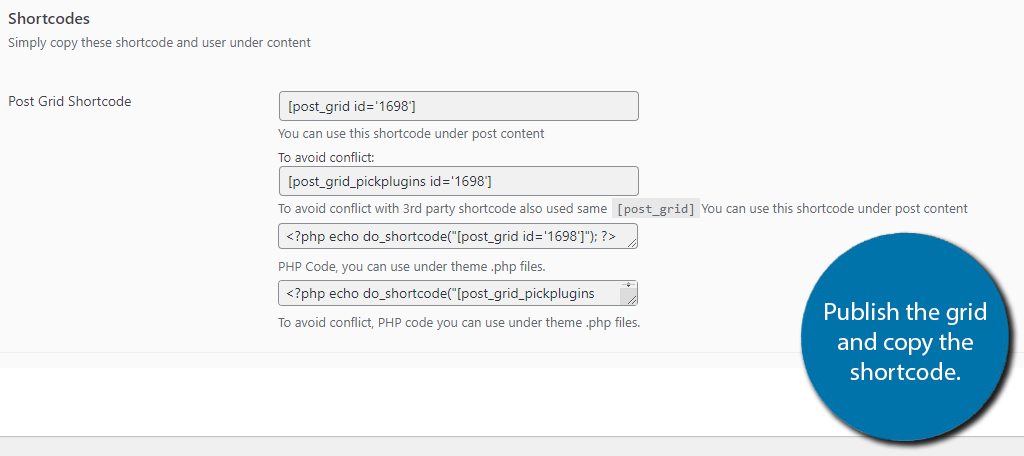
That’s it. Go to any post or page on your website and paste the shortcode, save the changes, and view the grid. Congratulations.
Note: It is possible to add the shortcode to a widget, but you need to make sure the dimensions are correct. Otherwise, it will not look right.
Add A Post Grid in WordPress Today
The Post Grid plugin is a great addition to any website that wants to use grid format. It can handle anything from posts to products and has a wide array of customization options to choose from.
These are expanded in the Pro version of the plugin.
A grid allows you to show more items in a smaller area, but more importantly, do it in a stylish way. This is why most blogs, news sites, and online stores, all utilize a grid format. It makes it easy for visitors to find what they are looking for.
And since the plugin is easy to use, it’s a great tool to take advantage of.
How easy did you find the Post Grid plugin to use? Will you use the grid format for anything else besides posts?