Amazon is the largest online retailer in the world and has one of the best affiliate programs that every website should take advantage of. In WordPress, there are plenty of plugins that make it easy to add Amazon affiliate links, like the Auto amazon Links.
Normally, you would have to keep copying and pasting affiliate links into your website. This is time-consuming and repetitive. Instead, this plugin allows you to select a category from Amazon, and display the top products from it. You don’t mess with links at all, but still, reap the profits.
Today, I will demonstrate how to utilize the Amazon affiliate program with Auto Amazon Links in WordPress.
What Is the Amazon Affiliate Program?
The Amazon Affiliate Program allows other websites to post affiliate links to their products. Any sales that occur by using those links will reward websites with 12% of the commission. It’s a great way to earn extra money and provide products your userbase will use.
For instance, let’s say you run a video game blog. You might end up doing reviews for the latest games and hardware. All of those posts could contain an affiliate link for the product you are reviewing.
Or in this case, you could just select video games as a category and Amazon will list the most popular products on your site.
For new website’s it can be challenging to keep supporting a website when it is not earning your money back. Dealing in affiliate links is a great way to increase your profits and support the website as your audience grows.
How to Use Auto Amazon links in WordPress
Step 1: Install Auto Amazon Links
Auto Amazon Links is an Amazon affiliate plugin for WordPress. It focuses on allowing users to select a category and display the most popular products in that category without having to copy and paste any affiliate links. Thus, it creates auto links for Amazon in WordPress.
While the plugin was designed with bulk in mind, it is completely possible to display a single product on a post or page. And all you need to do is copy and paste the product’s URL. The plugin will handle the rest.
Note: You will need to be part of the Amazon Affiliate Program to use this plugin. It does require the Amazon API Key.
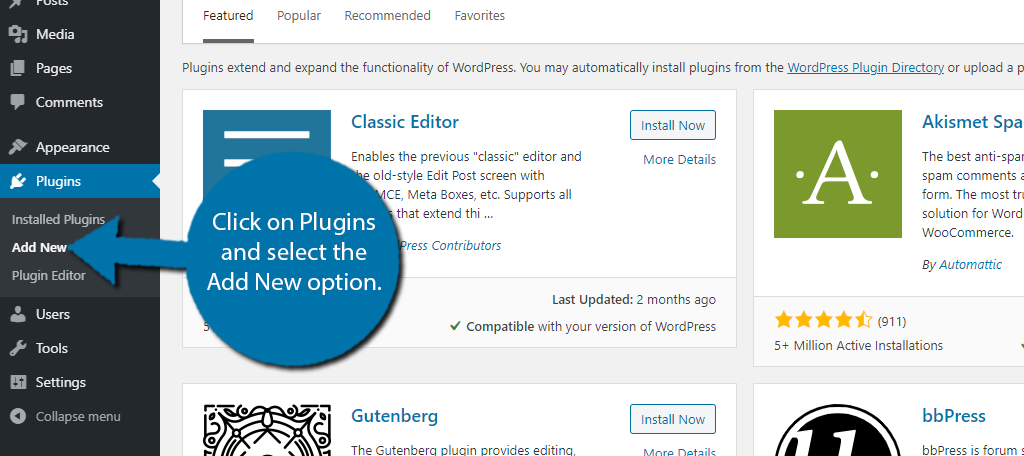
Let’s start by clicking on Plugins and selecting the Add New option on the left-hand admin panel.
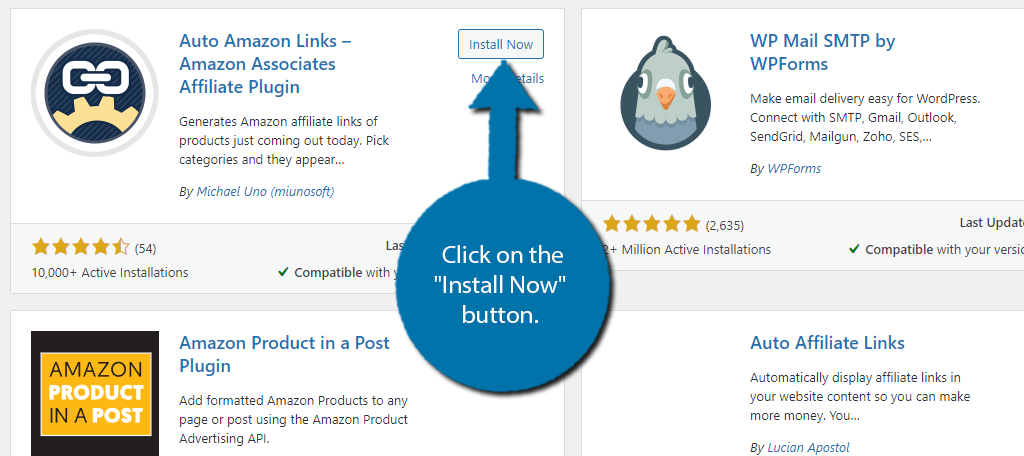
Search for Auto amazon Links in the available search box. This will pull up additional plugins that you may find helpful.

Scroll down until you find the Auto Amazon Links plugin and click on the “Install Now” button and activate the plugin for use.
Step 2: Settings
The first thing you need to do is configure the settings because this is where you will enter your API Key. Without it, the plugin will not work right, and even if it did, you wouldn’t get paid. So let’s get started.
Also as I said before, you must be part of the Amazon Affiliate program to use this plugin, it is the only way to get the API Key.
On the left-hand admin panel click on Auto Amazon Links and select the Settings option.
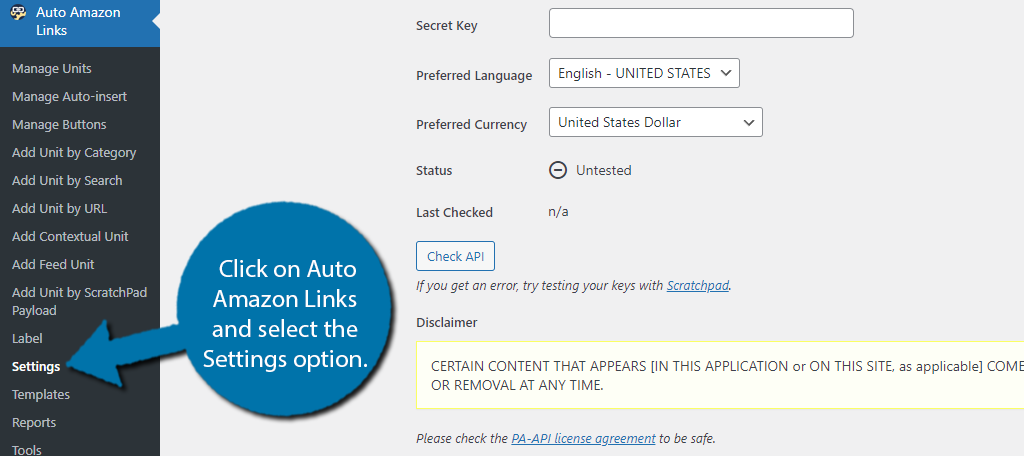
The Settings are broken up into eleven tabs. There is a lot to go through, so I won’t be able to cover it all. What’s most important is the first tab, Associates.
This is where you are going to enter your API information to connect your website with the Amazon Affiliate Program.
Select your country, and enter all of the necessary Associate information.
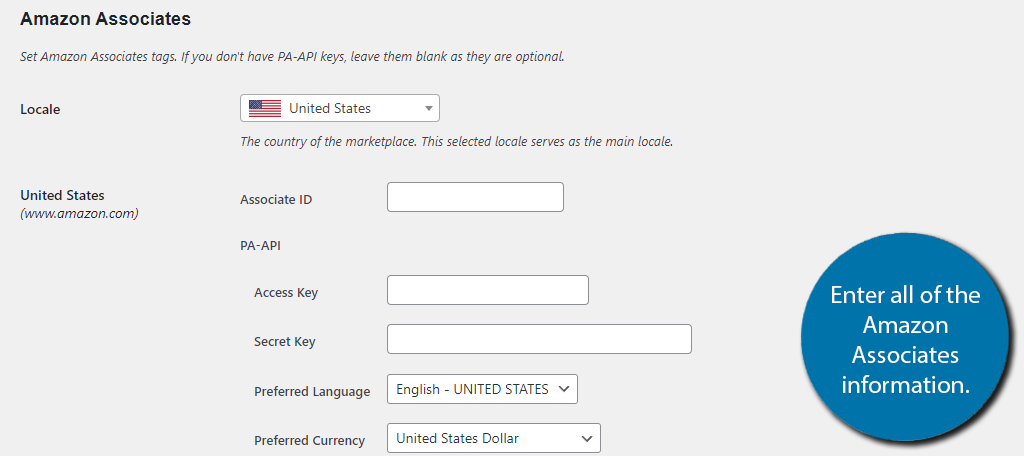
NOTE: In order to use the Product Advertising API, you need to have 3 qualifying sales within 180 days, have an approved associate account, and comply with the associates program agreement. However, the Amazon PA-API is optional depending on how you’re going to use this plugin.
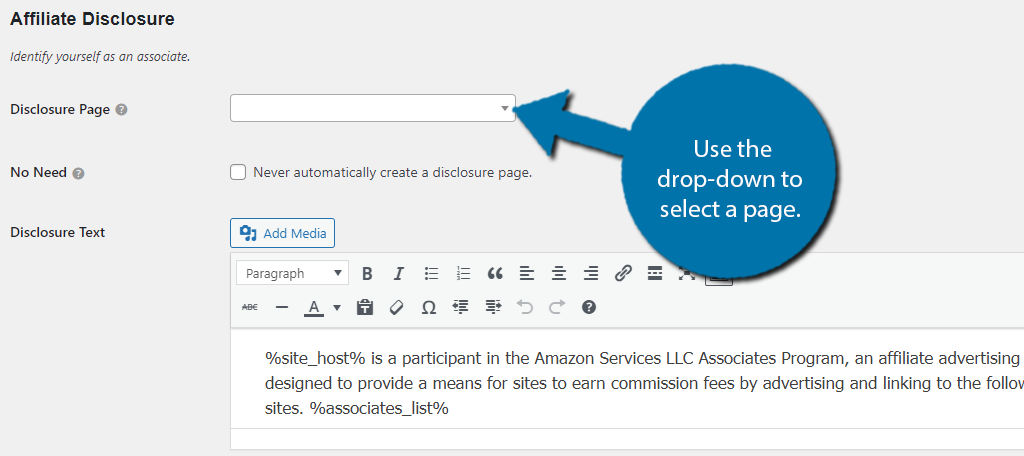
Another really important set of settings can be found in the Disclosure tab. According to the terms and conditions of the Amazon Affiliate program, you must openly disclose you are part of the program. Failure to do so will end in your expulsion from the program.
Luckily, the plugin provides a short blurb that satisfies that requirement. All you need to do is select a disclosure page for your website.
The rest of the settings are really dependent on what you want to do with the plugin. Many of the default options are fine for most sites, but carefully go through the settings and make any changes you need.
You can always change them again later.
Step 3: Adding Products
The plugin has quite a few different ways to add products. Each one has its own section, but for the most part, they are similar in nature. You must enter your API Key information first. None of this will work without them.
There are six ways to add products. They include by category, search, URL, contextual, feed, and ScratchPad Payload. Simply, click on the option you want to use.
Note: I’m demonstrating by category, but the other sections are similar enough.
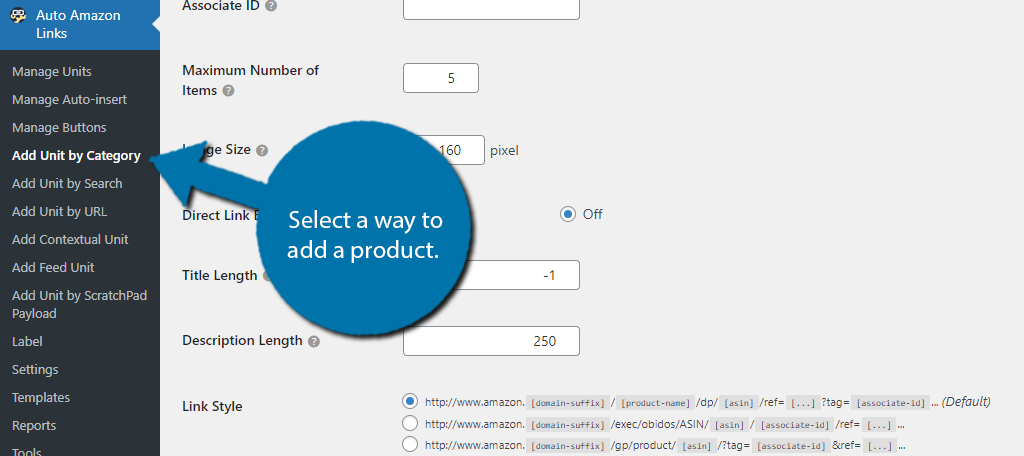
Here you need to enter the unit name, I recommend the Category itself, and enter a variety of information. Some of the information is the Associate ID, what types of products from the category to display (Best Sellers, New Releases, etc.), and much more.
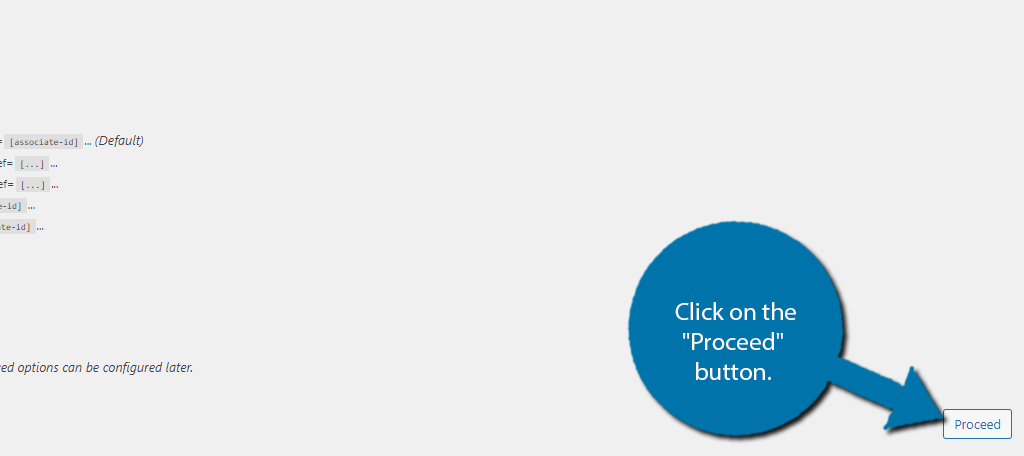
Go through all of the settings and click on the “Proceed” button.
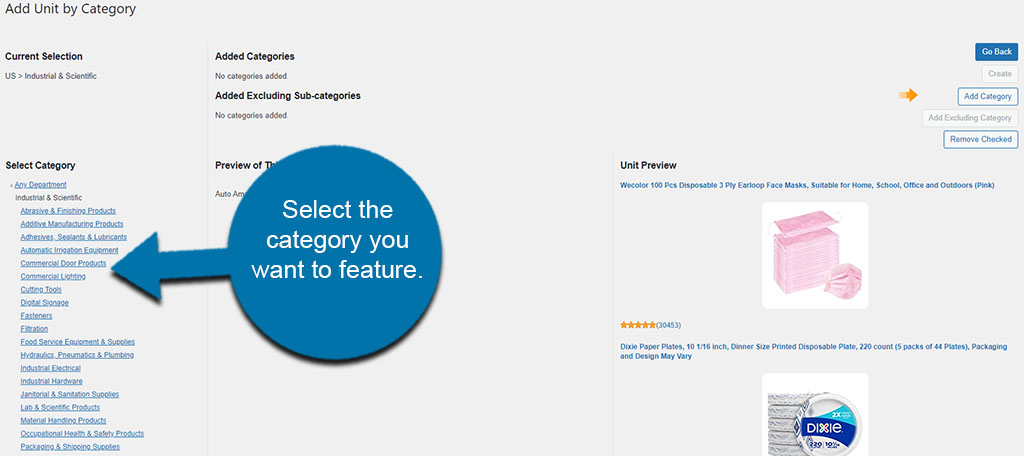
Select the category you want to feature on your website from Amazon. There are a lot of categories to choose from, and this could take you a bit of time if you’re not sure what products you want to sell.
You can add as many categories as you’d like. However, keep in mind that it will impact the speed of your website.
Once you’ve added a category, click the “Create” button on the right.
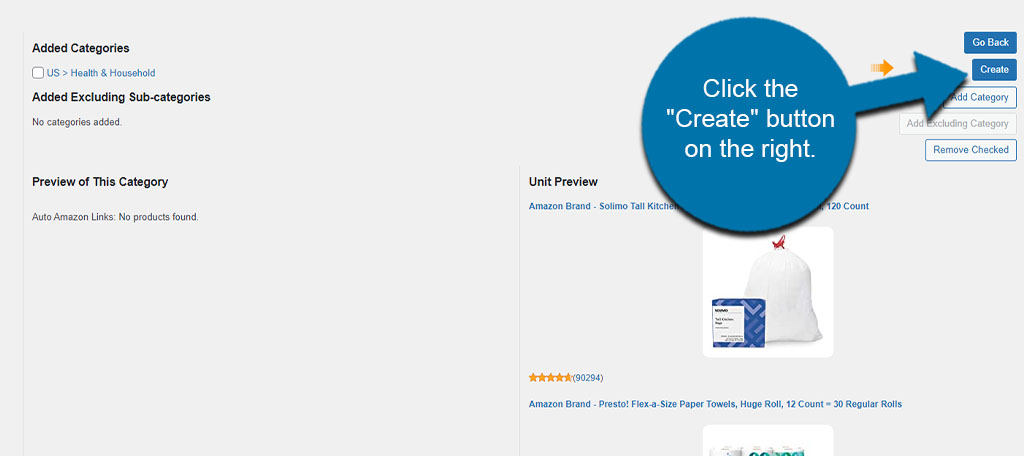
This will take you to an edit screen.
Step 4: Making Modifications in Auto Amazon Links
In the Edit Unit screen, you can further modify how the Amazon links appear and behave on your website for this particular unit. You can change:
- Types of products to show, such as Best Sellers, Top Rate, or Gift Ideas
- Set how many products to show, image sizes, and description lengths
- Use custom text or change text formats
- Filter products using white a black listings
- Advanced settings for products, provided you have the APA API key I stated above
You can also manage how the “Buy Now” button looks as well as manage the number of sub-images, reviews to show, and heading tag levels.
All of these will be up to how you want Auto Amazon Links to show products on your site. I suggest testing out your changes and making further adjustments as needed to fit your design preferences.
In this case, it may be easier to open a second tab with the page in question and refresh it after making changes.
Step 5: Displaying the Products
There are a couple of ways you can display products from Amazon using this plugin. You can use the available shortcode in any post or page, and you can use the block as a sidebar widget.
Using the Auto Amazon Links Category Shortcode
To add Auto Amazon Links to a post or page, click the “Manage Units” option under the plugin on the left admin panel of WordPress.

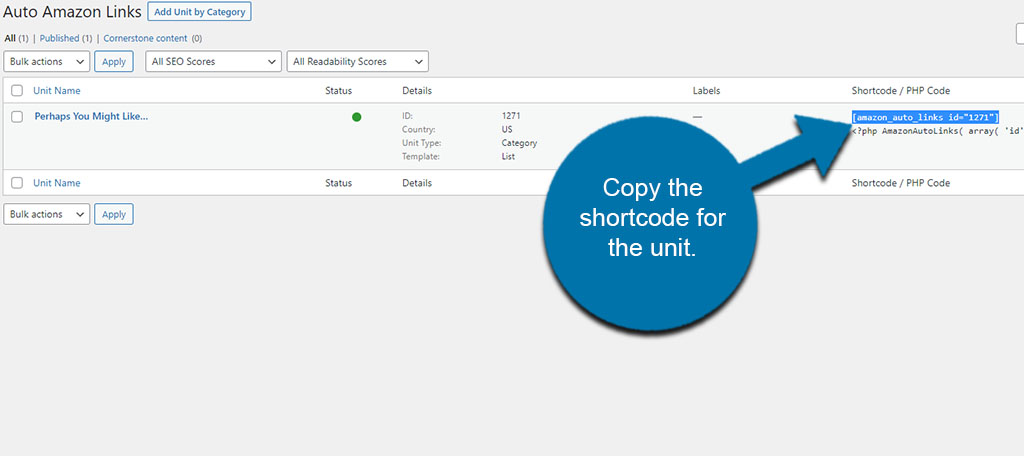
This will take you to the list of units you have created with the Auto Amazon Links plugin.
Copy the shortcode for the unit you wish to show.
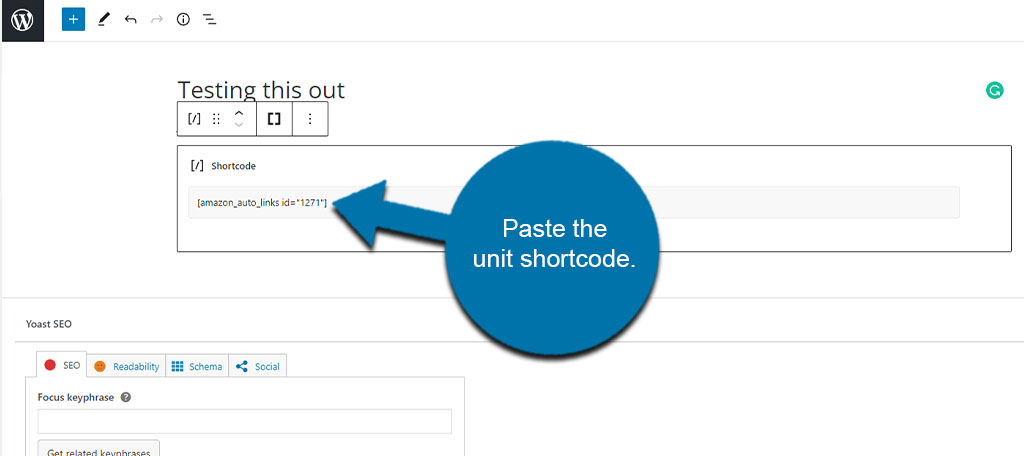
Go to any post or page, add a Shortcode block in the Gutenberg editor, and paste the unit shortcode.
NOTE: You can also copy the PHP coding if you want to directly edit the webpage, theme, or template in question.
Once you update or publish the post or page, the products from Amazon will fill where you placed the shortcode.

Using the Auto Amazon Links Widget
The Auto Amazon Links widget is a fairly easy method to show products in your sidebar. This way, all visitors can see the products regardless of what page they visit.
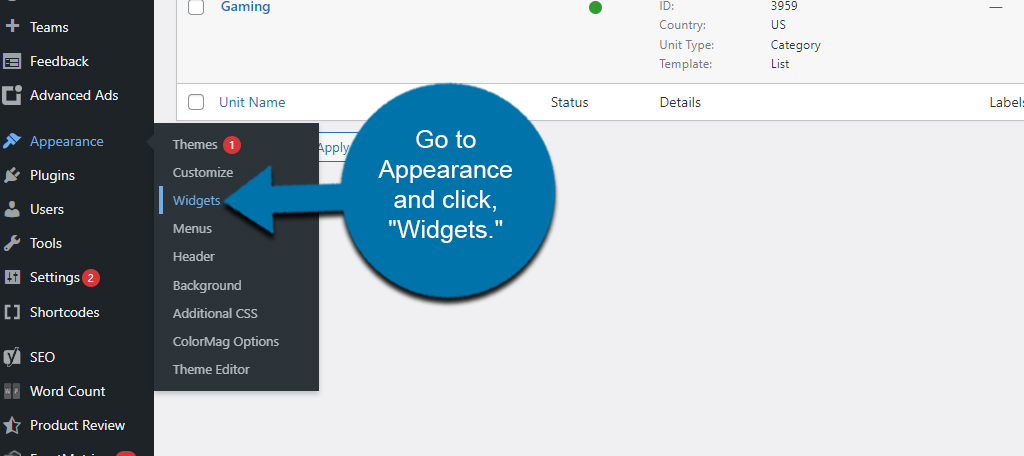
Go to Appearance and click, “Widgets.”
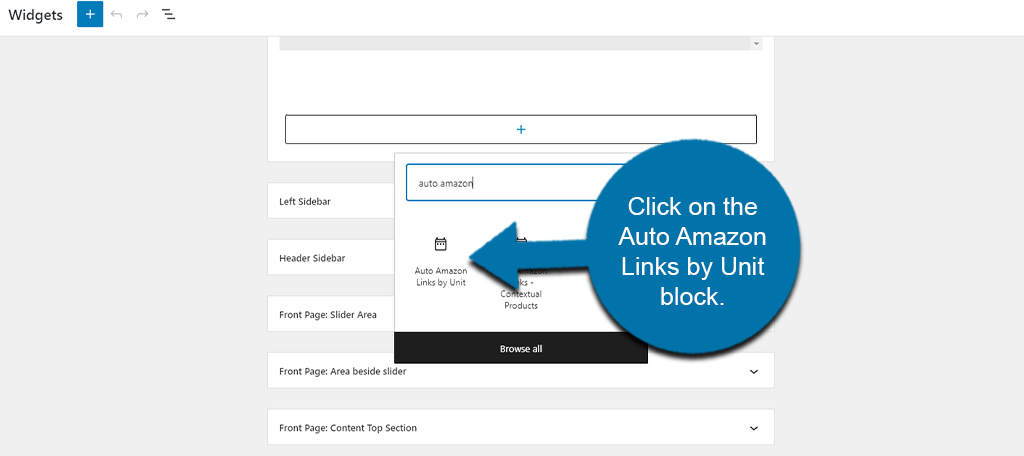
In the sidebar you want to show Auto Amazon Links, add a new block and search for Auto Amazon Links.

You’ll find two available blocks: by Unit and Contextual Products. Unless you have the Amazon API, you won’t be able to use the Contextual Products just yet.
Click on the Auto Amazon Links by Unit block.
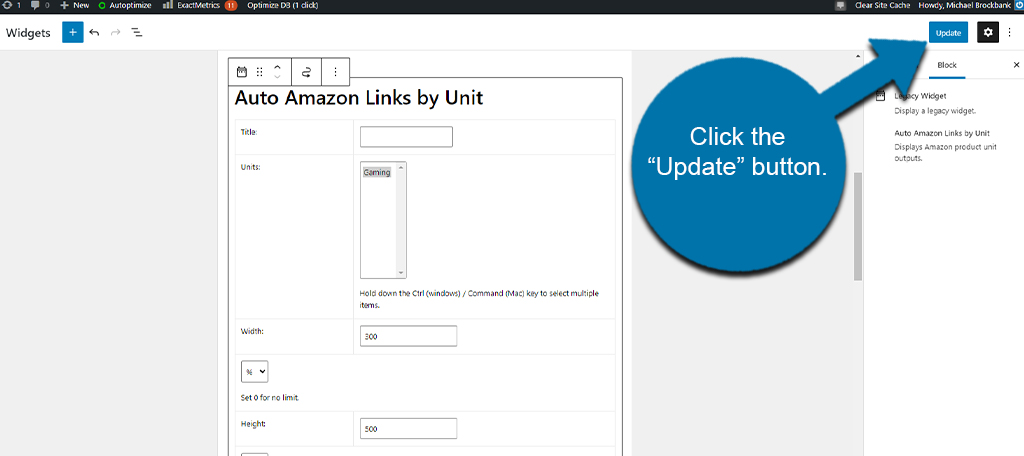
The settings will open for this block for you to fill out. You can:
- Enter a title name for the widget, which is optional.
- Select what Amazon link units you made earlier to show in the sidebar.
- Change the Height and Width of the widget’s appearance.
- Select what available page types you want the Amazon Links widget to show.
Once you’re done modifying the widget, click the “Update” button on the top right.
The products will now be visible on your website.
NOTE: You may want to check your pages to make sure the widget looks how you want. Otherwise, you’ll need to make some changes and modifications to the group you made earlier or modify the settings of the widget itself.
Make Money Advertising Products Your Audience Wants
Affiliate marketing is a great way to earn some extra money and you don’t have to feel guilty about it. Amazon is a trusted name that offers great prices and quick shipping. Displaying products your audience will be interested in makes the process worth it for both sides.
This plugin will help you get started or reduce the workload if you have been handling affiliate links manually. It’s a great tool that every website should consider.
Have you noticed an increase in affiliate earnings since setting up the plugin? Do you allow the plugin to auto-post Amazon affiliate links?
How can I use automatic location for amazon affiliate?
I’m not sure if that’s an actual option for this plugin. You may have to contact the developer to see if this is a feature coming soon. But I agree, an auto locale would be nice. Then again, with the prevalence of VPN nowadays, it might just be too much of a hassle for developers and Amazon.