Have you been trying to improve your website performance using different techniques? Have you thought about what would happen if you were to minify JavaScript and CSS?
Performing this function will make your website a lot faster, and those results will be reflected in your website speed tests. There are a few different tools you can use to minify JavaScript and CSS. This, along with other techniques will improve the speed of your website.
In this tutorial, I am going to show you how to use a great plugin called Fast Velocity Minify to speed up your website and help improve overall website performance.
Why Minify Javascript and CSS?
The main reasoning behind minifying JavaScript and CSS is for site speed and overall performance. If you compare website speed tests from before and after, you will find that the sizes of your web pages and overall site speed have dramatically changed. Oftentimes, this and other website issues are overlooked.
Maybe even more important is the fact that Google has announced that faster loading speeds directly affect website ranking and overall SEO.
Faster loading times will not only help with overall SEO, but they will give your site users a better experience.
Fast Velocity Minify
In order to minify JavaScript and CSS in WordPress, we are going to use a smooth plugin called Fast Velocity Minify.

Basically, this plugin is a speed optimization plugin for developers and advanced users. You can use it to minify JavaScript in WordPress, as well as use the plugin options and functionality for so much more.
When you minify CSS in WordPress using the Fast Velocity Minify plugin, you set yourself up for better SEO ranking and overall speed and site performance.
How the Plugin Works
This plugin reduces HTTP requests by merging CSS & JavaScript files into groups of files while attempting to use the least amount as possible. It minifies WordPress CSS and JS files with PHP Minify. There are no extra requirements.
Fast Velocity Minify shines even further because it includes settings and options for developers and advanced users. However, the default plugin settings will work great for most WordPress sites, so you can easily install the plugin and use it even if you are a beginner.
Main Plugin Features
The FVM plugin offers a ton of features. Some of the main ones that stand out include:
- Merge JS and CSS files into groups to reduce the number of HTTP requests.
- Google Fonts merging, inlining and optimization.
- Handles scripts loaded both in the header & footer separately.
- Keeps the order of the scripts even if you exclude some files from minification.
- Supports localized scripts (https://codex.wordpress.org/Function_Reference/wp_localize_script).
- Minifies CSS and JS with PHP Minify only, no third-party software or libraries needed.
- Option to defer JavaScript and CSS files, either globally or PageSpeed Insights only.
- Creates static cache files in the uploads directory.
- Preserves your original files, by duplicating and copying those files to the uploads directory.
- View the status and detailed logs on the WordPress admin page.
- Option to Minify HTML, remove extra info from the header and other optimizations.
- Ability to turn off minification for JS, CSS or HTML (purge the cache to see it).
Now that you know a little more about minifying JavaScript and CSS, let’s take a look at how to easily use the Fast Velocity Minify plugin.
Install and Activate
First, install and activate the Fast Velocity Minify plugin on your website. You can do this by searching for it in the plugin repository of your WordPress admin dashboard.
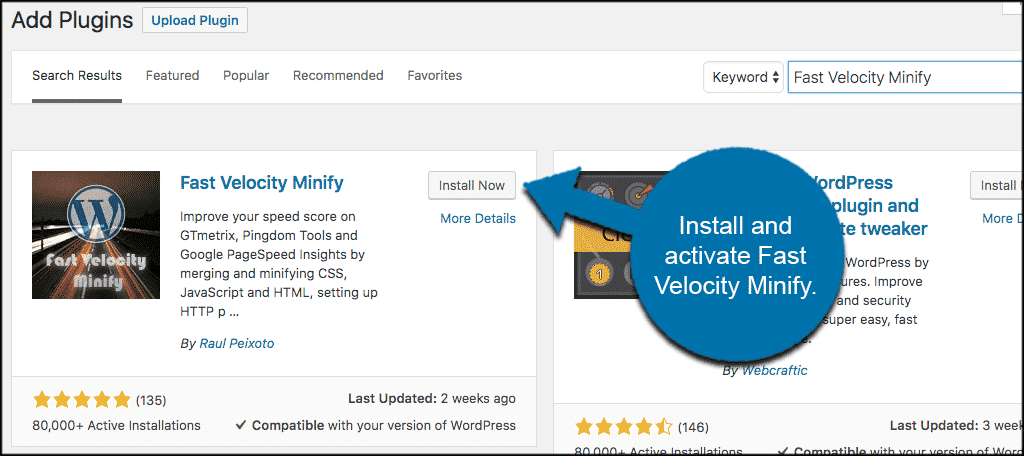
Once the plugin has been installed and activated, click on Settings > Fast Velocity Minify. This will take you to the setup and configuration options for the plugin.

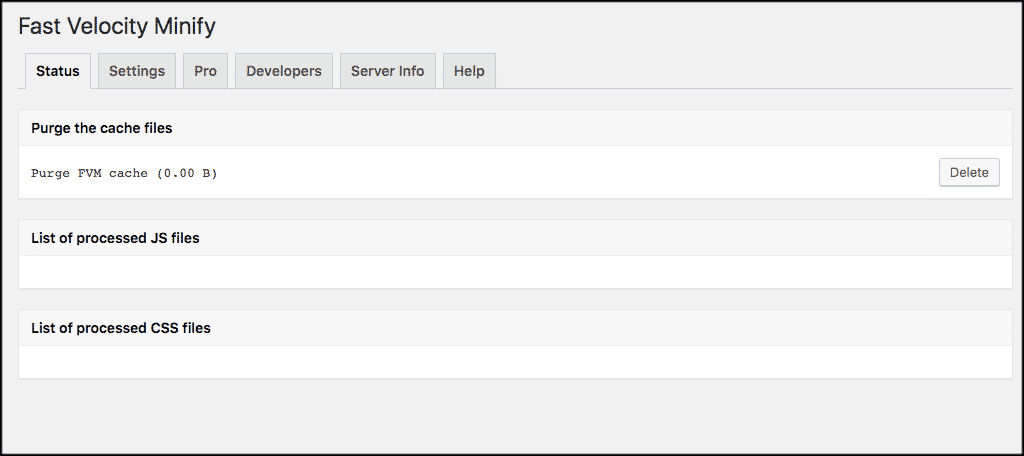
When you get to the correct area, you will see 6 tabs. They include:
- Status
- Settings
- Pro
- Developers
- Server Info
- Help
I am going to show you each tab area, but we are not going to configure the plugin for advanced users and developers. Instead, I will show you how to set up the basic settings that will properly minify JavaScript and CSS on your WordPress website.
Let’s take a look at the tabs.
Status
The “Status” tab will simply list all your processed files once you start using the plugin. It also allows you to purge cached files.
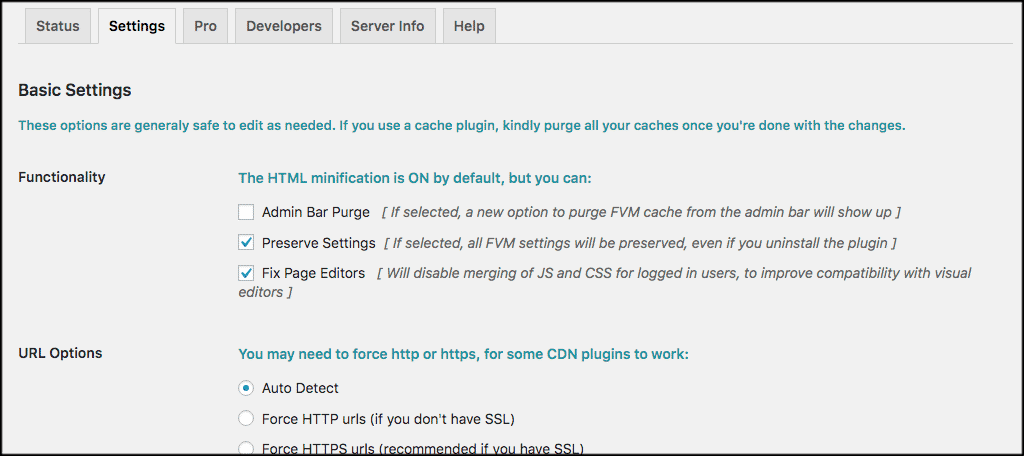
Settings
These are your basic configuration settings. Filling these out will get the plugin working and you can start minifying Javascript and CSS files in WordPress.
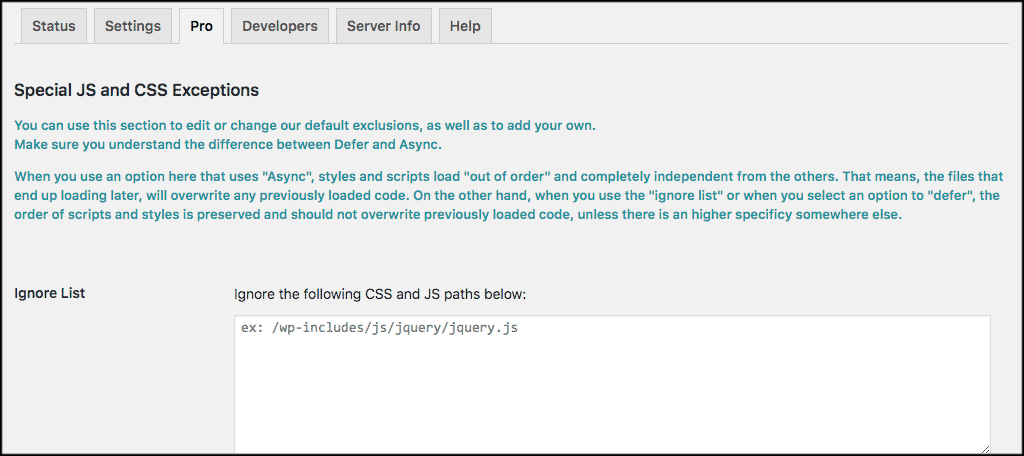
Pro
This tab will allow you to configure pro settings. Only use it if you know and understand what you are changing.
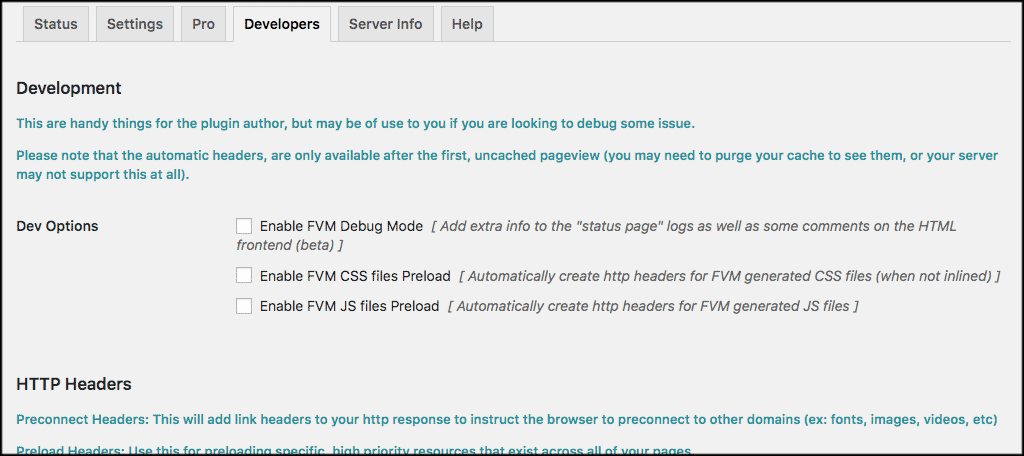
Developers
The “Developers” tab will present you with even more advanced options. Again, don’t use this unless you are a developer or you know what you are getting into.
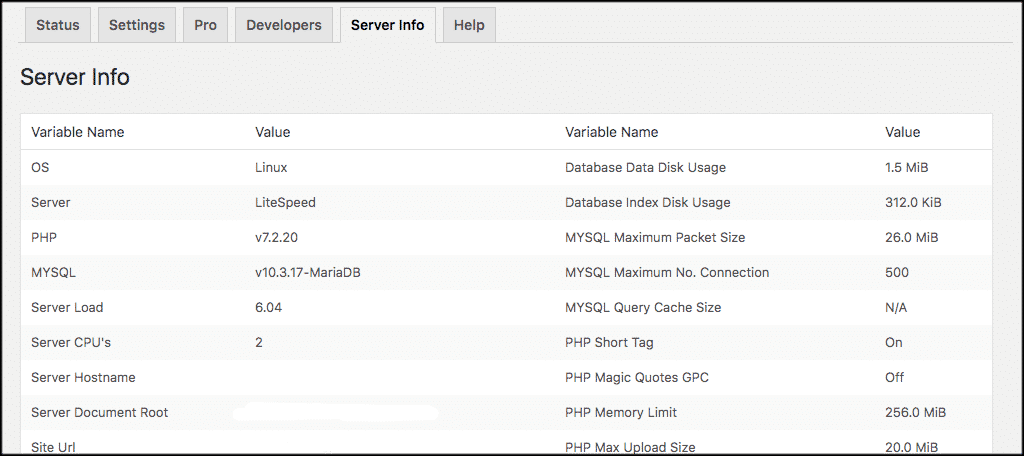
Server Info
This tab provides you with all the server info so you can see that everything is working properly.
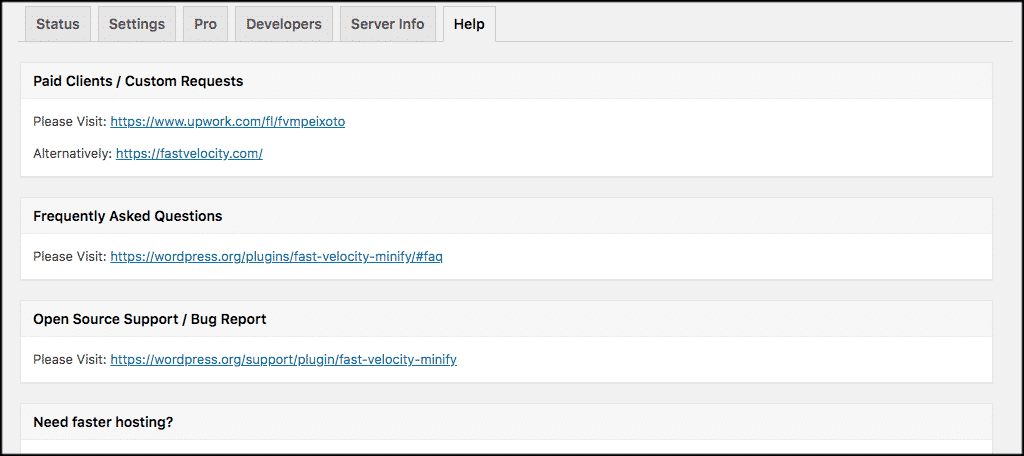
Help
The “Help” tab will allow you to reference other helpful links for the plugin.
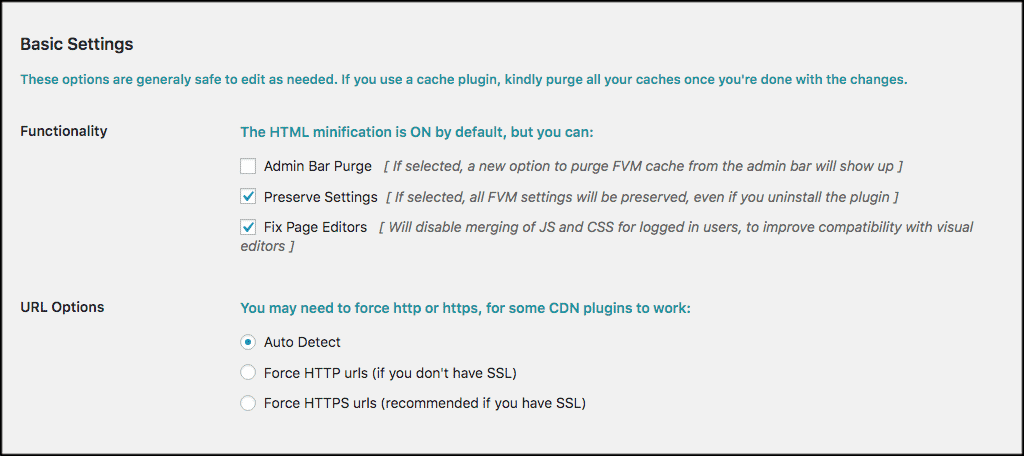
Basic Configuration Settings
Click back to the “Settings” tab. You can fill out this portion however you want. This will get the plugin working properly and allow you to gain site speed and other functionality.
That being said, here are basic recommended settings that you can choose to get the plugin working. Click on the following options under the Basic Settings.
Use the screenshots for Reference.
Functionality & URL Options
For functionality, it might be ideal to preserve settings for the plugin after an uninstall. You might find yourself coming back to the plugin at a later date. Also, enabling “Fix Page Editors” works well if you have a team environment on the website. This way, you won’t have to worry about visual editors causing a problem with JavaScript and CSS merging.
In most cases, auto-detecting URLs should suffice. If you have issues with minifying JS and CSS, you may need to force certain URLs to work correctly. However, you probably won’t know which until you start experiencing issues.
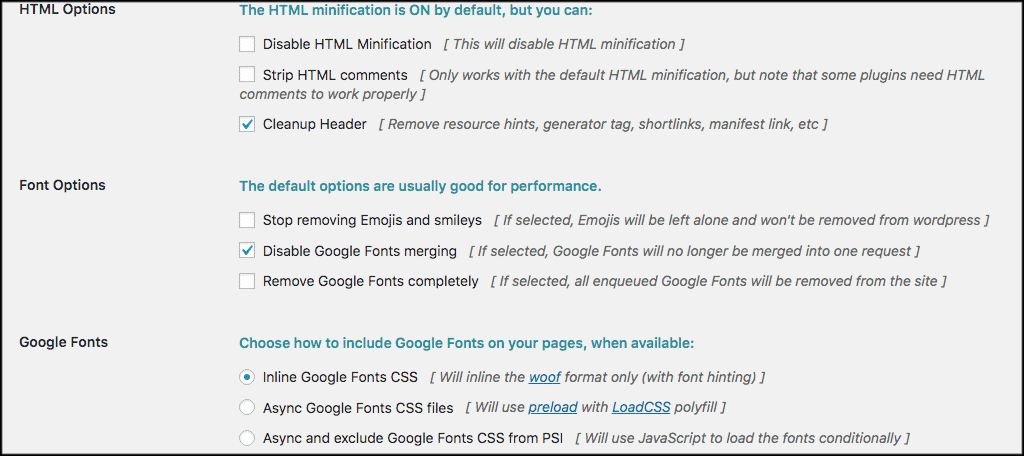
HTML, Font, Google Font Options
Enabling the Cleanup Header option helps streamline minifying JS and CSS. But like above, you can change this option should you experience problems on the site.
In the Font Options, you can manage how FVM handles elements like emojis and Google Fonts. One of the best options is to “Disable Google Fonts merging.”
Speaking of Google Fonts, keeping the selection for “inline” helps with minifying the code. However, some sites may experience better performance through “async” depending on the layout.
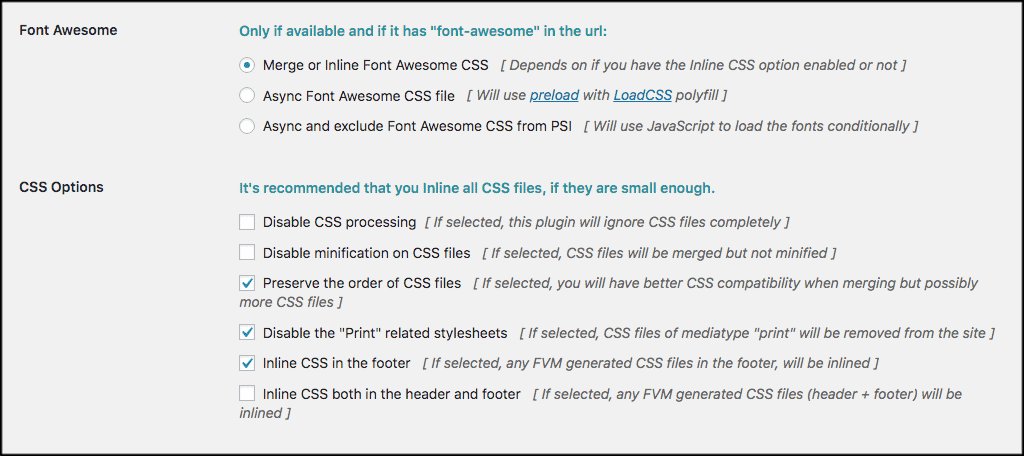
Font Awesome & CSS Options
A good practice for performance is to inline Font Awesome CSS elements you might have on your website. This streamlines the effect of CSS. But like the option above, you may experience better performance through async.
In the CSS options, preserving the order, disabling the “Print,” and inlining CSS in the footer all contribute greatly to minifying. But if something on your site breaks after selection, you may want to consider disabling CSS processing and minifying files.
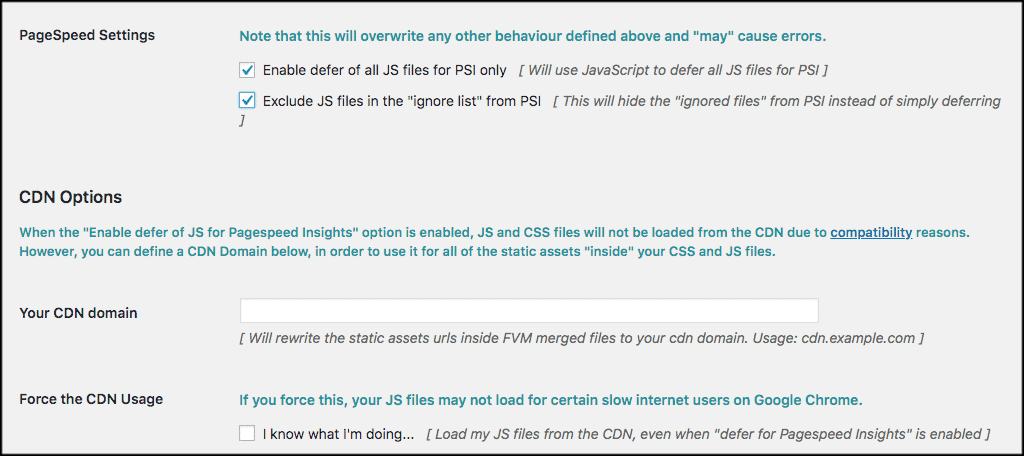
Page Speed Options
When it comes to PageSpeed testing, you can enable “defer of all JS files for PSI only.” You can also exclude JavaScript files into an ignore list for PageSpeed Insights.
This gives you a more accurate portrayal of your site’s performance without third-party JavaScript throwing errors.
That’s it! You can leave everything else unchecked, or fill it out how you see fit. Scroll to the bottom and click on the “Save Changes” button and you are off and running.
Final Thoughts
When you properly minify JavaScript and CSS on your WordPress website, you create a better user experience and faster page loading speeds. Furthermore, you put your site on the right track for better SEO and ranking in Google.
Now, you have a fantastic way to do this that requires no coding skills. Simply follow the steps above and you are good to go.
Have you found that minifying JavaScript and CSS has helped your site speed and SEO? What other plugins or techniques are you using to accomplish this?