Today, we are going to focus on the plugin side of things when it comes to your WordPress website. As you may be aware, some websites have a good many plugins attached to run different things. For this reason, you may want to employ a plugin load filter to help you select when and if that particular plugin should be loaded everywhere.
Plugins are one of the main reasons WordPress is so fun to use. If you need to accomplish a process, chances are that there is a plugin that either does it or can help you do it.
But, you can have too much of a good thing.
Why Use a Plugin Load Filter?
If you have been working with WordPress for a while, then you understand that it is not a surprise that plugins can slow down a site. This is not ideal, as you always want your WordPress running fast. In order to optimize site speed, one of the things you can do is use a plugin load filter.
A tool like this allows you to have a little more control over how your plugins load. For example, you may not need a certain plugin to load on a certain page or post. Using some sort of filter plugin for WordPress gives you more control over how your plugins function on a site.
Using this tool will keep your website functionality in-tact, keep site speed up, and allow your site to optimize and run as smoothly as possible.
In this post, I am going to show you how to use a simple, yet powerful plugin that can be used to improve WordPress speed and optimize plugins more efficiently.
Let’s take a look at the plugin we are going to use today and see all that it has to offer.
Plugin Load Filter
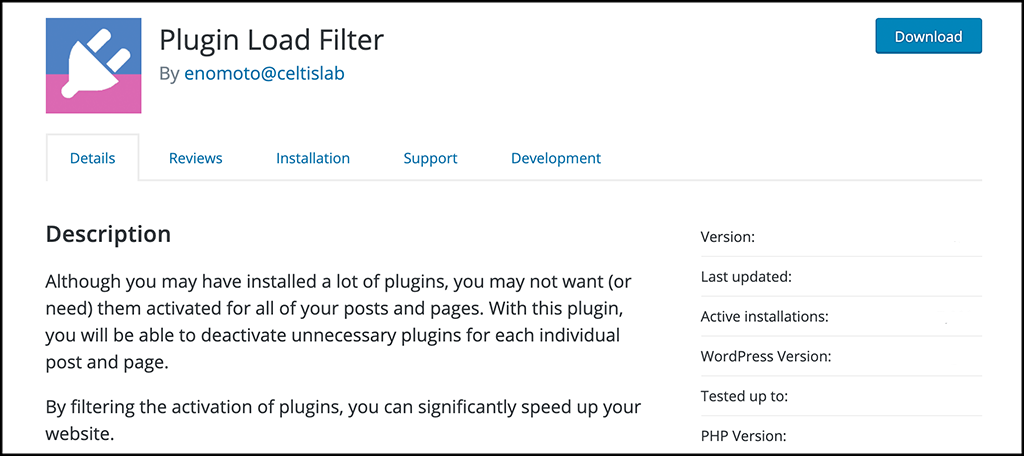
Plugin Load Filter is a straightforward, easy to use, and easy to understand plugin that will allow you to filter and optimize the plugins on your site with ease. The interface is simple and very user friendly.
With just a few clicks here and there, you can begin to deactivate unnecessary plugins for individual posts and pages that don’t need them. By filtering the activation of certain plugins in different spots, you will be able to increase your site speed significantly, giving your site users a much better on-site experience.
Not only can you optimize plugins using Plugin Load Filter, but you will also be able to distinguish the plugins for blog and Web applications.
As stated above, the plugin is simple to use and quick to set up. Of course, it won’t slow your site down, and it comes with some cool features including:
- Post Format Type Support
- Custom Post Type Support
- Supports Jetpack Modules
- WB Embed Content Card Support
- Simple Post Language Locale Switcher Support
Simple, easy to use, easy to set up, very powerful. Those are the key takeaways here and you will be hard-pressed to find a better plugin to improve WordPress speed on the fly.
Let’s get the plugin running and set up together and you can start filtering your plugins how you see fit.
Set Up Plugin Load Filter
Step 1: Install and Activate the Plugin
In order to start optimizing plugins and boosting your site speed, you first need to install and activate Plugin Load Filter. You can do this by hopping over to the Plugins page in the WordPress admin dashboard.
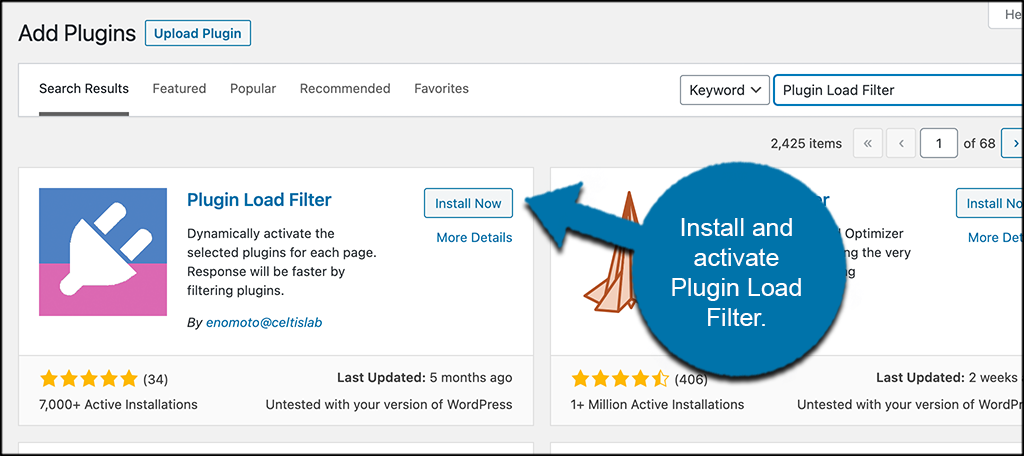
Simply use the available search field to search the plugin by name. Once you see it pop up, install and activate it right from there.
Step 2: Access the Main Settings Page
Now that the plugin is activated, you want to go ahead and access the main settings page for it. This is where you will be able to configure the plugin to your liking.
To get there, simply click on the “Plugin Load Filter” tab located on the left side menu area of the dashboard.
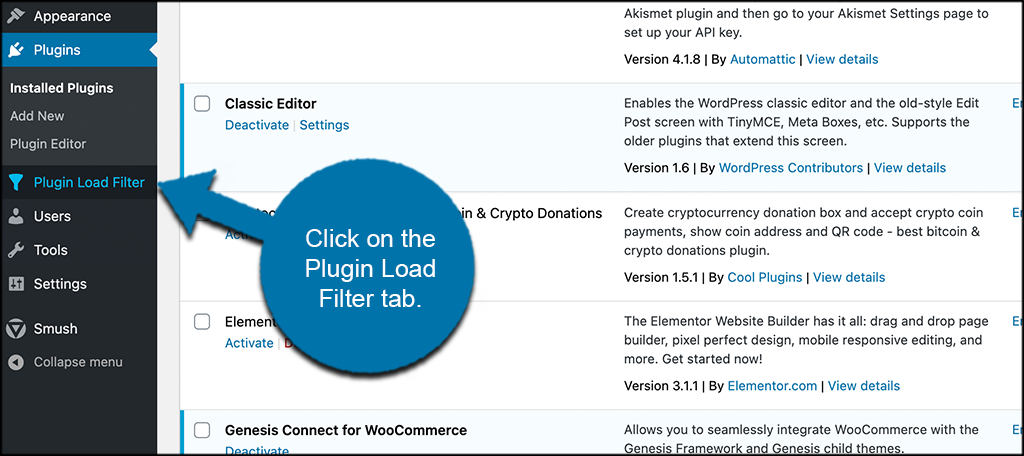
You can see that this is now an available tab option because you activated the plugin.
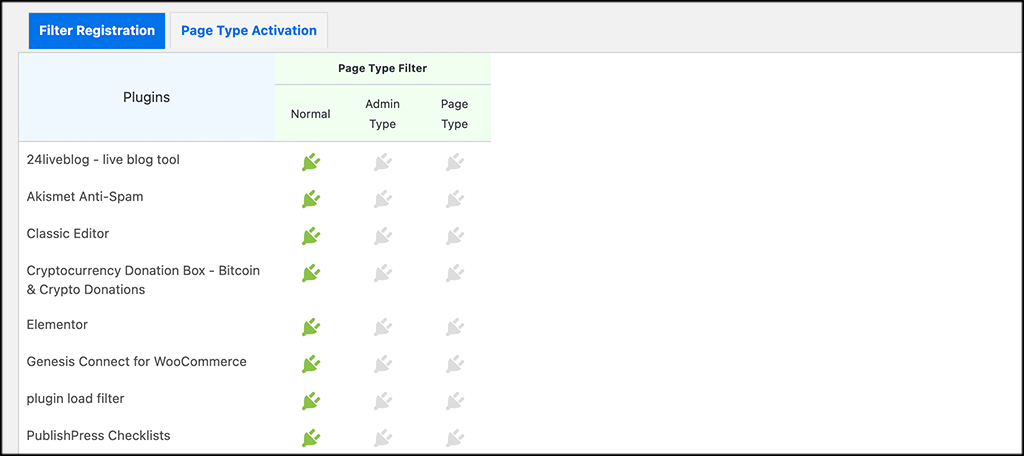
Step 3: Configure All Plugin Settings
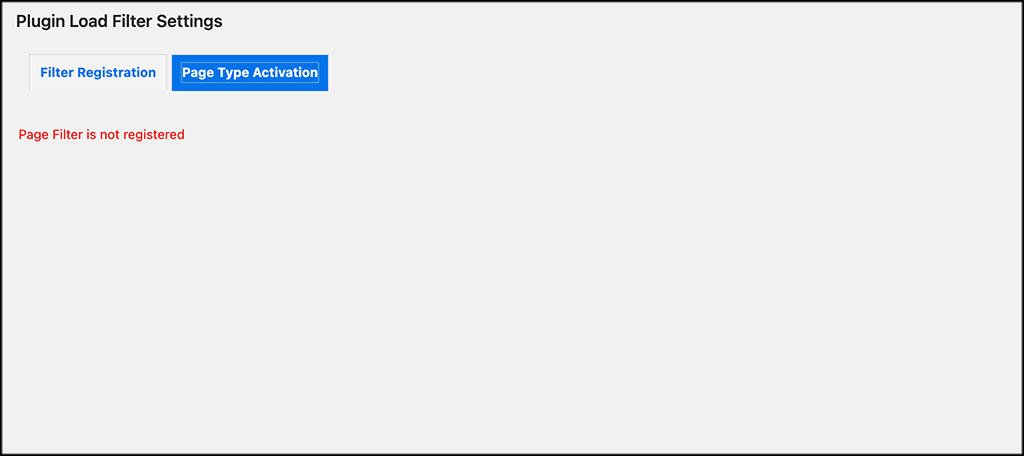
At this point, you have arrived on the main settings page for the plugin. There are some items to configure in order to get the plugin going. You will see two main tabs at the top of the page: Filter Registration and Page Type Activation. Let’s go ahead and register filters first.
At the top of this tab, you will see all of the plugins you have running on your site. Next to that will be three selections. You can choose normal, admin type, or page type. The selections represent the following:
- Normal: Exclude plugin from Page Type filter.
- Admin Type: If you only use plugins for Admin pages.
- Page Type: If you want to activate or deactivate plugins for each Page Type and Single page.
Go ahead and go through all of the plugins on your list and make the selections you want.
Note: All the plugins are automatically selected “Normal.” You can make selections accordingly from there.
Now scroll down some and configure the rest of the settings under this tab.
This includes items like excluding post type formats, adding admin links, and post language locale.
Page Type Activation
Page Type Activation will only be relevant if you register page filters. You will probably do this, so there will be data showing.
Step 4: Go to Any Post or Page
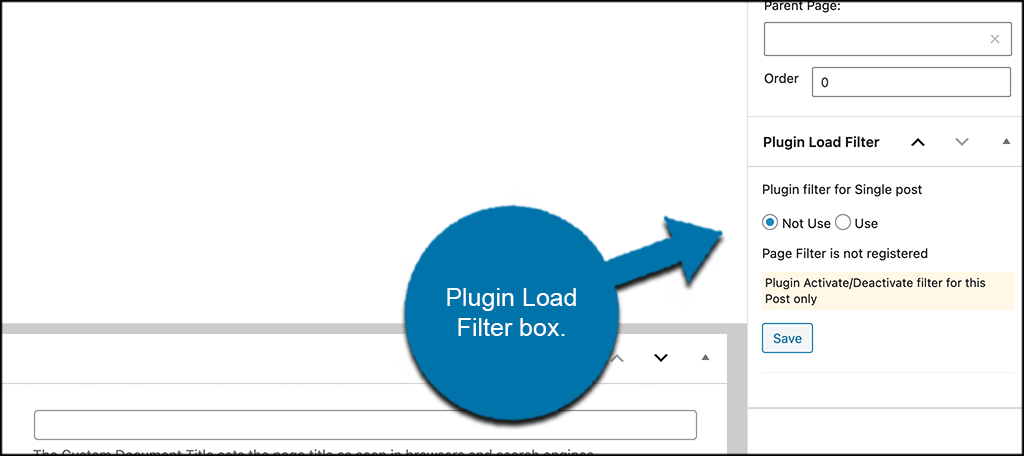
That’s it! You are now up and running successfully. You can go to any post or page to view items. What displays on this page will be based on your setup.
You can see here that the new plugin box is located on the bottom right of posts and pages.
What Else Slows My Website Down?
Congrats, by using Plugin Load Filter, you have taken a solid step in the direction of higher site speeds and load times. That being said, there are always other things that can be done to properly optimize a site and keep page load times high.
One of the things you want to consider is optimizing all the images in your media library correctly. There are tools for image sizing and compression optimization, as well as tools for image SEO optimization. Dig into both, as this will help speed your site up even more.
You can also do things like reduce plugins where you can, optimize the site homepage, use a CDN, consider your host, and clean up your framework and themes.
Remember, website optimization is an ongoing process, so make sure you stay on top of it for optimal speed output and SEO.
Final Thoughts
Optimizing the plugins on your website is just one of many steps you can take in the process of speeding up your site and making it more enjoyable for your site users.
The Plugin Load Filter tool allows you to easily optimize and filter your site plugins, putting you in full control of them and effectively speeding up your site.
I hope this article showed you how easy this particular process really is. This, along with other site optimizations you can perform will allow you to present the fastest site possible for your users.
What other techniques do you use to optimize your WordPress site for speed? Have you found that one works better than the other?