Are you looking for a simple way to add social icons to your WordPress menus? If so, I have the perfect plugin for the job, Menu Image. This plugin makes it easy to add any kind of menu icon to your website, which of course includes social icons.
These icons have become a part of almost every website at this point and it would be a critical mistake to not include them. Today, I will demonstrate how to add social media icons to WordPress menus using the Menu Image plugin.
What Are Social Icons?
Social icons are images associated with specific social media platforms. For example, we can all recognize Twitter by the little blue bird or Facebook by the blue and white “f.”
These symbols have become synonymous with the actual platform name, and adding them to your menus can help make their existence clear to visitors. They are also far more stylish than simply adding the word Twitter or Facebook.
These can also help visitors that do not speak the same language. After all, the image is the same regardless of the region you live in. And the companies want you to use the, For example, Twitter provided all of its social icons to developers for free.
The same can be said for many other social media platforms. And there are a ton of free resources to find social icons.
However, the tricky part is actually adding them to WordPress menus, but luckily the Menu Image plugin makes it a cinch.
Step 1: Installing Menu Image
Menu Image has one use, adding images to your WordPress menus. The images can be uploaded to your media library and support a variety of sizes. Most notably are the 24×24, 36×36, and 48×48 menu sizes. These should work for the vast majority of websites.
However, the option to use the image’s original size is available, which means you can customize them to match your website’s needs. The icons can be added directly within the WordPress menu editor, so you should know exactly where to find them.
Let’s begin!
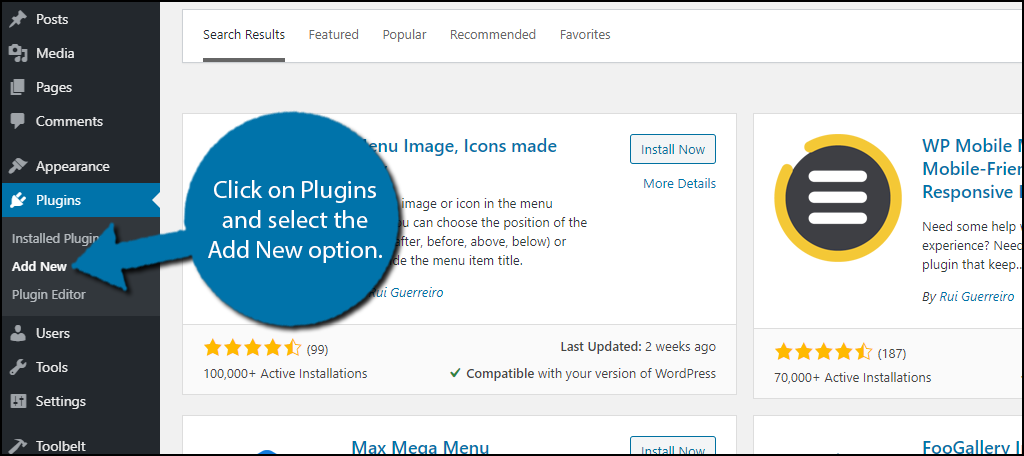
Click on Plugins and select the Add New option on the left-hand admin panel.
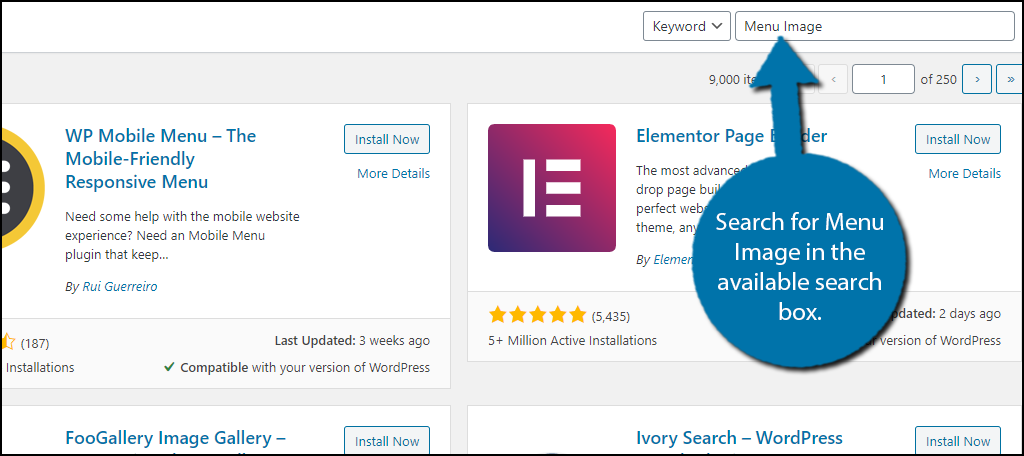
Search for Menu Image in the available search box. This will pull up additional plugins that you may find helpful.
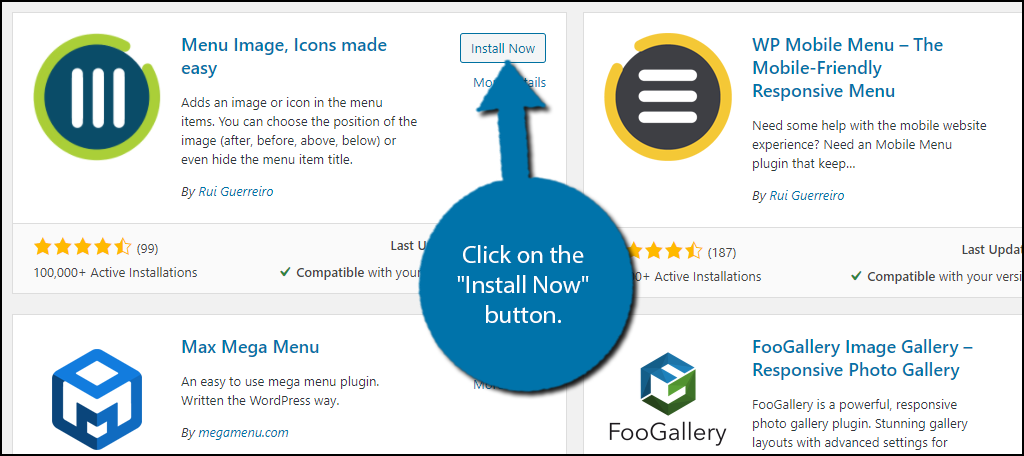
Scroll down until you find the Menu Image plugin. Click on the “Install Now” button and activate the plugin for use.
Upon activation, you will be given the option to opt into the plugin’s security and features update notification list. You can opt-in if you want or skip it entirely. This will not affect using the plugin in any way.
Step 2: Picking Image Sizes
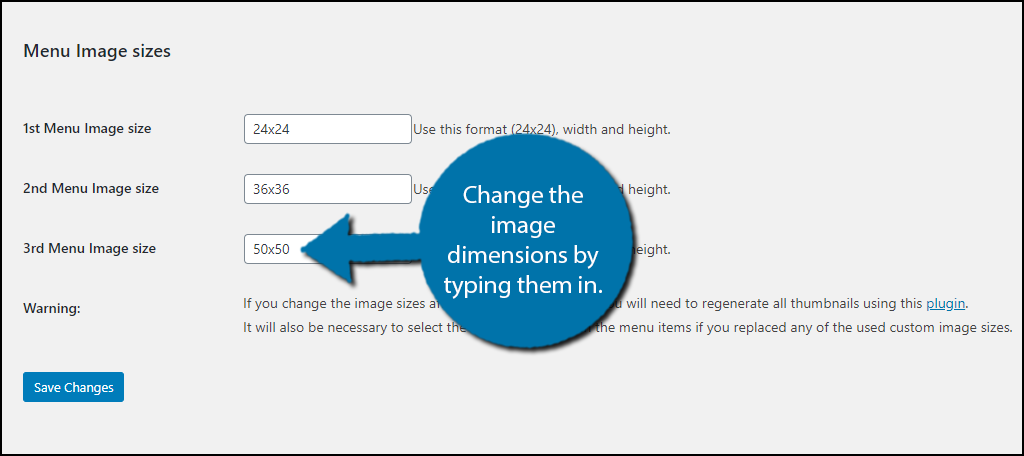
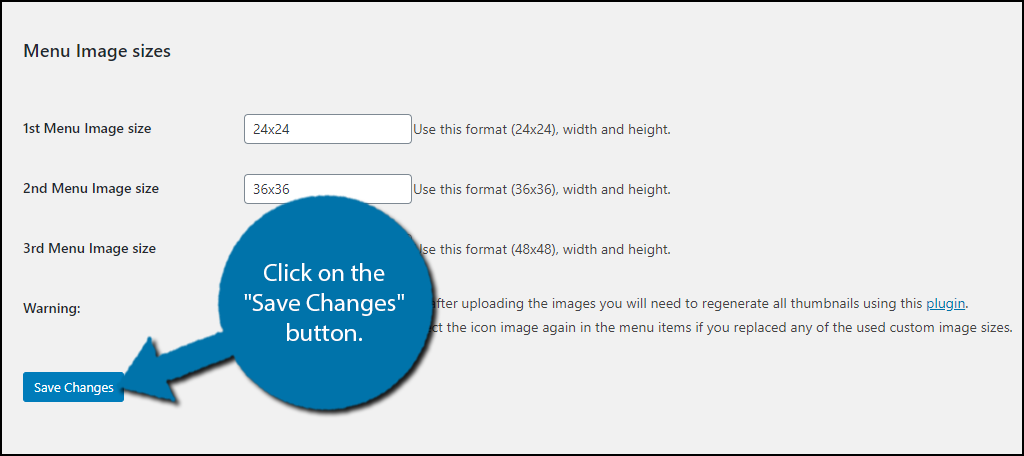
The plugin comes with three default sizes for your menu icons. They include 24×24, 36×36, and 48×48. These can be left alone or you can customize the sizes. These sizes should be fine for the majority of websites, but it never hurts to learn more just in case.
On the left-hand admin panel click on Menu Image and select the Menu Image option.

To change the image sizes, simply change the values in the respective text boxes.
Note: If you have already uploaded an image after changing the image size, you will need to either re-upload the image or use the Regenerate Thumbnails plugin to obtain the newly sized image.
Click on the “Save Changes” button when you are done.
Step 3: Picking A Menu Location
Now all that’s left is to actually add the social icons to your menus. This is done directly on the Menu editor.
Note: If you already have a menu you want to add the social icons to, feel free to skip this step.
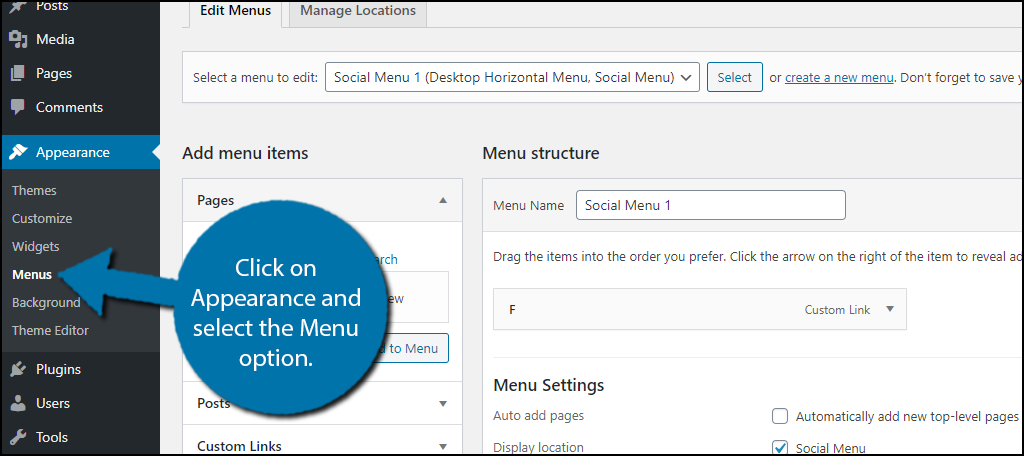
On the left-hand admin panel, click on Appearance and select the Menu option.
The first thing you should do is to make sure you are selecting the right menu location. Themes all have a different number of menu locations available. In my case, the Twentytwenty theme has 6 different menu options.
Click on the Manage Locations tab.
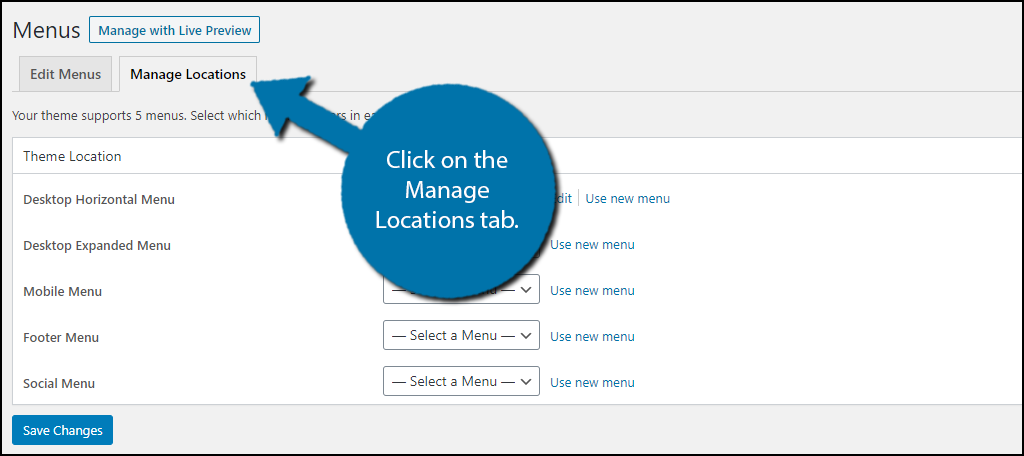
This will provide you with all of the possible menu locations your theme supports. In this example, I will select the Desktop Horizontal Menu, but the process is the same for each one.
Click on the “Use new menu” option on the appropriate menu location. Alternatively, you can select an existing menu by using the corresponding drop-down box.

This will bring you to the menu editor and allow you to create a new one.
Step 4: Adding Social Icons to Menus
Creating a menu in WordPress remains exactly the same as it was originally. This plugin only adds a new feature you can find under the actual menu items, which is the option to add images.
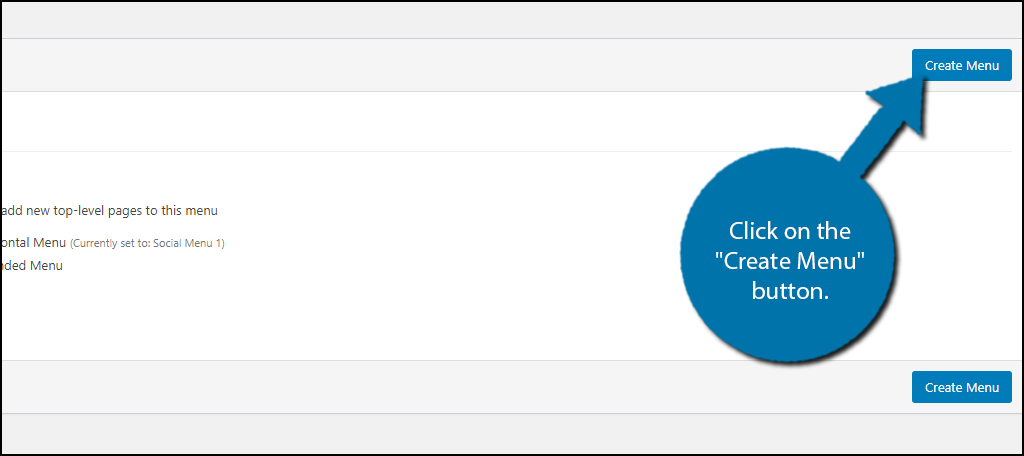
First, you must name the menu and select the location. Once you do, click on the “Create Menu” button.
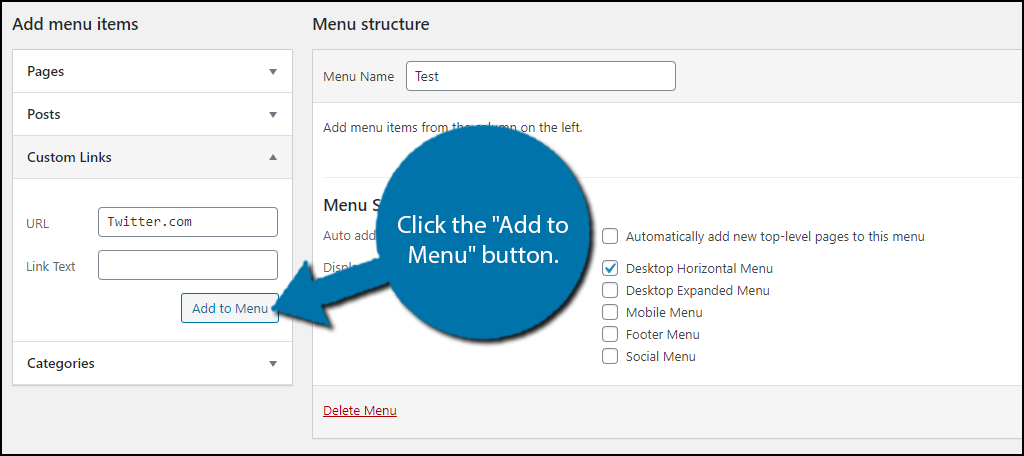
You can add the icon to any menu icon, but in our case, we are interested in social icons. Click on the Custom Links option. Enter the URL of your social media page and click the “Add to Menu” button.
Note: You do not need to add link text when adding the menu item, but it will automatically add “Menu Item” afterward, so make sure to change it.
If you need to locate the social icon you want to add, take a moment and upload it to your media library. In this case, I will use the official ones you can find on Twitter for free.
Click on the menu item you just added and click on the “Set Image” button.

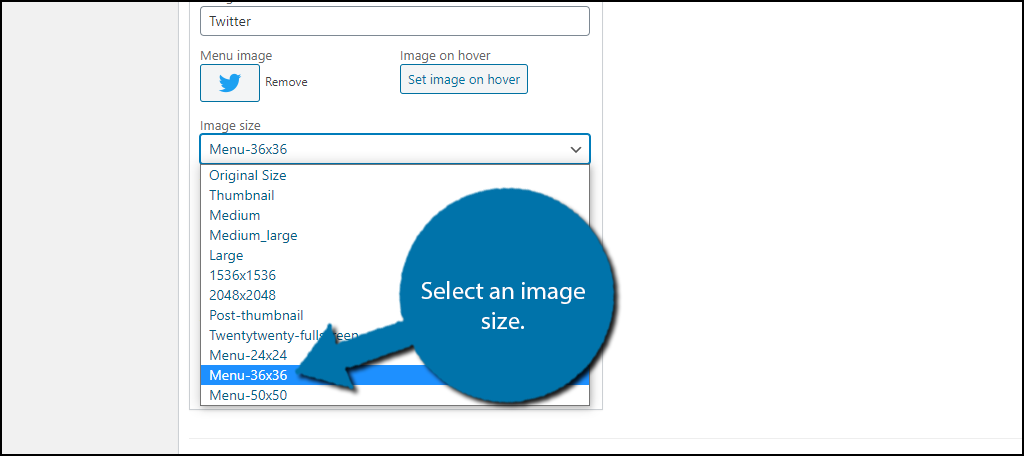
This will pull up the media library. Select the image you want to add. There is also a “Set Image on Hover” button. You can add a different colored image to appear when a visitor puts his or her mouse on top of it, but this is optional.
Below these options, you can select the image size. Make sure to pick an appropriate size (the ones from step 2), otherwise, it will not look right.
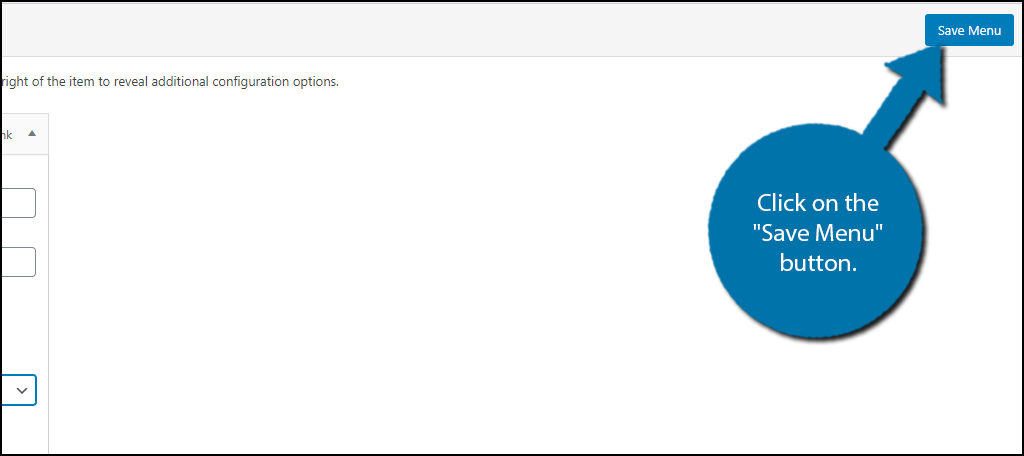
You can now edit the title position (if you have one) and add a short description (optional). You can repeat these steps and add as many menu items as you want. Click on the “Save Menu” button when you are done.
You can now view the social icon on your live pages. If the images don’t look right, check out the sizing.
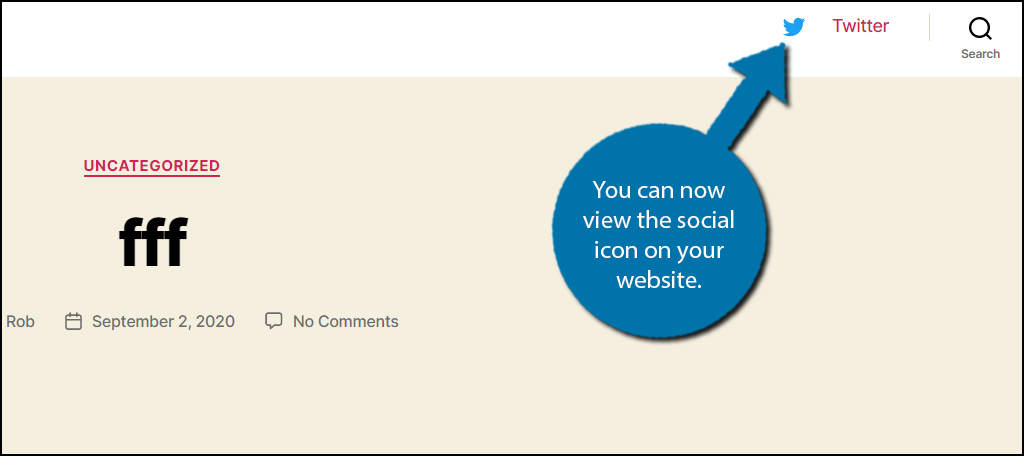
Congratulations on adding social icons to your WordPress menus with the Menu Image plugin.
Other Icon Suggestions
While social icons have become a standard, it is worth pointing out that you can add a variety of other icons to your menus that are not social media related. This can help visually impaired visitors find what they are looking for.
For example, you could have an actual house next to the Home menu item, or an actual cart next to a Cart menu item. These small icons look really stylish and give your menus the flair they need to stand out.
Making your website more accessible and better looking is a win-win for every website, so get started today.
Which social icons did you add to your WordPress menu? How easy was the Menu Image plugin to use? Did you consider any other icons on the menu?