Have you ever been in a spot where you have written the perfect article and you need to find some images for it and can’t? Finding images can be a daunting task sometimes, especially if you are looking for images that are free to use. Luckily, there is a plugin called Featured Image Generator that makes the entire process much easier.
What Are Featured Images?
A featured image is considered to be the main image showing for any post or page. There’s a clickable link in your WordPress editor called “Featured Image.” You can use this to select any image you want and make it the default “featured” or “main” picture of a WordPress post or page.
This image acts as the default that will show when you share the post on social media and other places. Featured images are a big part of posts, as they set the tone for the reader. The right graphic will help you get link clicks, while the wrong one can totally throw the perception of the article into chaos.
Using an image creator can help you spice up featured images as well. Certain text and color layouts are always attractive. That being said, it isn’t always ideal to have something like Photoshop available to do this. Luckily, there is a free image generator that has this tool already built-in.
Having an image creator built directly into the back end of your WordPress dashboard is the way to go. This gives you easy access to pictures and allows you to build and created from free image stock.
Luckily, there is a smooth plugin tool that can not only help you access images for free but can also act as an image creator. Let’s take a look at the plugin and all it has to offer.
Featured Image Generator

Featured Image Generator is a WordPress plugin that allows you to search for amazing featured images to use for free. It uses an API from unsplash.com that you can get and plug right into your WordPress dashboard.
The plugin allows you to use free license photos and upload and edit them directly from your WordPress media library. It is lightweight but powerful. Featured Image Generator is free to use, and it is easy to install, setup, and start pulling images.
This particular image creator plugin also includes layers, color adjustments, and text tools that you can use to make your featured image stand-out even more.
The tool has everything you need. Some of the main features include:
- Customize photos using Google Font family
- Set default sizes for your featured images
- Built-in photo editor tools
- Save media directly to your WordPress media library for use
Remember, while you can use these as featured images, you can also use them in any other part of your posts and pages as well. This is a great way to pull multiple photos for an article when needed.
Note: There is a pro version of the plugin available. If the features seem like something you need, then you are more than welcome to go get it. The steps below are based on the free version of this plugin, as it gives you all the tools you need.
Add Featured Images to WordPress Posts
Let’s take a look at how to use the Featured Image Generator plugin in order to easily customize and add featured images to your posts and pages.
Step 1: Install and Activate the Plugin
In order to start using this free image generator, you first need to install and activate the plugin. You can do this by jumping directly over to the Plugins page inside your WordPress admin dashboard.
Simply use the search field to search the plugin by name and install it directly from there.

Step 2: Access the Settings Page
Once the plugin has been installed and activated, you want to go access the main settings and configuration page. To do this, click on Settings > Featured Image Generator, located in the left side menu area of the dashboard.

You notice that this is now an available option after you activate the plugin.
Step 3: Get an Unsplash API
At this point, you are on the main setup page for the plugin. There are only a few quick options to consider before you can use it to grab images.
Aside from having the ability to set a default font family and default thumbnail size, you have to go get an API from Unsplash. Click on the “Get API Here” link and go grab your Unsplash API.

Doing so will take you to the new application page. Fill in the application name and leave the permissions blank and save. When you do this, you will receive an App ID. Copy and paste this back into the Unsplash API field in the WordPress dashboard.
Click on the “Save Changes” button and you are ready to use the plugin.
Step 4: Add a New Post
From here, head over to the Posts section of your dashboard. You can either add a new post or edit an existing one.
Note: The concept is the same for adding featured images to pages.
Open up the post of where you want to add a featured image. You will see the WordPress editor open as it always does when creating or editing posts.
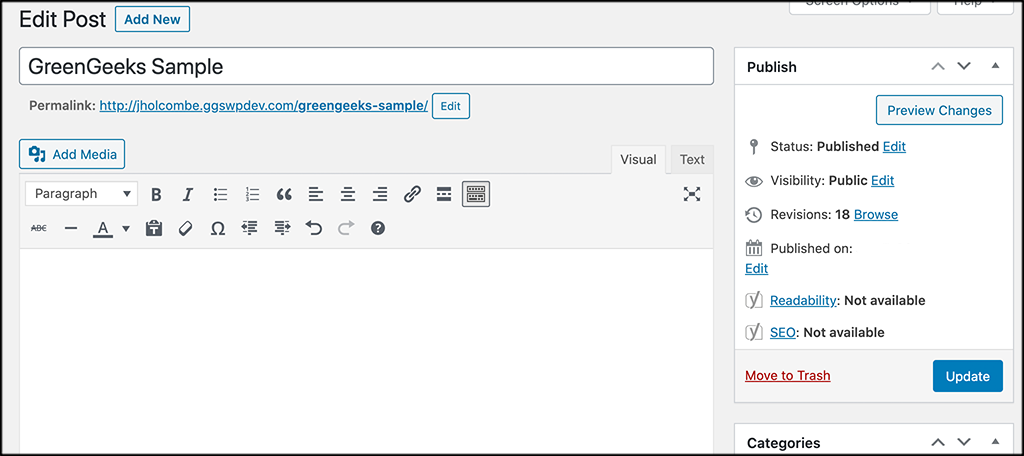
Step 5: Add a Featured Image to Post
If you scroll down a little to the featured image box, you will see that there is a new featured image widget area called “FIG” now available. Click on the “Featured Image Generator” link to use it.

This will open up an image box that is embedded from Unsplash because of the API you received above.
Search for an image by using the search field. In this case, we are going to grab a featured image of the Pacific Ocean, so that is what our search term is.
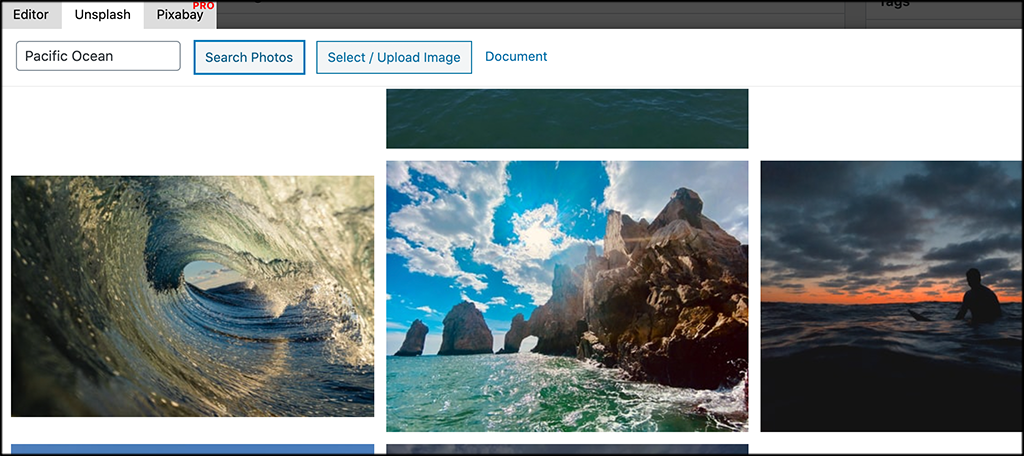
Note: You see that there is a Pixabay tab as well. That can be accessed if you have the pro version of the plugin.
From here, click on the image you want to use. When you do, the image will be automatically put into the built-in editor within the Free Image Generator plugin.

You can see all of the editing options available. You can set the height and width of the image, filter the opacity to your liking, add a caption to the photo, and pick your font style, size, placing, and color. Here is what I did for an example:
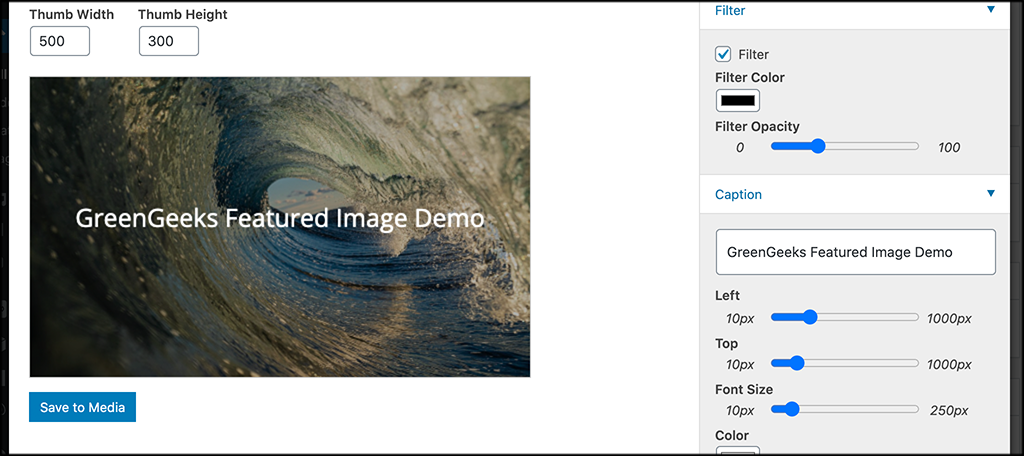
When you are done, click on the “Save to Media” button.
The image is automatically imported into your library based on all the edits and settings you used. You can now select it and add it to your post as a featured image.

That’s it! Repeat the steps above as often as you want to download images into your WordPress media library. Remember, you can use these photos anywhere in your articles, not just as featured images.
Final Thoughts
Finding good images to use for free on your website can mean the difference between garnering more interest, or having people simply pass the article by. Remember, images in WordPress are a huge part of SEO, so they need to be handled properly.
Luckily, the Featured Image Generator plugin gives you a very easy way to access and edit thousands of images that are free to use. Give the plugin a try and see all that it can do for you.
What other places do you go to find free images? Have you ever used this plugin or one similar to it to connect your site to a free image library?