Videos are the most engaging content on the internet, and that is exactly why marketing teams are focusing their efforts on them. In fact, 87% of marketers use video content. And you can too with the All-in-One Video Gallery plugin for WordPress.
With it, you can build a stunning video gallery without writing a single line of code. And you have access to the most popular video formats in the world, which include YouTube, Vimeo, Facebook, Daily Motion, and more.
Today, I will demonstrate how to build a video gallery in WordPress with the All-in-One Video Gallery plugin.
Why Is Video Content Important?
Video content is successful because it can immediately grab visitor’s attention, bring traffic to your website, and improve the click-through rate of your website.
With the popularity of social media websites and the rise of mobile devices, video content has been thriving. For instance, did you know that 82% of Twitter users consume video content? How about that 92% of mobile users are going to share video content with their friends?
These and many other stats are truly stunning, but they don’t explain why it is performing so well.
One major factor is convenience, especially for mobile users. Have you ever sat there and read a full blog post on your phone? If so, you are one of the rare few who do. In reality, mobile users are looking for video content and search engines know this.
Google and other engines all prioritize video content in their rankings. In fact, they even use the mobile version of your pages to rank your website. Thus, considering mobile users is necessary.
Social media has also played a huge role in the popularity of video content. Did you know that posts on Facebook with video content receive the most engagement and have the best sharability on the platform?
It’s really simple, video content sticks out from walls of text. Thus, it gets more attention.
How to Build A Video Gallery with All-in-One Video Gallery
Step 1: Install All-in-One Video Gallery
All-in-One Video Gallery is a free video gallery plugin that does not require any coding. Most importantly, it is fully compatible with YouTube and other video services. The gallery designs you can come up with are unique and customizable.
That said, you can create a YouTube-like gallery in a few minutes, which is the most popular option.
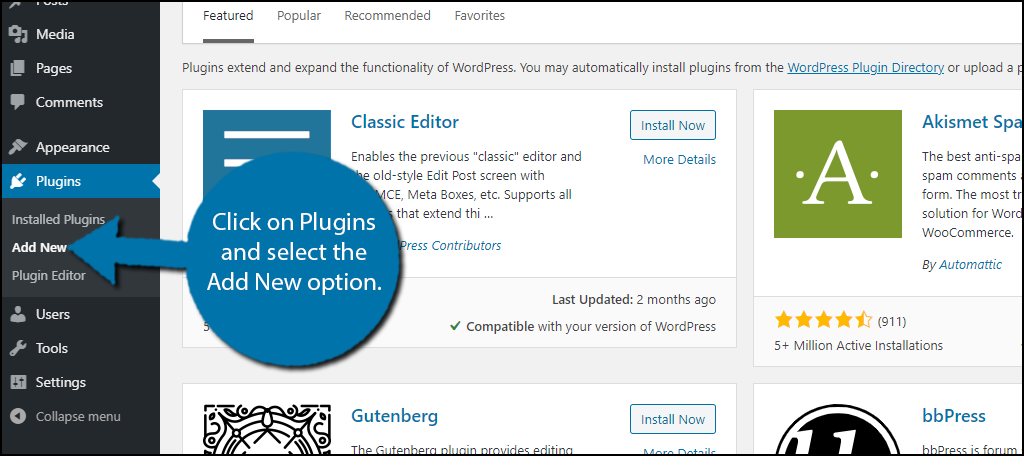
Let’s begin by clicking on Plugins and selecting the Add New option on the left-hand admin panel.
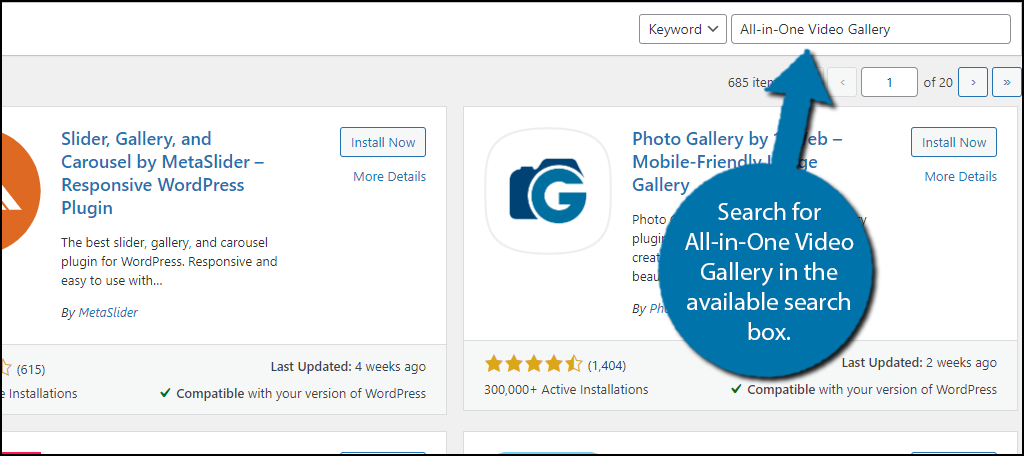
Search for All-in-One Video Gallery in the available search box. This will pull up additional plugins that you may find helpful.
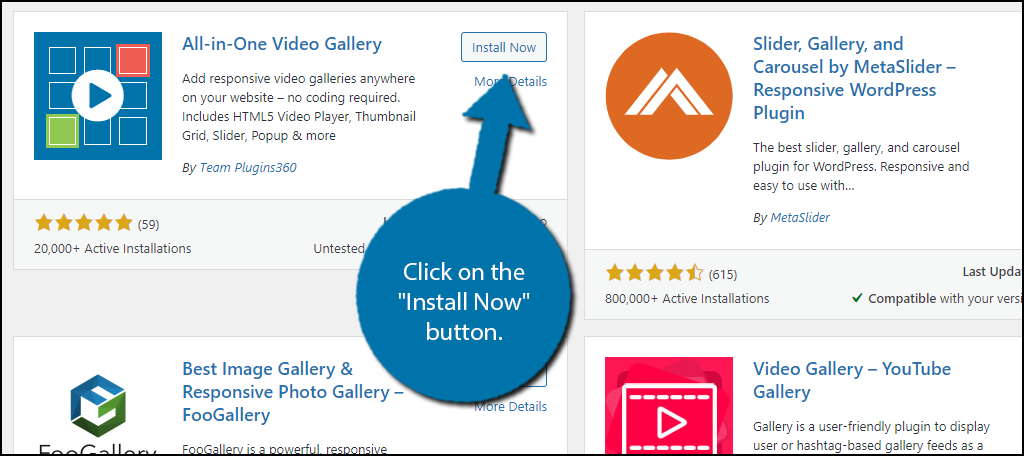
Scroll down until you find the All-in-One Video Gallery plugin and click on the “Install Now” button and activate the plugin for use.
Upon activation, you will be asked if you would like to receive notifications about important updates. You may choose to either opt-in or skip it. This will not impact the plugin in any way.
Step 2:Add Categories
Building a video gallery is pretty simple, but before you begin, you need to create categories for the videos. The plugin will group videos together in a gallery based on the category it is assigned. Thus, if it isn’t in a category, it won’t be in a gallery.
On the left-hand admin panel click on Video Gallery and select the Video Categories option.
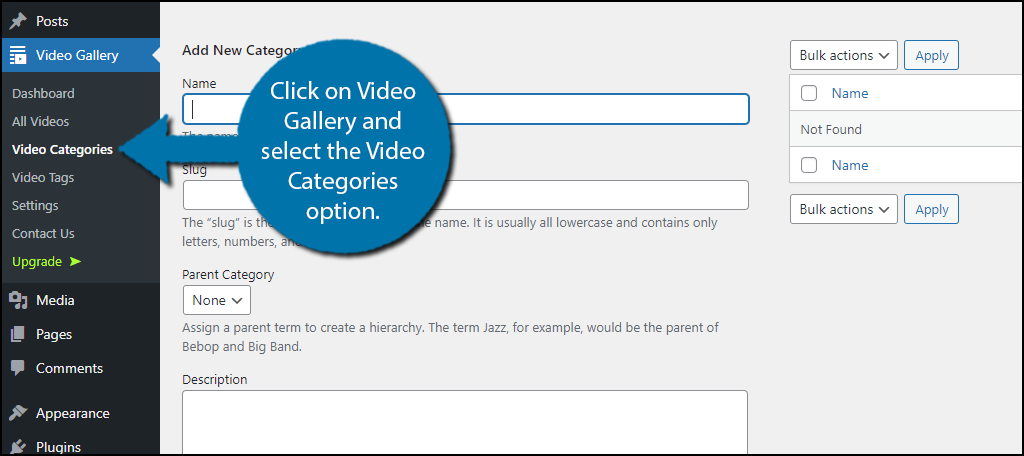
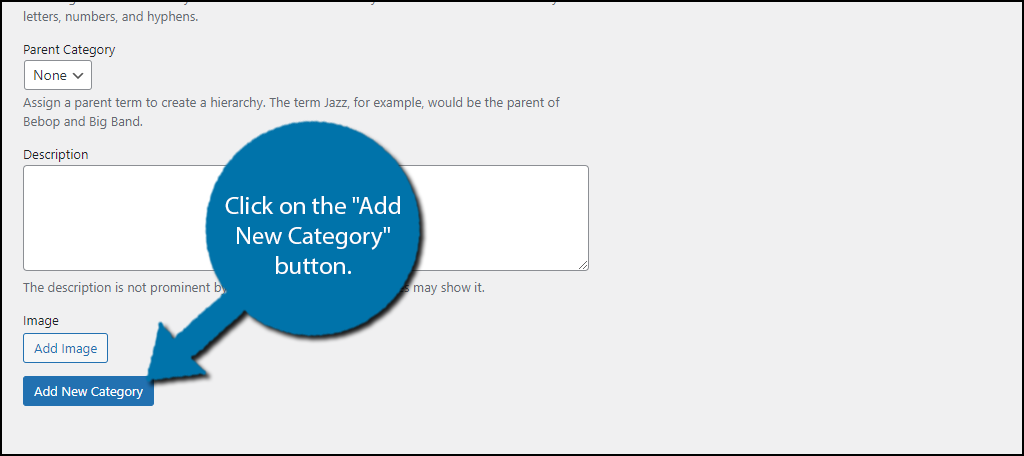
If you are getting a sense of deja vu, that’s normal. This screen is identical to creating categories for your WordPress website, however, it is entirely separate. Enter a name, slug, and description, then click on the “Add New Category” button.
Note: You can even add an image, but that’s really going a bit overboard.
Add as many categories as you want before moving on to the next step. There is also a tag section that works identical to this but isn’t required. It does provide more filtering options for the actual gallery if you choose to do so.
Step 3: Add Videos
Next, you need to begin adding videos to the plugin. The way you add videos depends on the type of video you want to share. In this example, I will demonstrate how to add YouTube videos to the gallery.
Note: If you are choosing to upload video files to WordPress, you may need to increase your file upload limit. By default, it is very unlikely that you will be able to upload a video file.
Select the All Videos option and click on the “Add New” button.
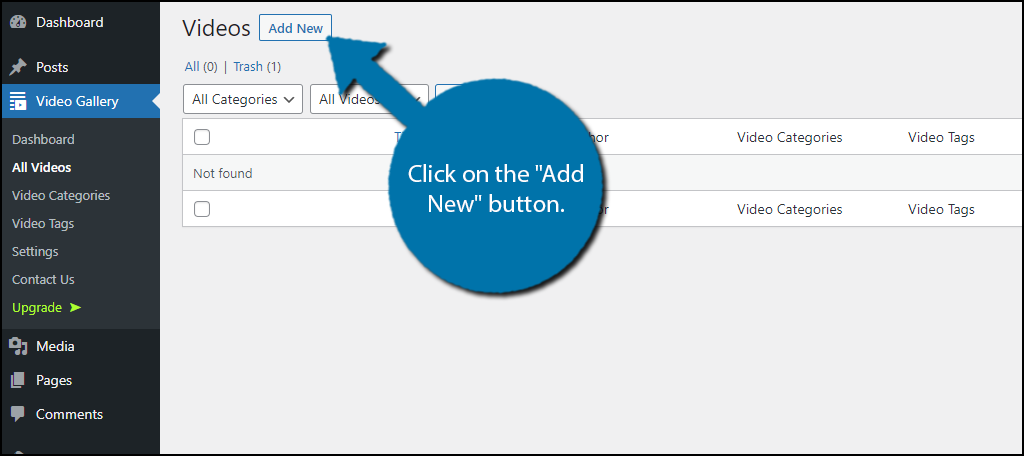
This will open up a new post that is only intended for a video. At the top, you can add a title, which I highly recommend. Scroll down to the Video Sources section.
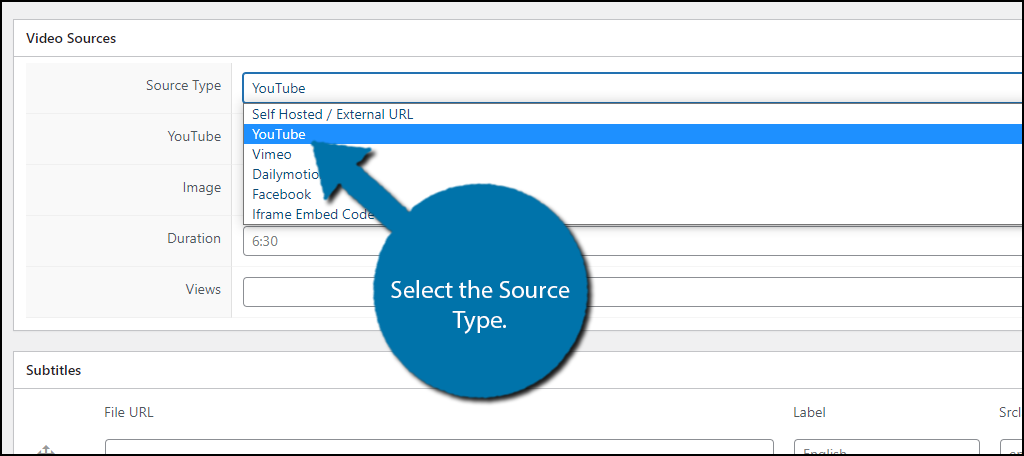
The first option is the source type. In this case, I am selecting YouTube, but feel free to select any option.
You can now enter the YouTube URL into the appropriate text box. If you picked a different option, you will instead need to enter the required information.
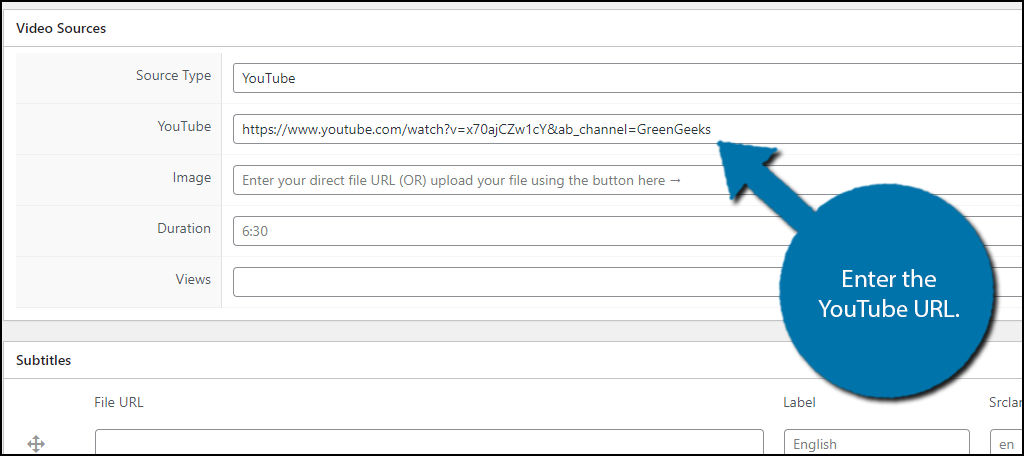
You can choose to fill in the next three text boxes for Image, Duration, and View or choose to leave them blank. If you are using YouTube, it is unnecessary because these are handled by the platform.
Important Note: You must assign each video a category. If it does not have a category, it cannot be placed in a gallery.
Once, you select a category, click on the “Publish” button when you are done.
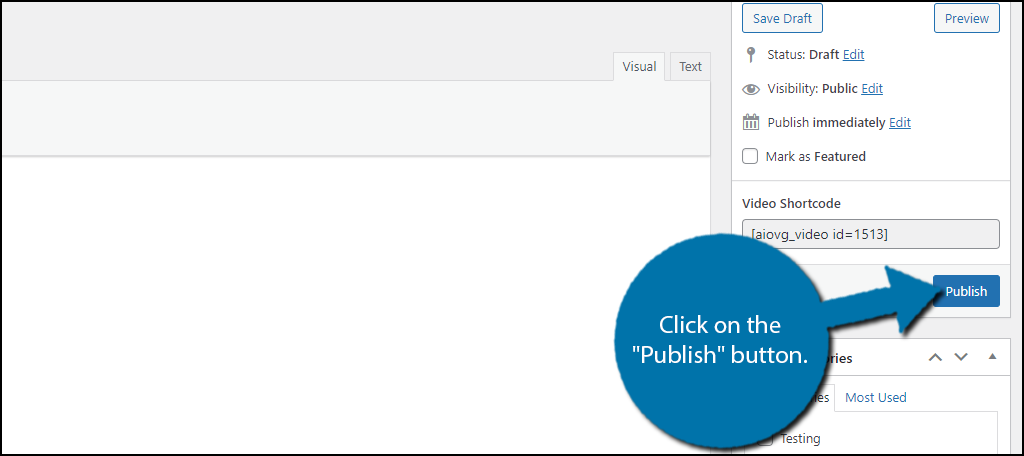
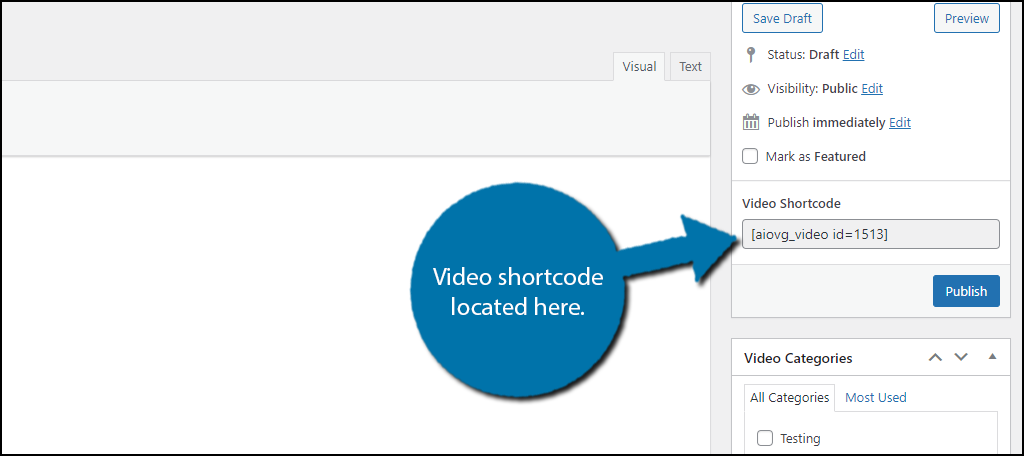
You will also find the shortcode next to the “Publish” button. This is handy if you want to place an individual video on your website.
Repeat this step to add as many videos as you want. Remember that the video must be added first before you can add it to the gallery.
Step 4: Build A WordPress Video Gallery
Finally, it’s time to actually build a gallery, which is pretty easy. Keep in mind that many of the customization options are only available in the Pro version. Thus, the options may seem a bit limited at first glance.
Click on the Dashboard option.
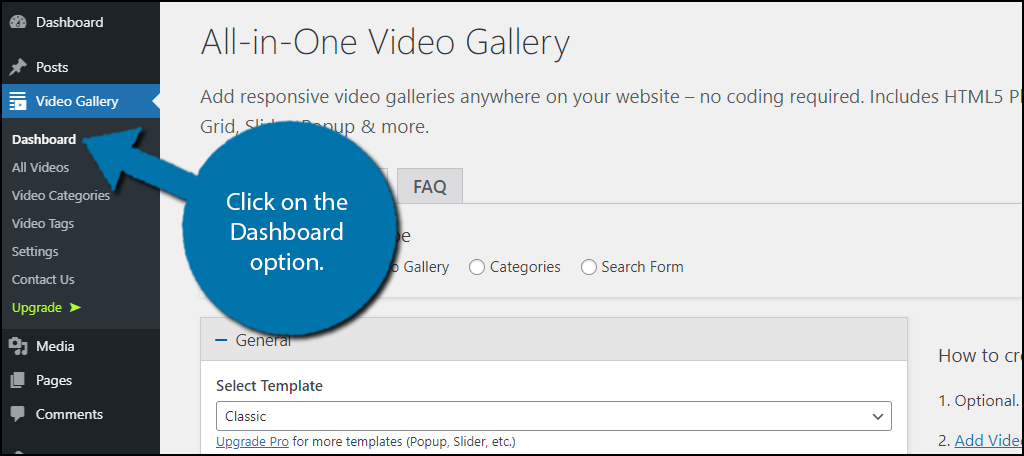
There are two tabs here, but the second tab only consists of an FAQ. It’s a great resource to utilize if you have any questions about the plugin.
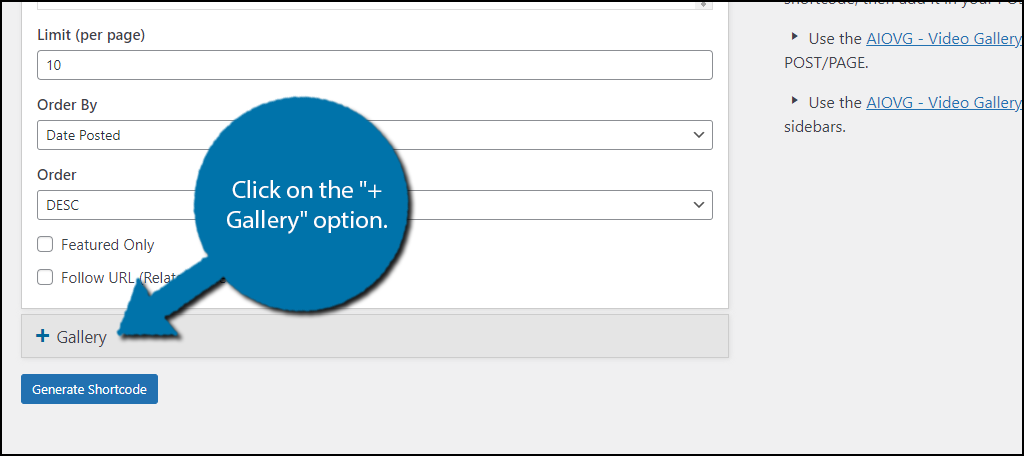
In the General section, you can choose a template (only 1 choice for the free version), category (this determines what videos will appear), tag, limit how many videos appear on a page, and how the videos are ordered.
Click on the “+ Gallery” option when the choices are made.
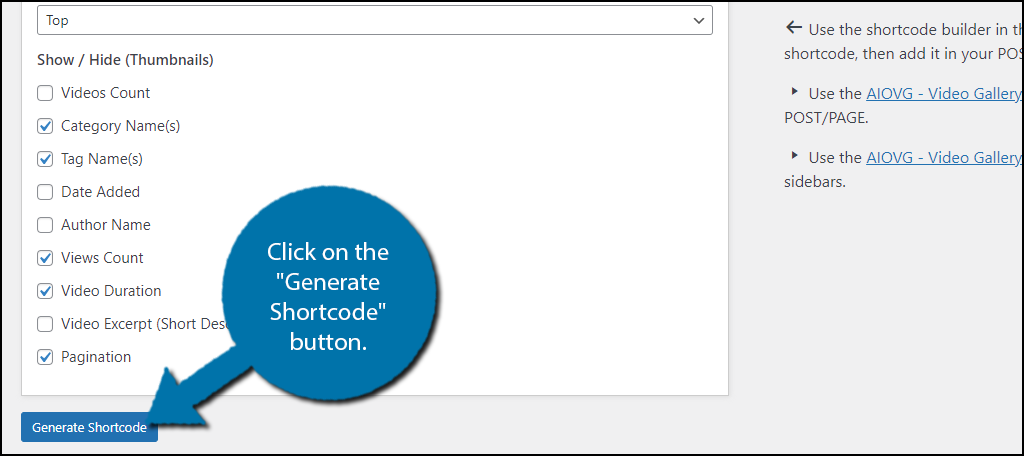
Here, you can further customize the gallery by selecting the number of columns, the thumbnail positions, and a variety of information that you can either hide or display.
When you are done, click on the “Generate Shortcode” button.
Note: This shortcode is unique and you will have to create a new gallery to get another.
A small pop-up will appear. Copy the shortcode.

Simply paste the shortcode into a shortcode block on the desired post or page and then save the changes. You can then view it on your website.
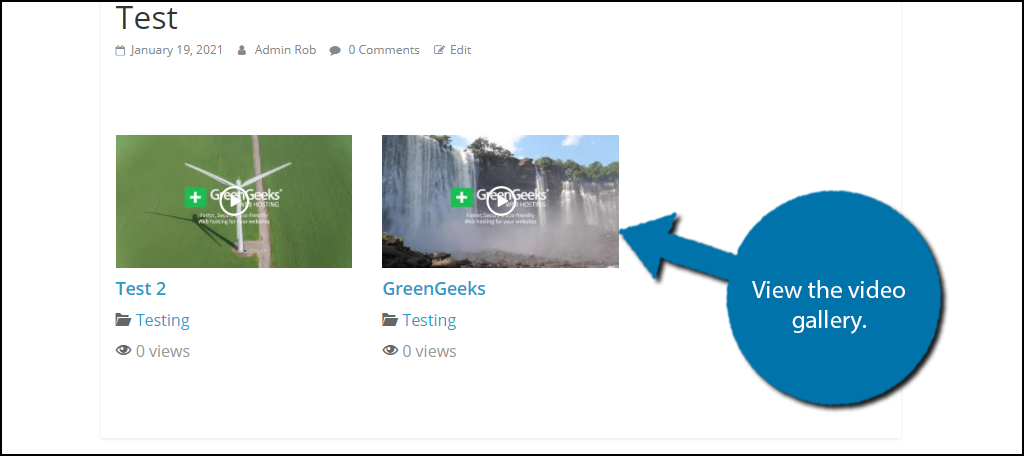
Congratulations on using the All-in-One Video Gallery plugin to create your very own video gallery in WordPress.
Make More Video Content
Video content is extremely important for every type of website. Even if you run an online shop, including video content alongside a product can result in higher sales. Or, if you write tutorials, including a video solution alongside a written one can help mobile visitors.
No matter what, you need to start creating more video content.
How easy did you find the plugin to use? Has a video gallery improved the user experience?