Push notifications have become a very popular tool for a number of websites. They’re used to alert visitors to the use of cookies and other required information. They’re also used to subscribe visitors to new content notifications. In this article, I’ll show you how to use the Webpushr – FREE Web Push Notifications plugin.
Once it’s installed, when you add a post to your WordPress site, notification subscribers will receive a desktop message. What could be better than that?
Push technology isn’t new, but it’s always been a bit difficult to implement. The Webpushr plugin changes all that. Now you can start delivering notifications in minutes.
Let’s get started.
1. Installing the Webpushr Plugin
Log in to your WordPress admin panel.
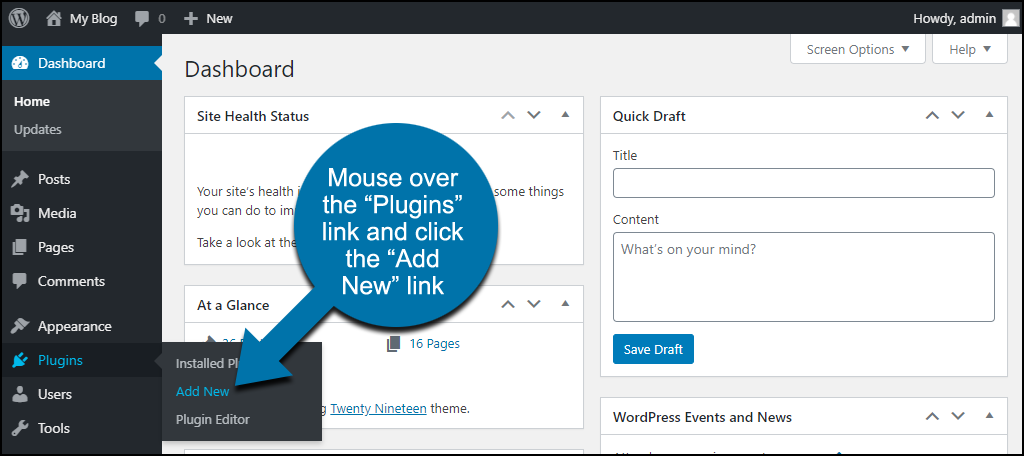
In the left column navigation, mouse over the “Plugins” link and click the “Add New” link.
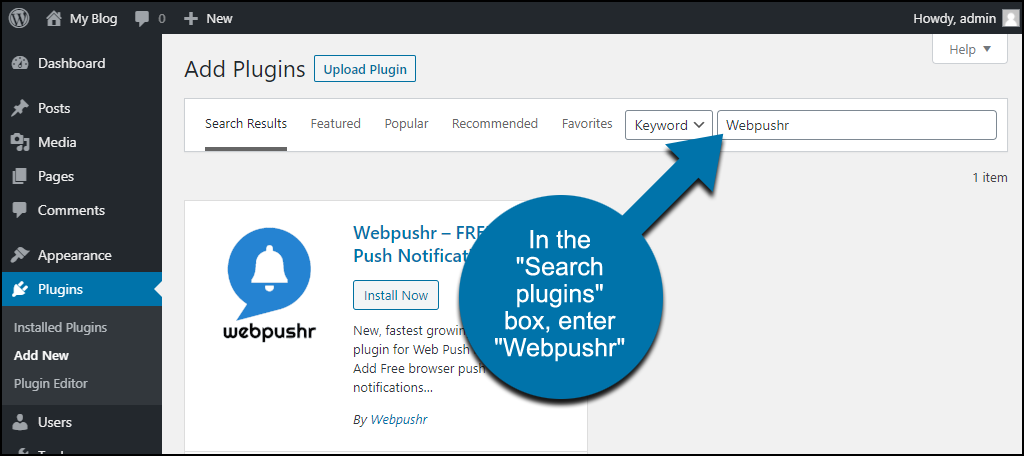
In the “Search plugins…” box, enter, “Webpushr.”
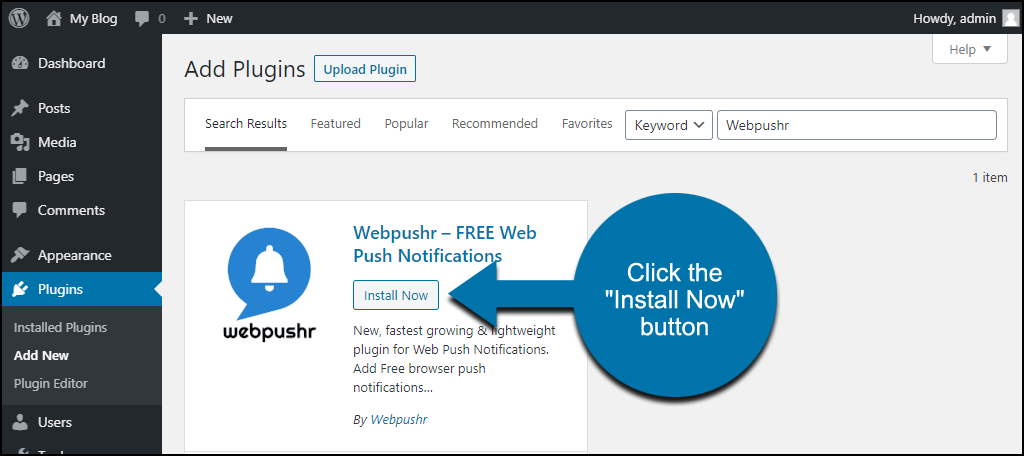
When you find the plugin, click the “Install Now” button.
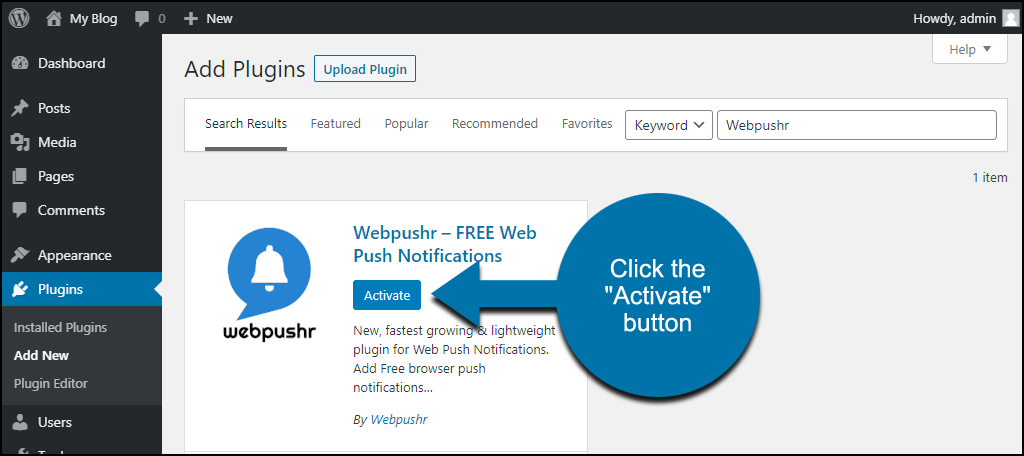
Now the plugin is installed, but it has to be activated before you can use it.
Click the “Activate” button.
That completes installation and activation.
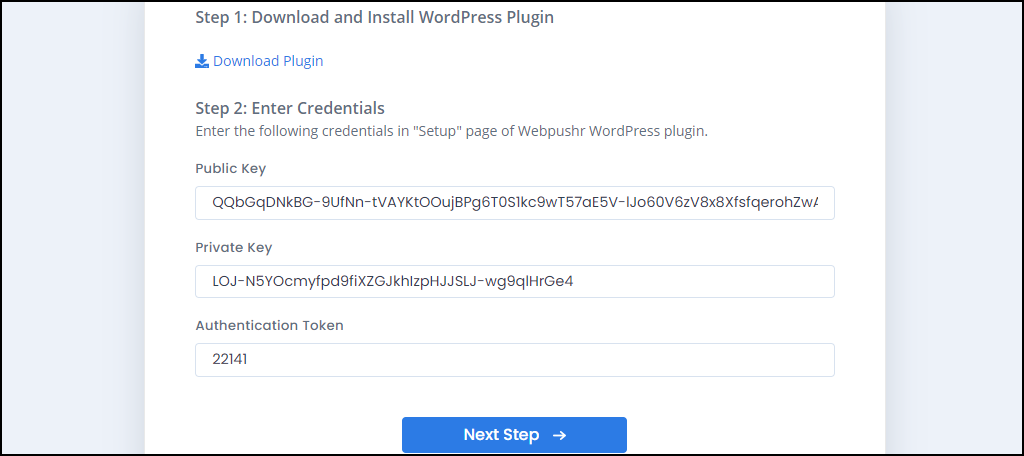
You’ll be taken to a page asking for a Public Key, Private Key, and Authentication Token. Leave that page open.
Open a new browser tab, and we’ll move on to getting the plugin up and running on your website.
2. Open a Webpushr Account
Before we get to the plugin configuration, we have to create a Webpushr account. The plugin only works when it’s connected to Webpushr.
The good news is there’s no charge for the account unless (until?) you accumulate over 60,000 notification subscribers. The average website will likely operate well under that limit.
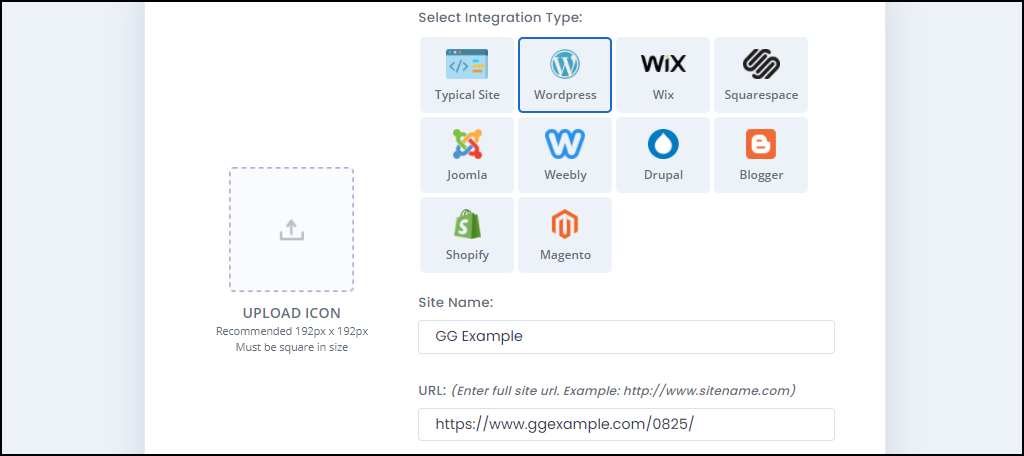
Once your account is set up, and you’re logged in to Webpushr, in the “Select Integration Type” section, choose “WordPress.”
Enter your site name and URL, and click the “Next Step” button.
Now you’ll be prompted to download the plugin, but we’ve already done that. We do need the Public Key, Private Key, and Authentication Token from this page, though, so don’t close it.
3. Activating Webpushr on Your WordPress Site
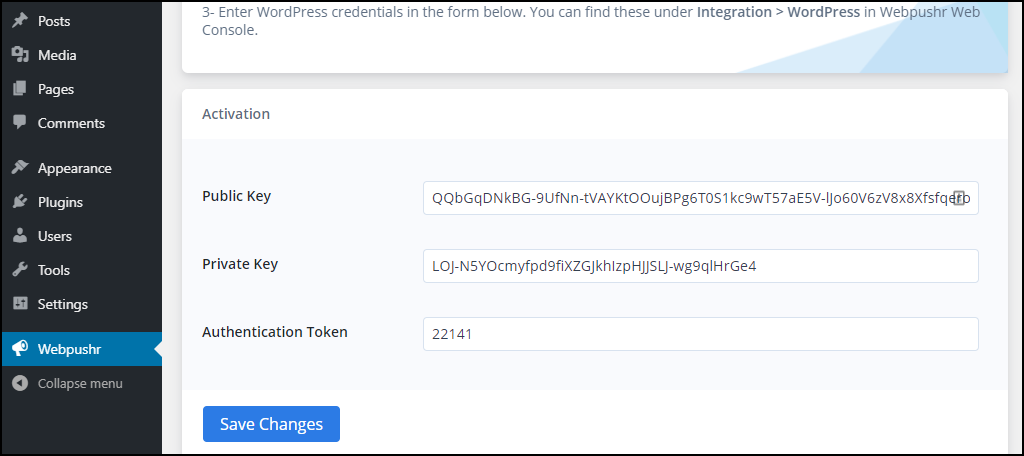
Go back to your WordPress admin dashboard. Copy and paste the Public Key, Private Key, and Authentication Token from the Webpushr site into WordPress.
Click the “Save Changes” button.
As soon as you enter the keys and tokens, WordPress push notifications start being sent to visitors.
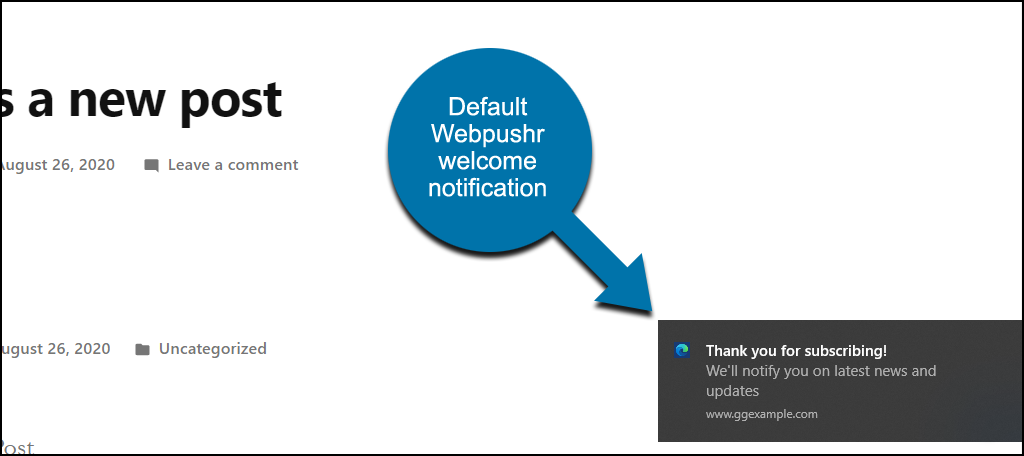
You’ll see a notice to accept or deny push messages appear on your site.
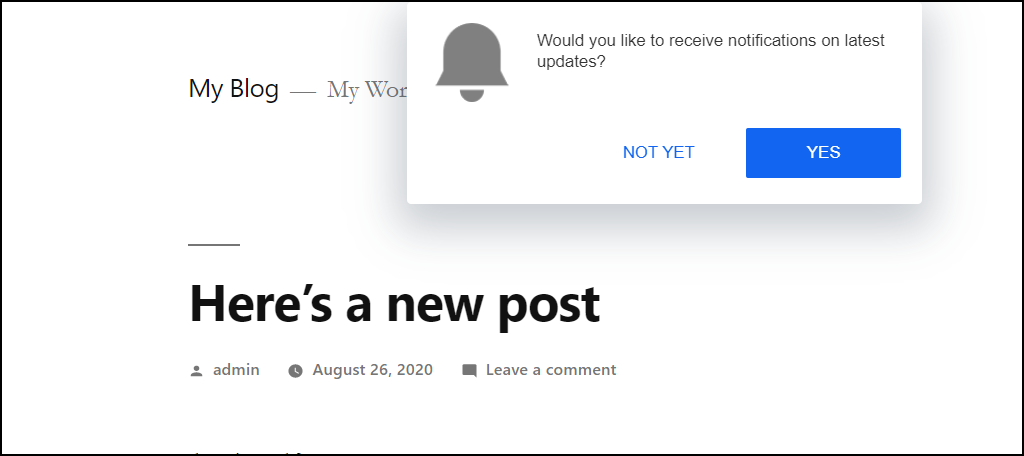
You may not see the notice when you’re logged in to your WordPress site as an administrator. But if you open another browser and visit your site, you’ll see it.
If the visitor accepts push notifications, they’ll see this message.
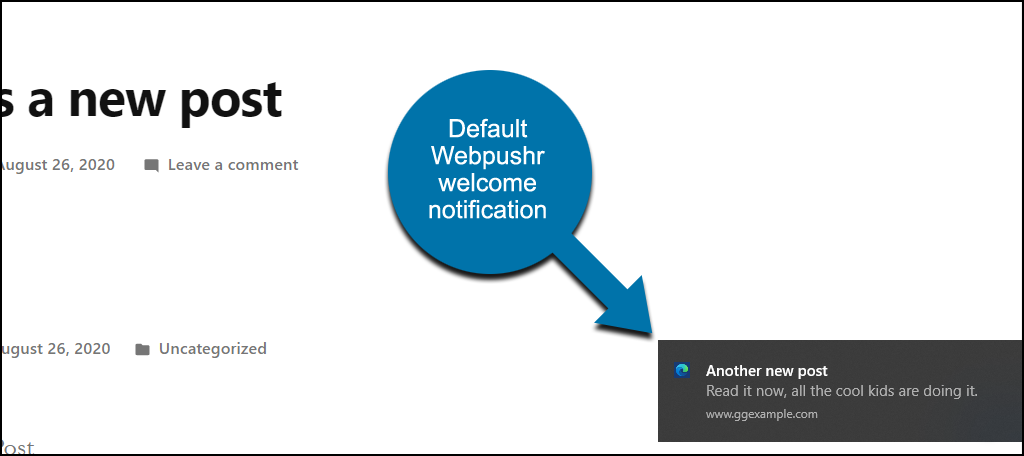
Then any time a new post is published, WordPress will notify subscribers of the new post.
The Optin Prompt and Welcome Notification can be edited on the Webpushr site.
If that’s all you want from the plugin, congratulations, you’re finished.
But let’s take a look at a few of the configuration options that are available. You may find some of them useful.
4. How to Configure Webpushr
If you’re not already on the configuration page, head over there now. In the left column navigation, mouse over the “Webpushr” link and click the “Configuration” link.
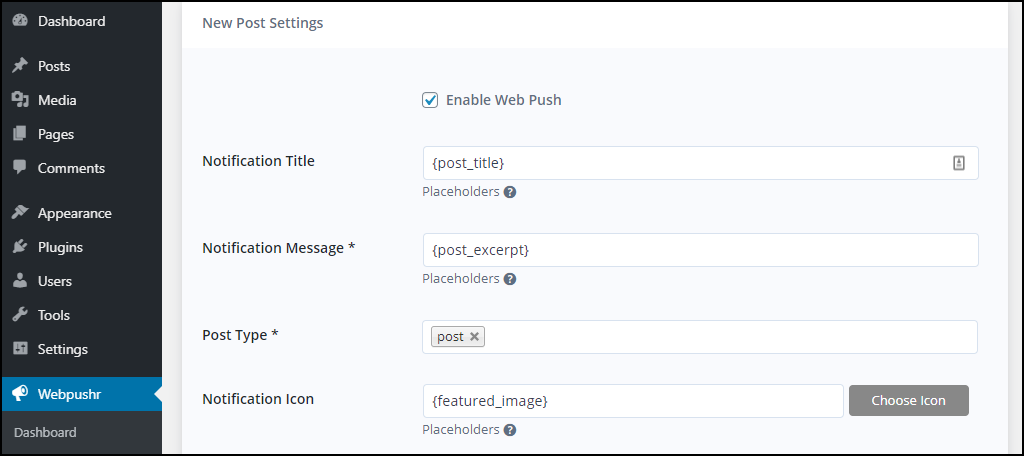
- Enable Web Push controls whether the push notifications are active or not.
- Notification Title – The default setting is {post_title}, but you can use {post_title}, {post_excerpt}, or {post_category}.
- Notification Message – The default setting is {post_excerpt}, but you can use {post_title}, {post_excerpt}, or {post_category}.
- Post Type – There’s no documentation anywhere about Post Type options. So we’ll leave the default “posts” settings in that field.
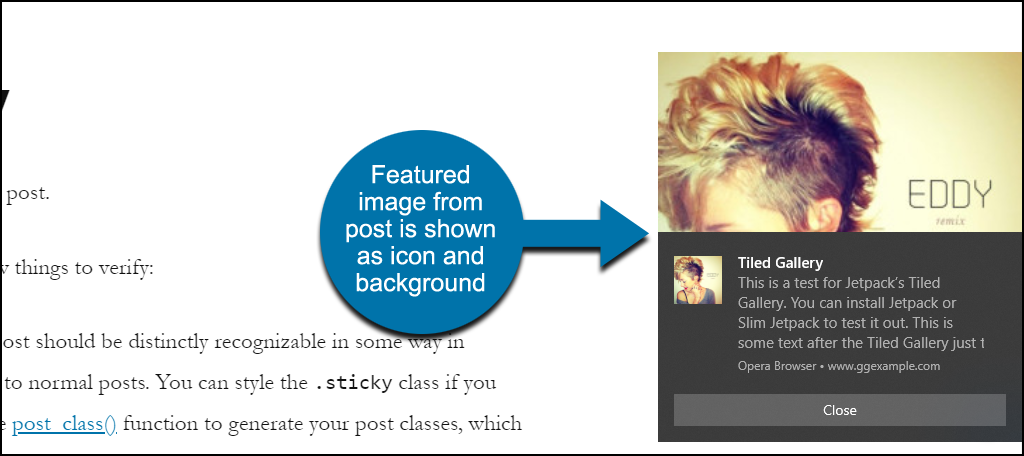
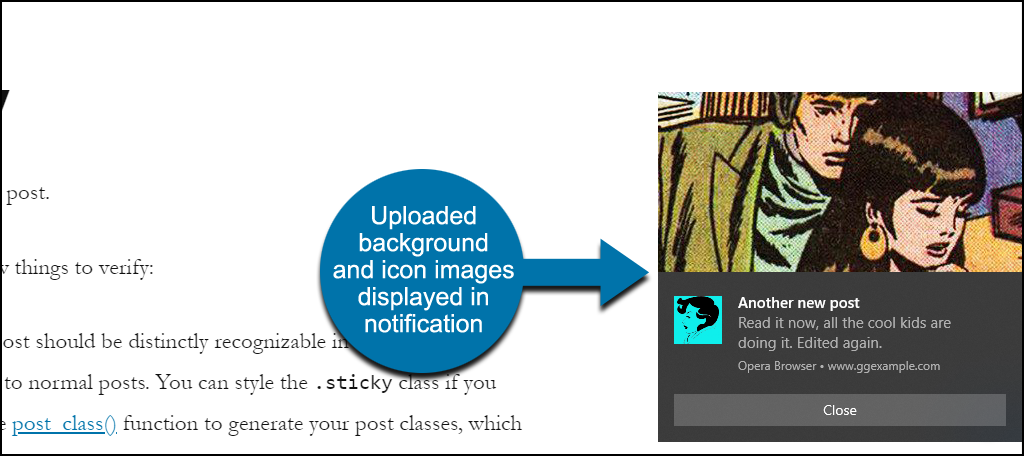
- Notification Icon – Uploading an image here will replace the browser logo icon in the notification. The default is {featured_image}, so if your post uses a featured image, it will be displayed in the notification (see below).
- Notification Image – Uploading an image here creates a background behind the notification. The bottom half of your image will be covered, so keep that in mind. The default is {featured_image}. If your post uses a featured image, it will be displayed in the notification (see below).
- UTM Parameters – If you use UTM parameters in your links, you can add one here.
- Select Segment – Webpushr lets you create user segments, and you can select segments here.
- Automatic Notifications – There are checkboxes to activate push on new post and post updates. Both are selected by default. If you don’t want to notify for edited posts, uncheck “Automatically send push notification when an existing post is updated.”
- Auto-Hide Notification is a setting for your site visitors who use Windows. It’s checked by default, but if you want your notice to remain visible until “Close” is clicked, uncheck this option.
- Manual Integration is a setting for advanced users of the plugin.
Don’t forget to click the “Save Settings” button any time you make a change to the plugin configuration.
Here’s What the Images Look Like
Here are the examples of the Notification Icon and Notification Image. This is what they look like by default for a post with a featured image.
And this is what the notification looks like when you add a Notification Icon and Notification Image, and the post does not have a featured image.
Note to the plugin developers: I realize it’s a free notification plugin, but it would sure be cool to be able to use both options. Featured images when they exist, replaced by custom images when they don’t. Thank you for your kind indulgence.
Webpusher Keeps Statistics: Here’s How to See Them
The ability to do WordPress notifications with the plugin is certainly an enhancement we can all appreciate. But Webpushr has gone above and beyond that, and included statistics as well.
In the left column navigation, mouse over the “Webpushr” link and click the “Notification Stats” link.
The table shows the sessions where a notification was delivered, along with the date, errors, clicks, and other data.

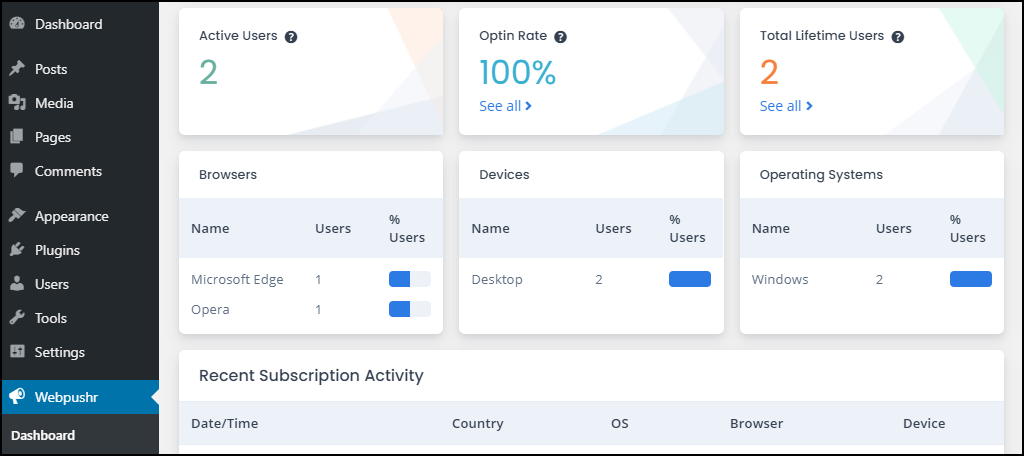
There’s also a user graph. To view it, mouse over the “Webpushr” link and click the “Dashboard” link.

Below the graph is a number of other stats that you may find interesting.
Push Notifications Aren’t Foolproof
Some browsers or browser plugins will block push notifications by default. Luckily, many browsers will open a dialog after a visitor opts into notifications. The dialog asks if you want to allow the notifications to be displayed.
Others, like Microsoft Edge, only show a small icon in the address bar that’s easy to miss. There’s not much we can do about that.
What Happens if You Uninstall the Webpushr Plugin
If you uninstall the plugin, push notifications will stop being delivered. In this case, notifications will also stop being delivered if you close your Webpushr account.
The plugin does not create any database tables or add to any posts or pages. So there’s no manual cleanup necessary after uninstalling.
The above issues are what I found in the course of my use and testing. There may be other issues that my testing did not uncover.
Push Notifications Equal Increased Reader Numbers
Any time you can send a message to someone’s desktop—even when they’re not on your site—that’s awesome. But you still want to follow best practices for push notifications. Even when someone has opted-in, they can find push notifications intrusive.
But overall, there hasn’t been a better tool created to keep readers coming back since RSS. And with RSS use in decline, push notifications are a great alternative.
Do you use push notifications on your website? How do you feel about push notifications in general?
Let me know in the comments. I’d love to hear from you.
Thank you very much for your detailed and step-by-step procedure with pictorial representation.