WordPress is an incredible and stable system to work with. However, there may be times when you’ll need to access website folders or files directly. For this, you can use a program for file transfer protocol, or FTP.
The FTP program gives you access to root files and directories of the website. It is a very useful tool when you have to troubleshoot common WordPress errors or simply upload files and images. Although this may sound intimidating to some, actually using FTP is relatively easy.
In this tutorial, I’m going to show you how to upload files to WordPress with FTP software.
When will you need to upload files when working with WordPress?
Although you can manage a lot of things from the admin panel, there are many instances when uploading will be more beneficial. This is especially true if you custom design your own code for certain parts of the site.
For Custom Files
Custom files are often part of getting more out of the WordPress experience. This can be anything from index pages to CSS files that add a bit of flair to appearance. In any case, you’ll need an efficient system to upload these files.
For Video Uploads
Many people will host their videos on the website. To keep files organized, they often upload these pieces into their directory. This helps keep the site clean and makes it much easier to find files at a later date.
Unable to Access the Admin Panel
What if you don’t have access to your admin screen or need to upload files from your laptop while on the go? Applications for FTP make this happen by creating a connection to your website without the use of logging into WordPress.
Restoring from Backups
One of the most common reasons to upload files is to restore the website from a backup copy. In the event something happens such as a hack or malware attack, getting the site back up and running could be as simple as uploading files. Just make sure you plug up the hole that allowed the hack or the malware attack to happen in the first place.
Using FTP to Upload Files to WordPress
In this tutorial, I’m going to show you how to use FileZilla to upload files to WordPress. It’s a free program I’ve been using for quite some time, and it’s a very useful application to have. When you don’t have the money to spend on software you may not use regularly, FileZilla is a great alternative.
For the following example, I’m going to upload an image to WordPress through FTP. I know I can do this from the admin panel, but it’s an easy way to show you how this all works.
To use this FTP program to upload files:
Go to the FileZilla website and download the software.

NOTE: This program has versions available for Windows, Mac and Linux operating systems.
Install the application by following the instructions after opening the downloaded file.
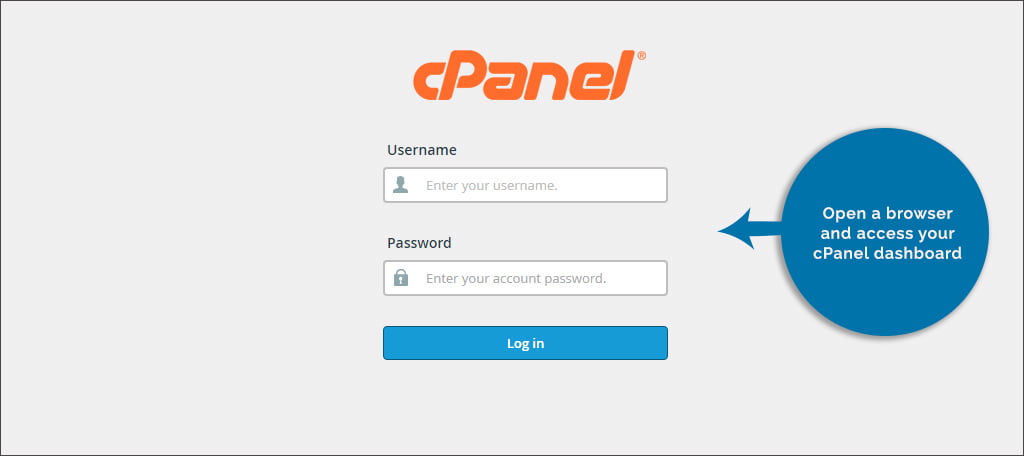
Open a browser and access your cPanel dashboard.
Locate your FTP credentials for the specific website.
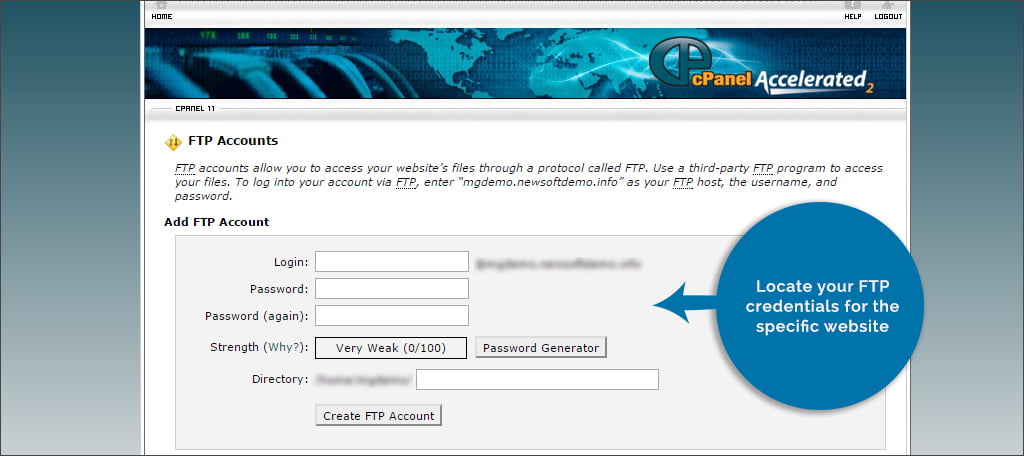
NOTE: If you have multiple accounts, you’ll need to make sure you get the right login information. This data is used to allow FileZilla to connect to your web host remotely.
Open FileZilla and enter your FTP credentials.
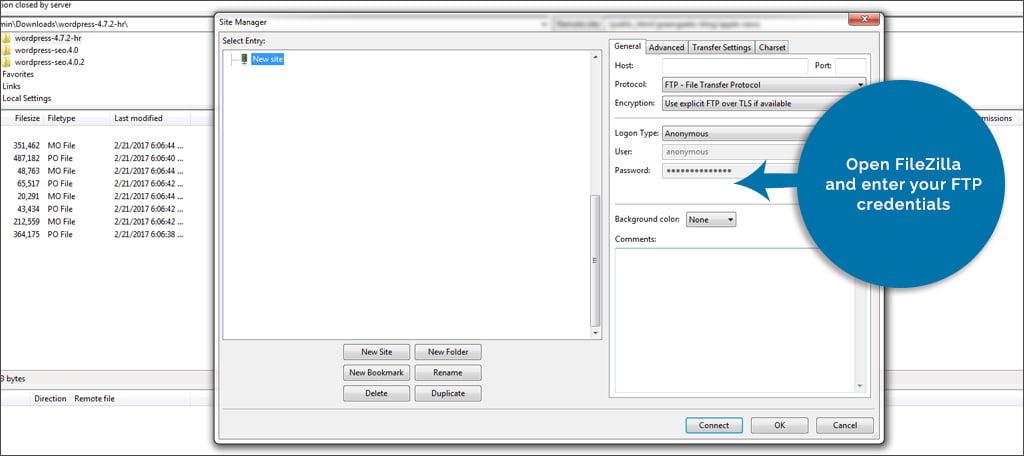
NOTE: If you need help with learning how to use FileZilla, we have a detailed guide available complete with screenshots.
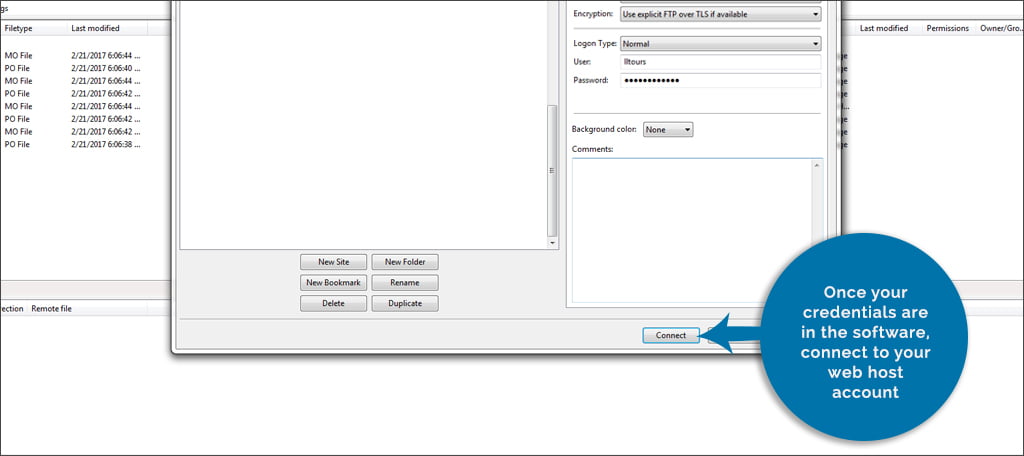
Once your credentials are in the software, connect to your web host account.
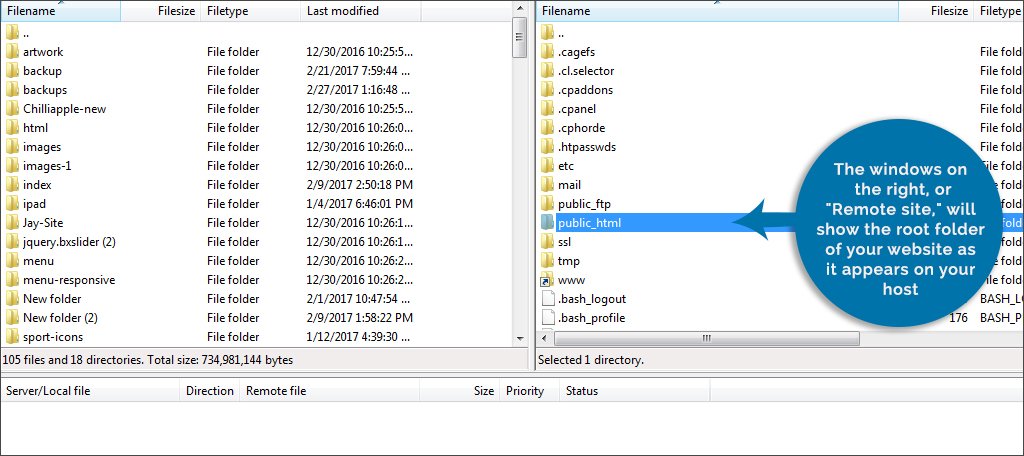
In the program, you’ll see two columns of windows. The ones on the left are your computer system, or “Local site.” This will display your folders and files just as if you were looking at the files on your computer. The windows on the right, or “Remote site,” will show the root folder of your website as it appears on your host.
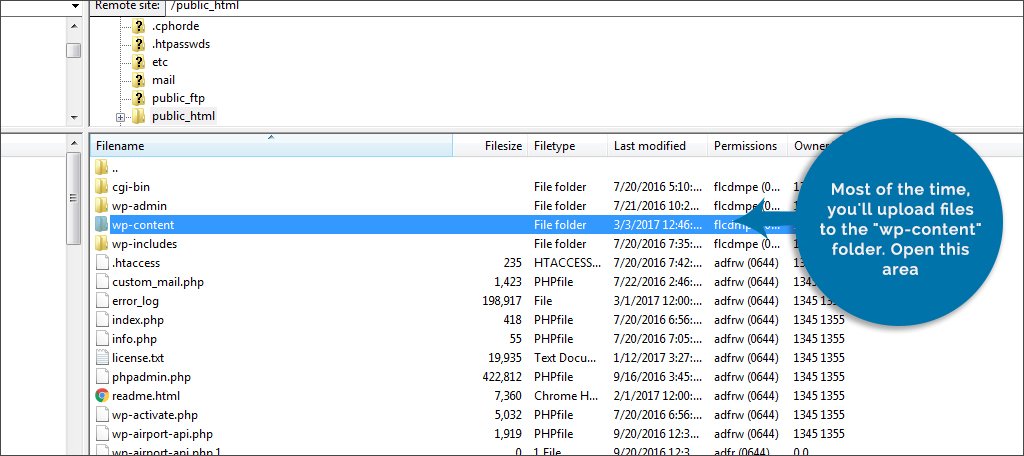
Most of the time, you’ll upload files to the “wp-content” folder. Open this area.
In the content folder, you’ll see the location for plugins, themes, and uploads. Because images are saved in the “uploads” folder, this is the one we’re going to open.

Now, you’ll see a collection of folders labeled by years. WordPress will time-stamp uploads according to when they were sent to the system. Find the current year and open the folder.

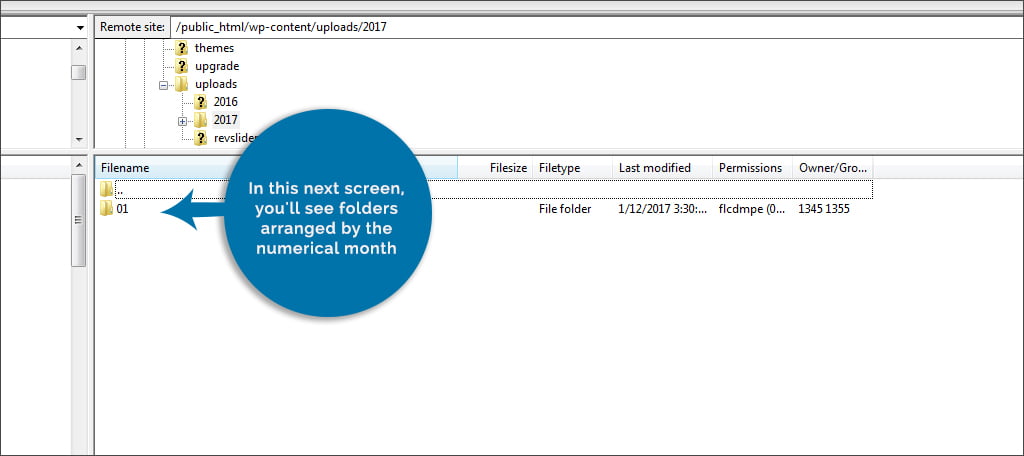
In this next screen, you’ll see folders arranged by the numerical month. For instance, January is labeled, “01.” Find the correct month and open this folder.
Back to the local site window, look for the image file you want to upload. Mine is located in a secondary hard drive used for storing graphics. Using the window on the top left of FileZilla, I will explore that drive. Your layout may be much different from mine. Just remember that this window works just like your computer’s file system.

Once you find the file you want, drag it from the bottom left window into the bottom right and drop the file. FileZilla will then automatically upload it to the system.

It’s important to note that uploading an image in this fashion does not add it to the WordPress media folder. However, the URL of the image will be the same. For instance, it will look something similar to:
www.ggexample.com/uploads/2017/01/NewUploadedImage.jpg.
Any file can be sent to the system through FTP in this manner. This includes docs, videos, music, and applications. Just keep in mind that large files may take a bit of time to upload because of their size and the type of Internet connection you use.
Can I upload bulk files, or am I stuck with uploading one at a time?
Most FTP programs can upload more than one file at a time. In fact, you can select a folder filled with various material and upload the whole thing all at once. FileZilla also has the ability to select more than one file by holding down the “Ctrl” key on Windows computers or “Command” key on Macs and clicking on each one you want to upload.
Will the files I upload disappear if WordPress is updated?
Files that are uploaded to WordPress will remain after the system is updated. The only time custom changes are affected by an update is if you add custom coding to files that are already in the system, such as those in themes or plugins. Otherwise, uploads will be unaffected during updates.
Why should I use FTP instead of plugins like “File Manager?”
Plugins are one of the things that make WordPress such a powerful tool. However, not every situation is best handled by a plugin. What if you don’t have access to the admin panel? Besides, FTP programs are far more versatile than many management plugins available in WordPress. Many will offer abilities such as changing file permissions or quickly creating backups.
Although there are many tools in WordPress that FTP can’t emulate, it’s still an excellent idea to have the program installed in the event of an emergency. Not only does the software give you a way to upload material, but it can also be used to create complete backups of your website by downloading the entire root folder. Don’t assume WordPress can handle it all. While it’s a good system, sometimes the scenic route is the easiest.
What kind of things would you like to upload to your website? Do you have a favorite FTP program that you want to use with WordPress?
my website show message error 403 forbidden . how to fix this error
Hi Pramod,
Generally this is caused by permission issues. It’s best to contact your webmaster and/or your hosting company so that they can debug this for you.
With Greengeeks when we speak about FTP everything is difficult, even if we speak about the most simple thing to do like open a ftp connection, that also very difficult with greengeeks !!!
Sorry for that but everytime i wont to do that a have a lot of problems nothing work as simple as it need, Please update your setup process and the files that you provide have never worked either
Hi Greg, we can help you with that. Whenever you’re having trouble with FTP—or anything—on your GreenGeeks account, contact our technical support team and they will help you out.