Do you want to add a floating contact form in WordPress? If you run a business, you understand that giving new and existing customers the ability to contact you is important. However, hoping that they will find your contact page may not be enough.
A floating contact form can appear in your sidebar area and be visible anywhere on your website. This makes it extremely useful when communication is necessary.
Today, I will demonstrate how to use the All-in-one Floating Contact Form plugin to accomplish this.
Who is a Floating Contact Form Useful For?
Not every WordPress website is going to need a floating contact form. You might get by just by adding a contact form to your nav menu. But, it doesn’t have that nice appearance a floating one can offer.
This is for websites that heavily rely on communication to receive work. For example, many graphic designers have their own website that acts as a portfolio. This is to help potential customers see their work and decide if they want to hire them.
They rely on receiving work orders to do business, which would make a floating contact form useful.
However, if you have a basic personal blog, this probably isn’t a feature you need. A normal contact page will suffice.
Not a Replacement for a Contact Us Page
If you are thinking you will not have to make a Contact Us page because you have a floating contact form, you are mistaken. This is not a substitute.
The Contact Us Page not only allows you to provide more information, but gives you a page to sell yourself to potential customers. The floating contact form will only allow visitors to leave their information and not display yours.
On top of this, having a picture of yourself visible really does a lot to remind visitors that you are a real person and not just some guy on the internet. Thus, a Contact Us page is one of the most important pages you should make.
Not to mention the fact that contact information can play a role in SEO as it’s part of expertise, authenticity and trustworthiness.
Installing All-in-one Floating Contact Form
All-in-one Floating Contact Form is a sticky contact form WordPress plugin. This means it delivers forms that stay on pages and posts. This is great for pushing products, services, or even social media accounts. Luckily, the plugin is really easy to set up and it has a lot of customization options.
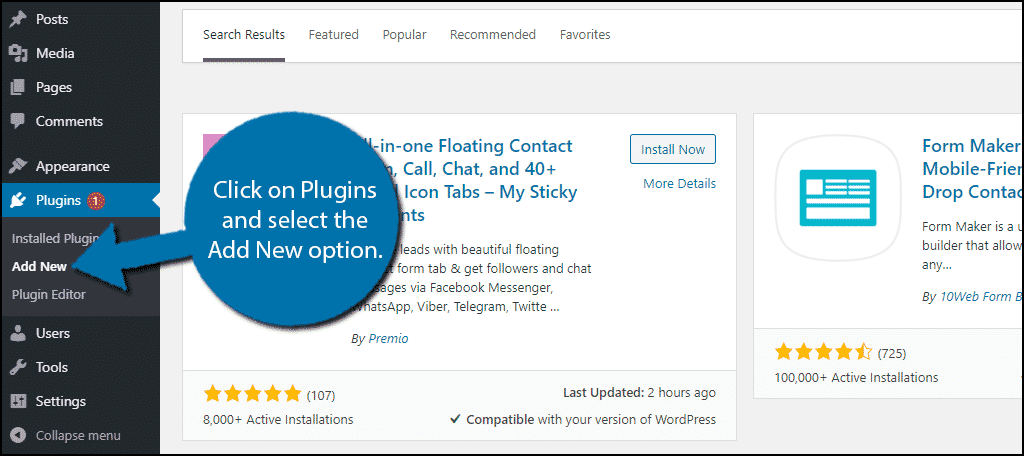
Let’s start by clicking on Plugins and selecting the Add New option on the left-hand admin panel.
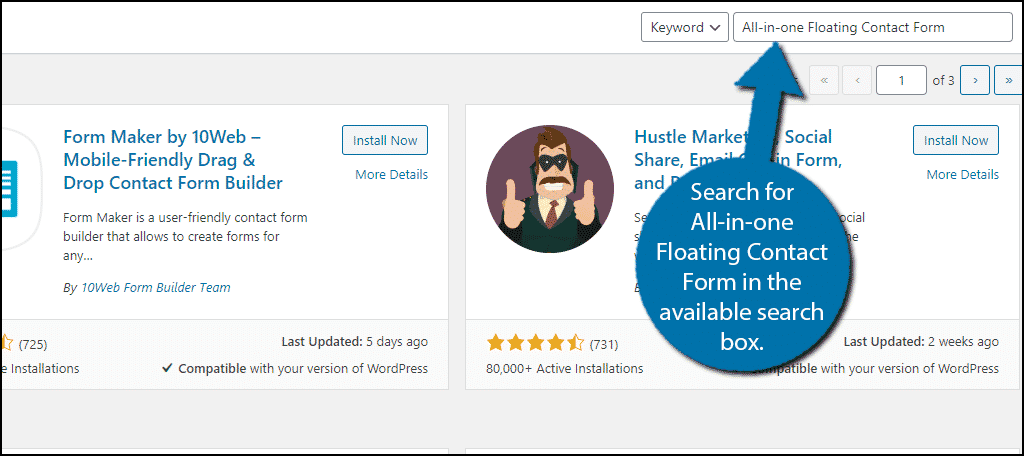
Search for All-in-one Floating Contact Form in the available search box. This will pull up additional plugins that you may find helpful.
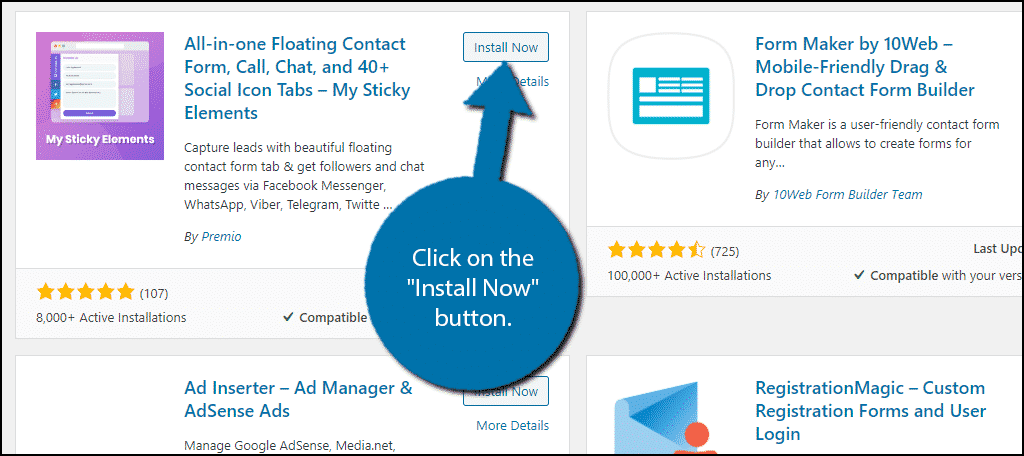
Scroll down until you find the All-in-one Floating Contact Form plugin and click on the “Install Now” button and activate the plugin for use.
Upon activation, you will be asked if you want to receive notifications about upcoming features. These will be in the form of emails and are not required. So feel free to accept or skip.
After this, the plugin will display a popup with a video tutorial on how to use the plugin. I recommend watching it because it is very informative and it’s not even two minutes long.
Setting Up A Floating Contact Form
I was not lying about how simple this plugin is to use. And by default, it’s good enough for most websites. On the plugin’s settings page, you will find three sections, Contact Form Tab, Social Channels Tab, and General Settings.
Contact Form Tab
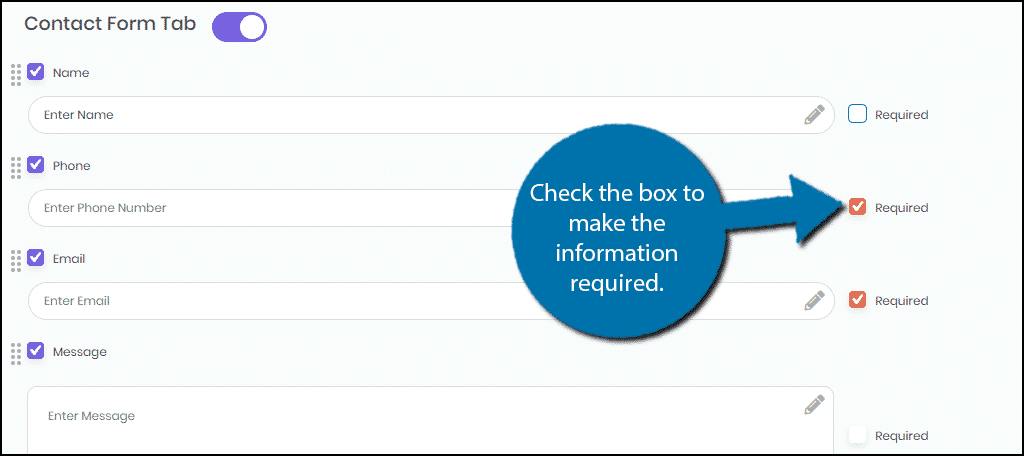
The Contact Form Tab is where we will start. This is what determines what will be included in the form and what it will look like.
By default, the contact form will ask for Name, Phone, Email, and a message. You can customize any of these elements by clicking on them. To the right of the element, you will see a required checkbox. simply check the box if that piece of information is required.
You can also rearrange the order by dragging the eight dot icon.

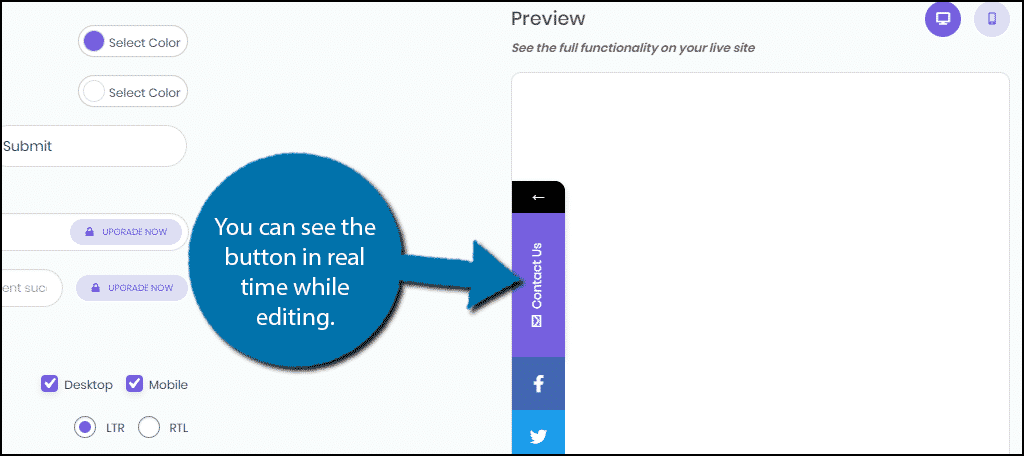
Next, you can change the appearance of the contact form button. By default it is purple, but you can change it to any color, just makes sure it is visible. You can also select the text and text color as well.

The rest of the settings are cosmetic as well. Go through them until you are satisfied. You can see what the button looks like in both desktop and mobile views on the right-hand side.
Social Channels Tab
The Social Channel Tab deals with everything social media related.
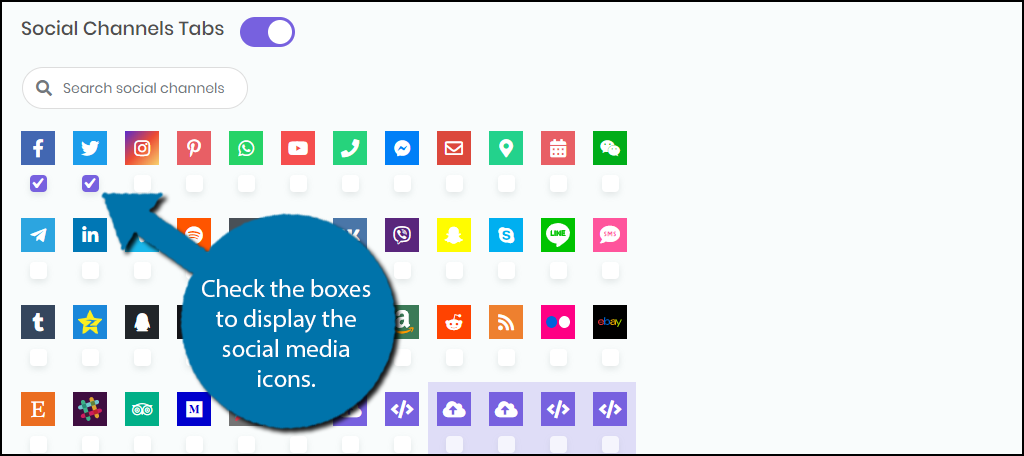
In the free version of the plugin, you are allowed to display two social media icons. If you want more, you will need to upgrade to the pro version.
There are 48 social media icons to choose from, and they look really good. Simply check the two that you want to display or more if you have the pro version
Underneath the icons, you can insert a link to your account or the account you want to link to. Make sure the information is correct.
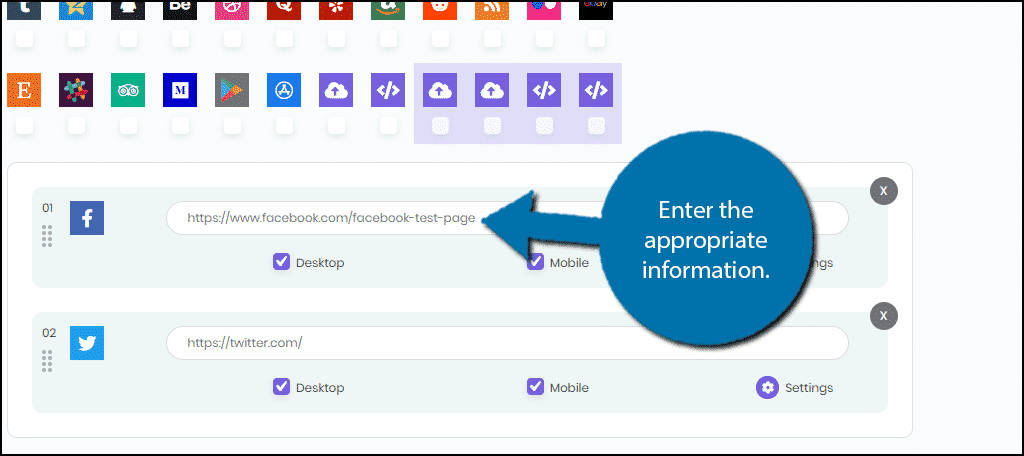
Once, again, you can preview these changes by looking on the right-hand side.
General Settings
The general settings allow you to change how the buttons look and where it appears.
You can select one of eight different templates that change the design of the buttons.
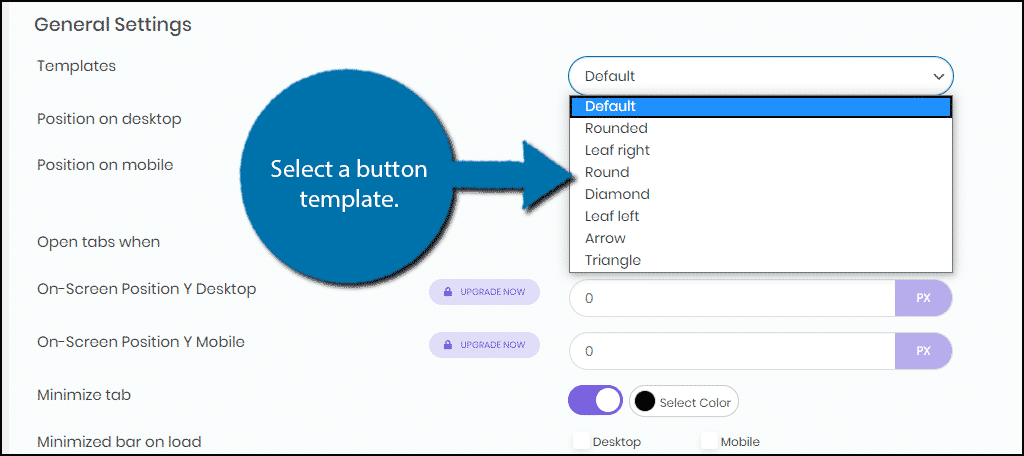
Underneath the template selection, you can change the size and location of the buttons. Again, make sure to check it on the right-hand side preview.
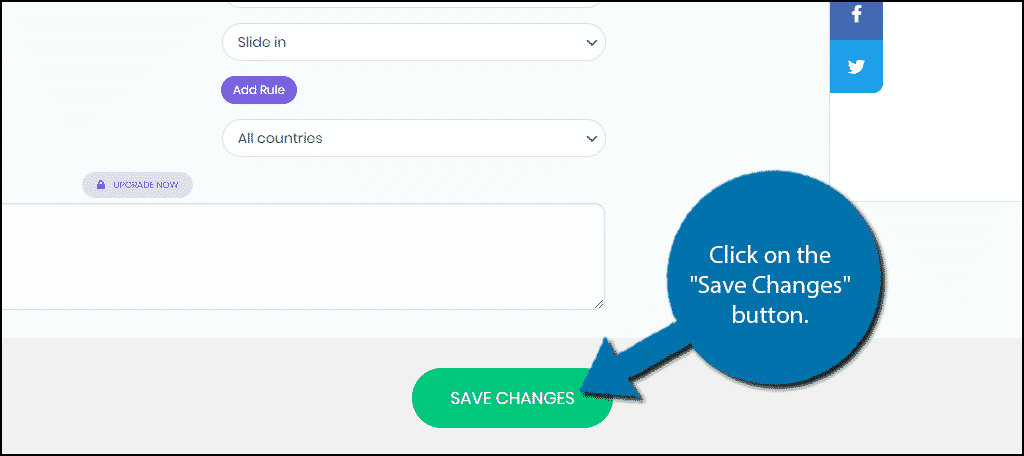
Once you are satisfied, click on the “Save Changes” button.
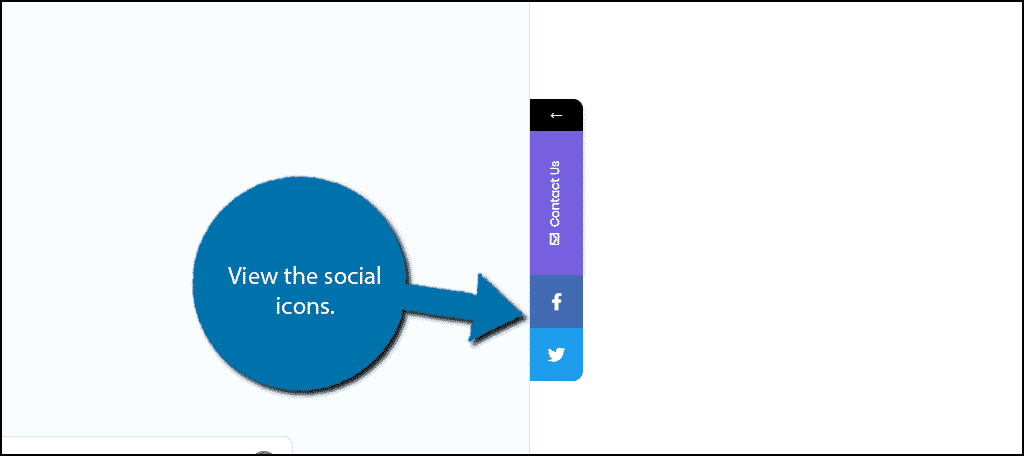
View it in Action
You can now visit your website to see the floating contact form in action.
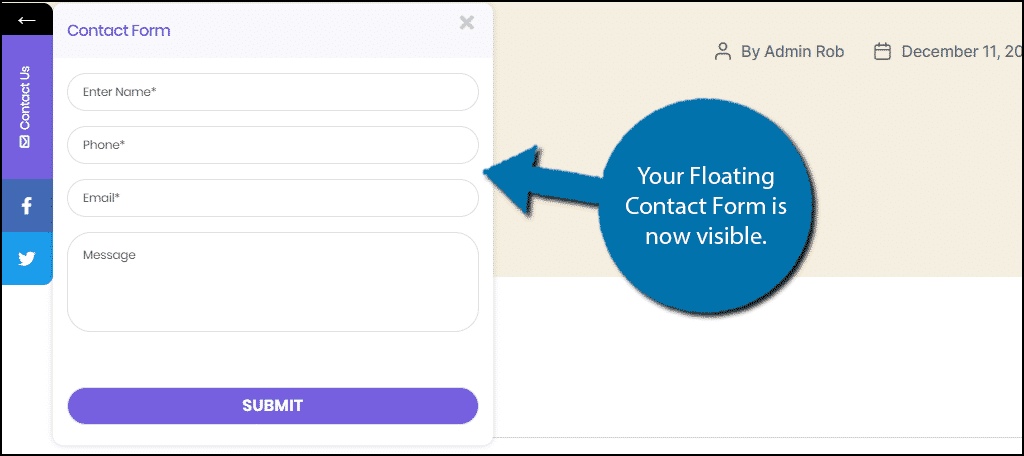
Congratulations on setting up the All-in-one Floating Contact Form plugin. You can change the settings at any time.
Make Sure It Is Visible
A big mistake beginners often make is adding features that are hard to see or read.
For example, if you happen to have a background color of purple, it would be really hard to see the purple contact form button. It is important to make sure everything you add looks like it belongs on the page and that it is easy to read.
Not only does this help ensure features are used more, it helps make your website more accessible. Oftentimes, new web developers forget about those with poor vision or vision impairment like color blindness.
Accessibility is key for any website.
Consider Other Communication Options
Depending on your website or business type, you may want to consider live chat options.
Luckily, WordPress has a lot of live chat plugins available. These can help customers communicate with you and your staff. The easier you make communication, the better the user experience you will create.
Another great way to communicate with people is through social media. Social networks like Facebook allow you to create business pages. You can use these to answer questions and provide contact information. The same is true for other platforms too, like Twitter.
Forums are another excellent option to consider. These let visitors ask questions and you or staff can answer them. On top of this, forums are a great way to build a community and encourage communication not only between business and customers but between customers and customers.
Why did you add a floating contact form to WordPress? Are there any other sticky side button contact form plugins you would recommend?