PayPal is one of the most recognized financial institutions on the Internet. It can help you build eCommerce sites as well as provide various means of accepting money. One method that many organizations use is the PayPal donate button.
While PayPal is often used as a shopping cart system, it can also help you fund a charity or even just yourself.
With a donate button linked to your PayPal account, you can accept money for a variety of purposes. It gives people a chance to send you money for virtually any reason. This also makes it convenient if you support charities or conduct your own drive for a good cause.
In this tutorial, we’re going to show you how to install this button.
Your Own PayPal Account
Before you get started, you need to have your own PayPal account. This is a free sign up and links directly to your bank account or credit card. To start the signup process, visit PayPal.com.
Although signing up for PayPal is free, there is a fee for every transaction. This is dependent on the type of account you use. For instance, fees range from 2.2 percent to 2.9 percent plus $0.30 per transaction. So, if someone gave you $10, you’d only receive as much as $7.50 depending on your account.
You will need your banking information in order to transfer funds and verify your identity. This process could also take up to five business days.
If you complete the sign up process by uploading your identification and other required information, you may be qualified for a PayPal Mastercard as well. This works just like a debit card and will pull money directly from your PayPal account.
To get your account ready for donations:
Step 1: Go into your PayPal account.
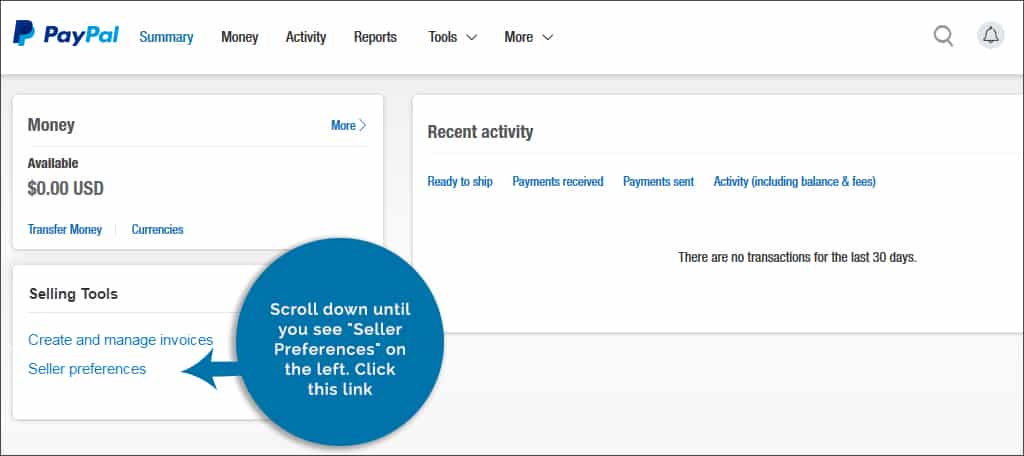
Step 2: View your summary page. Scroll down until you see “Seller Preferences” on the left. Click this link.
Step 3: On the left side under “My Profile,” you will find “Custom payment pages.” Click the “Update” link on the right side of this feature.

Step 4: From here, you can customize your payment page. Many people will leave this as the PayPal default. However, you can customize it to make the page look similar to your own website by clicking the “Add” button located here. You can change colors, add logos and even include header images to give it the same look and feel of your site.

Step 5: Once you have changed all of these settings, give the page style a name and click the “Save” button on the bottom right.
Using a Plugin to Install the PayPal Donate Button
There are plenty of plugins available to help you set up a donation button. In this tutorial, we’re going to use the PayPal Donations plugin. It’s an easy method for quickly adding a button whether you use it as a widget or by using the available shortcode.
To set up this plugin:
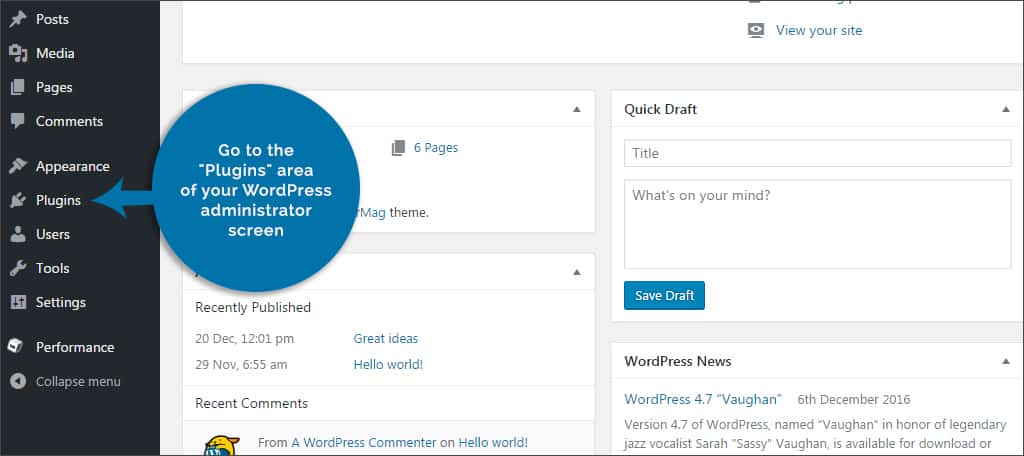
Step 1: Go to the “Plugins” area of your WordPress administrator screen.
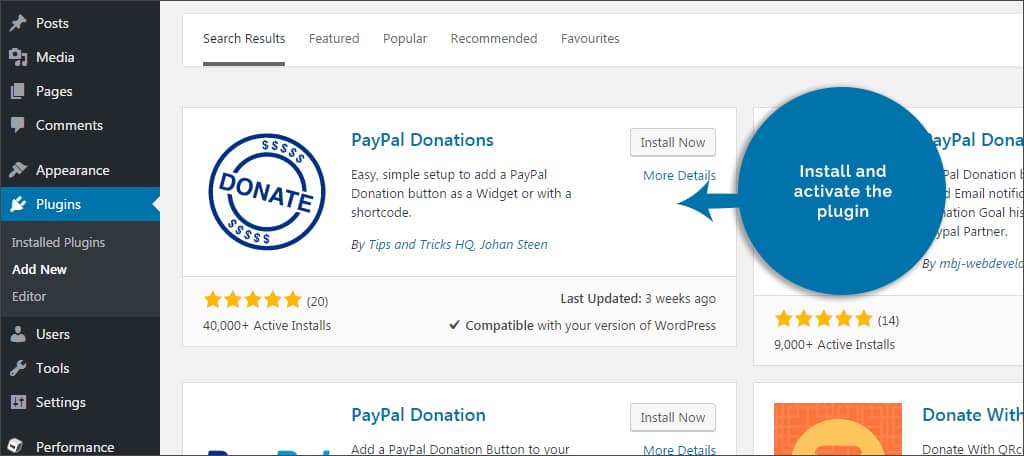
Step 2: Click the “Add New” button and search for “PayPal Donations.”

Step 3: Install and activate the plugin.
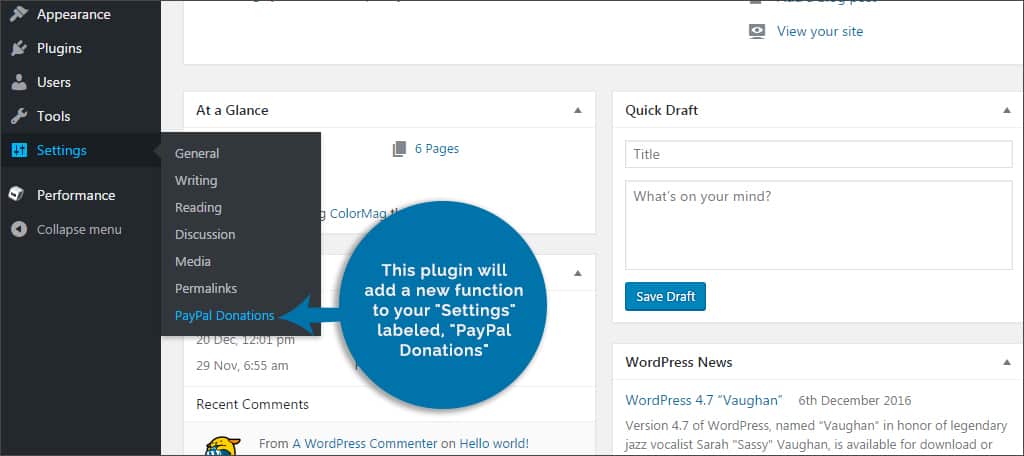
Step 4: This plugin will add a new function to your “Settings” labeled, “PayPal Donations.” Click this in order to open the plugins options.
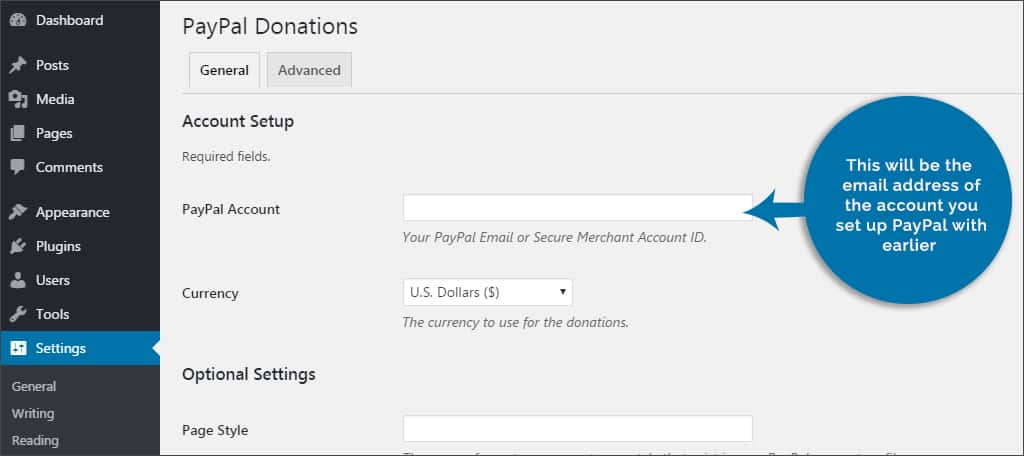
Step 5: Once you have the PayPal Donations settings open, enter in the “PayPal Account” you use. This will be the email address of the account you set up PayPal with earlier.
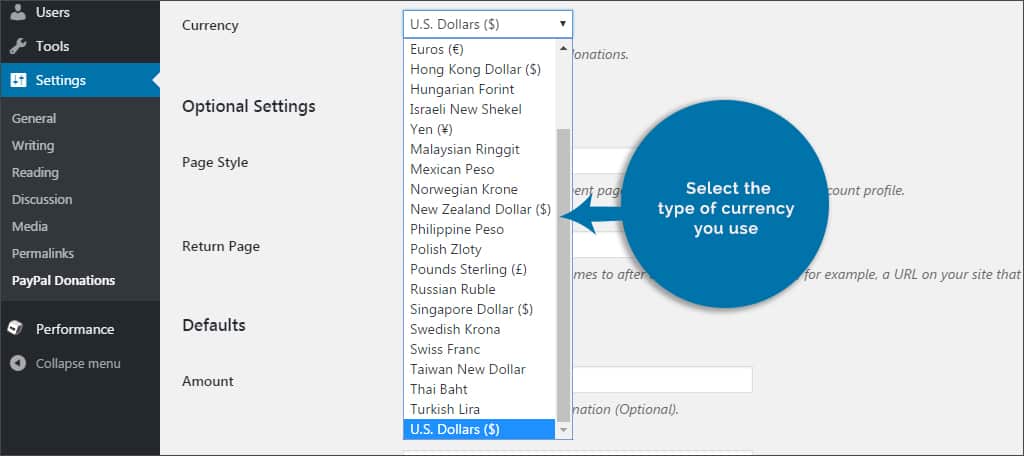
Step 6: Select the type of currency you use. PayPal will also automatically convert currencies should someone in another country donate money.
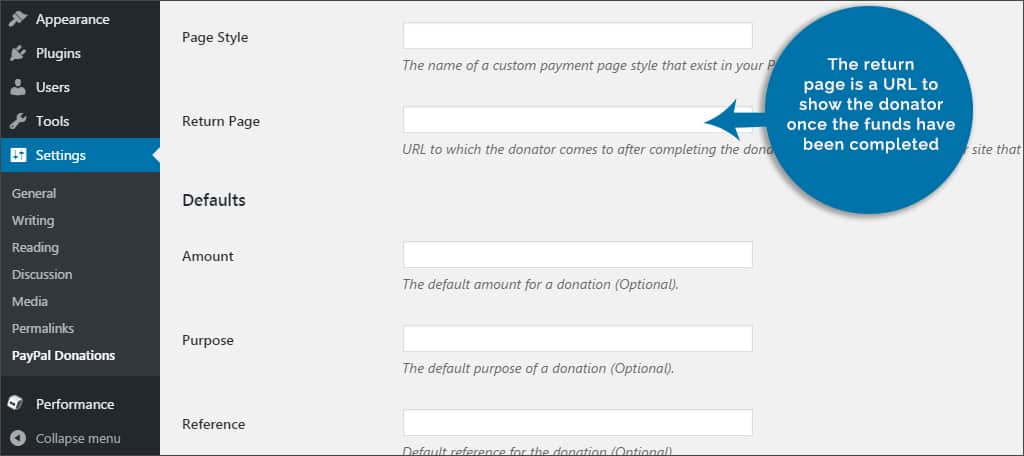
Step 7: In the section for Page Style, you will need to enter the name of the custom page you created in PayPal for the donation.
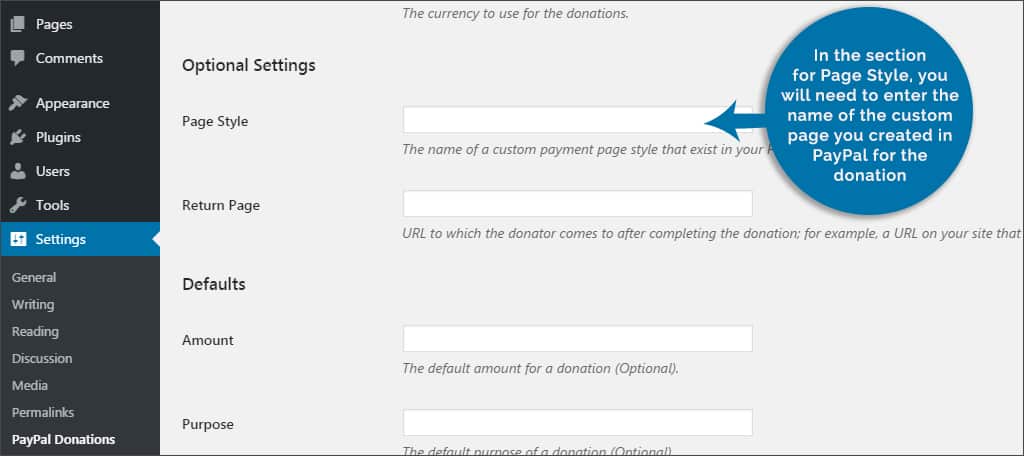
NOTE: This is optional. The PayPal style will have a default that displays your account email address.
Step 8: The return page is a URL to show the donator once the funds have been completed. Some people will set up a specific “thank you” page in WordPress for this purpose. Place the link in this field. This is also optional. You could also just use the URL of your website.
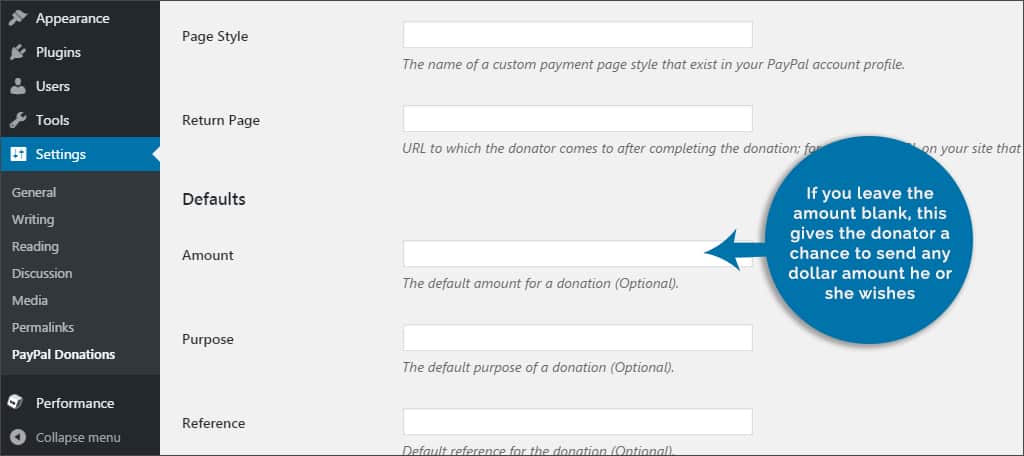
Step 9: If you leave the amount blank, this gives the donator a chance to send any dollar amount he or she wishes. Otherwise, you can set a specific amount in this box.
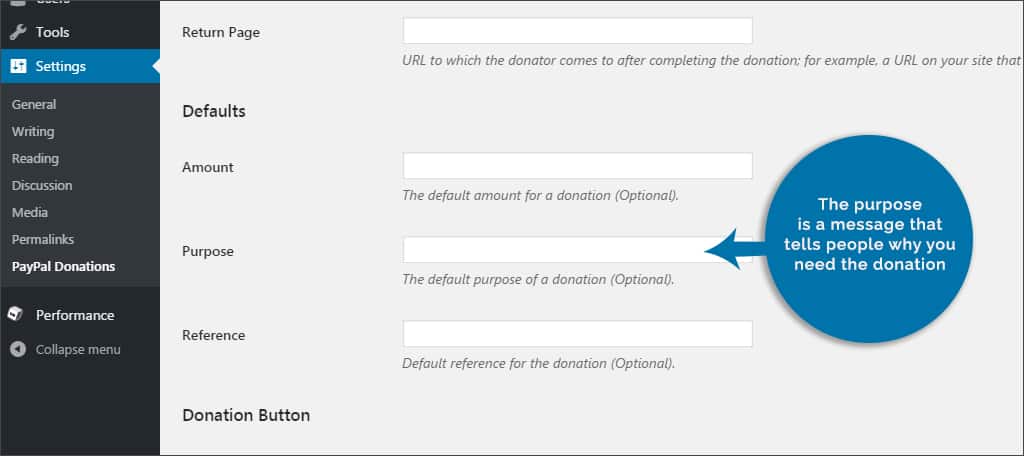
Step 10: The purpose is a message that tells people why you need the donation.
Step 11: A reference message is added to the donation so that visitors know what the money pertains to. For example, some people will simply put their name, the company or the charity in this field.
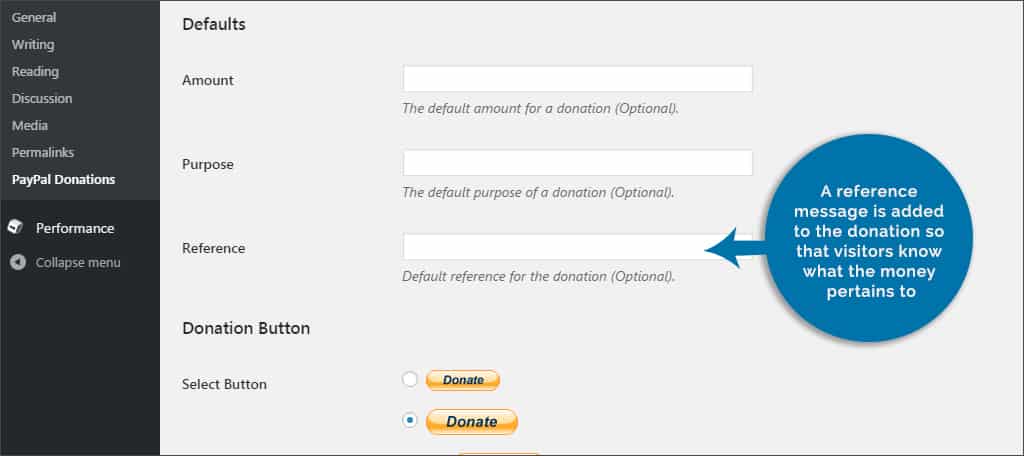
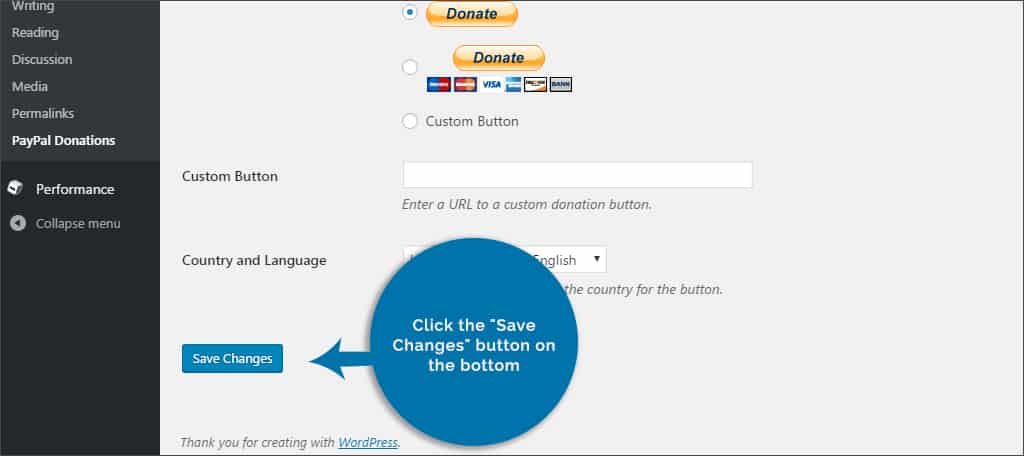
Step 12: Choose a donation button. This plugin comes with three default buttons you can use. You can also select to use a custom button if you have a specific graphic you want to use. OPTIONAL: If you choose to use a custom button, enter the URL of the graphic in the field for “Custom Button.” Otherwise, leave it blank.
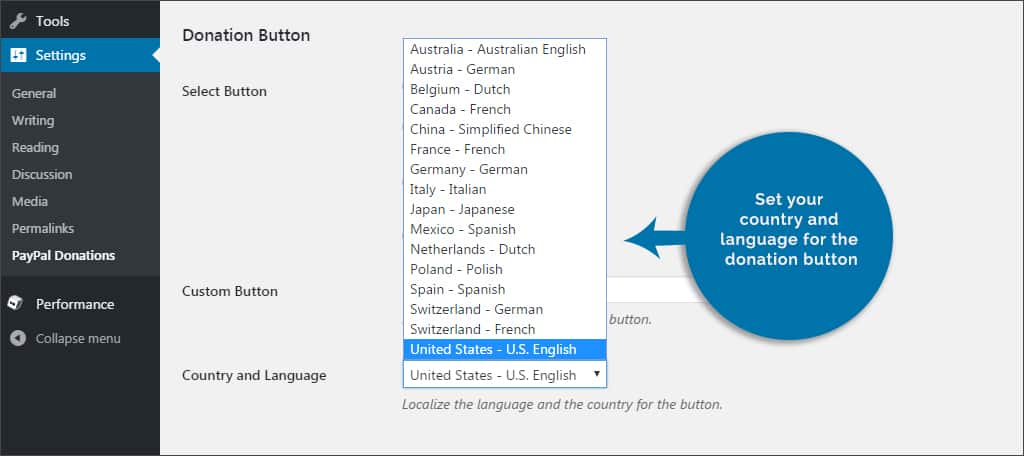
Step 13: Set your country and language for the donation button. This plugin supports more than 15 current languages and locations.
Step 14: Click the “Save Changes” button on the bottom.
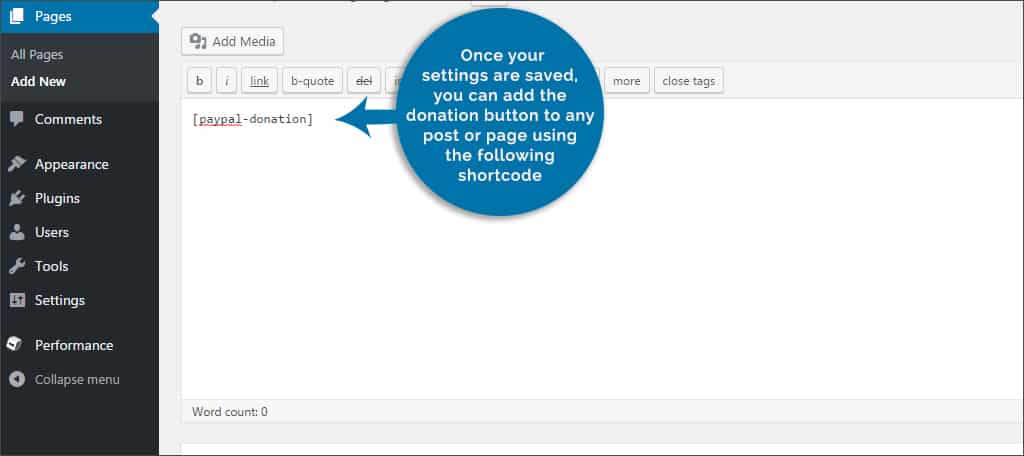
Step 15: Once your settings are saved, you can add the donation button to any post or page using the following shortcode:”[paypal-donation]”
Using the Widget
Alternatively, this plugin will also install a widget you can use to place the donation button in a sidebar. Because the sidebars are so widely used in WordPress, using the widget can quickly place the donation button on nearly every part of your site instantly.
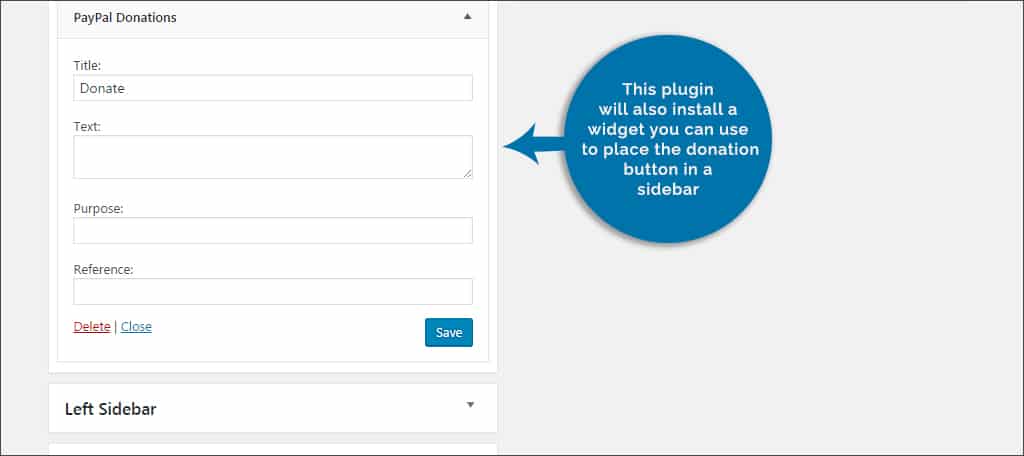
To do this, go to the “Widgets” area of your WordPress administrator screen. Find the “PayPal Donations” widget and drag it to the sidebar you wish to use. You can give it a title, description, purpose and reference from this widget. However, these are optional fields. Once you’re done, simply click the “Save” button and your donation widget is live.
NOTE: The advanced tab of the plugin can be of great use if you want to fine-tune how it behaves. For instance, you can set the button to open in a new tab or enable sandbox mode for testing.
Manual Installation
Although this plugin works exceptionally well, it is possible to install the donation button manually. Luckily, PayPal takes a lot of the work out for you and will give a code to copy-and-paste into your WordPress website.
This code can be placed virtually anywhere that accepts HTML, including the “Text” widget if you want to place it in a sidebar.
To set up the button manually:
Step 1: Log into your PayPal account summary and scroll down to “Seller Preferences.” Click this link.
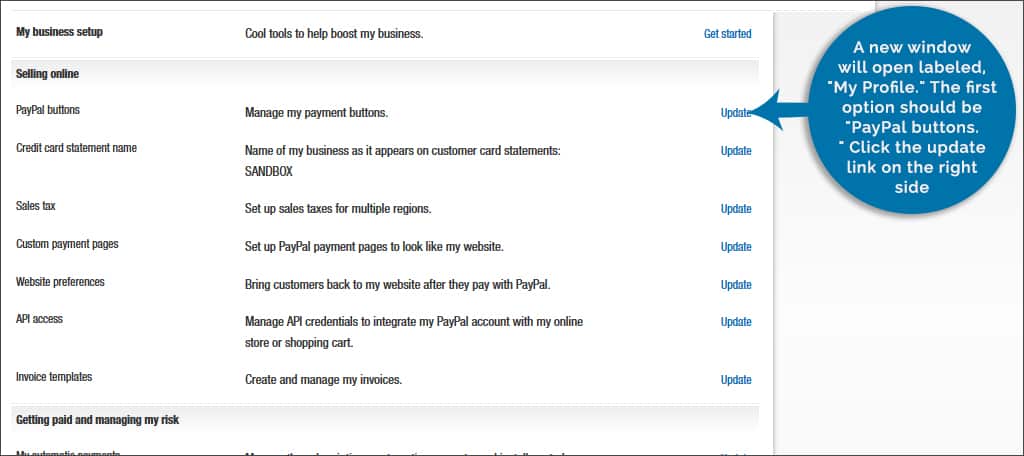
Step 2: A new window will open labeled, “My Profile.” The first option should be “PayPal buttons.” Click the update link on the right side.
Step 3: This will open another window displaying all the buttons you have ever created. On the right side, you should see a link to “Create new button.” Click this link.
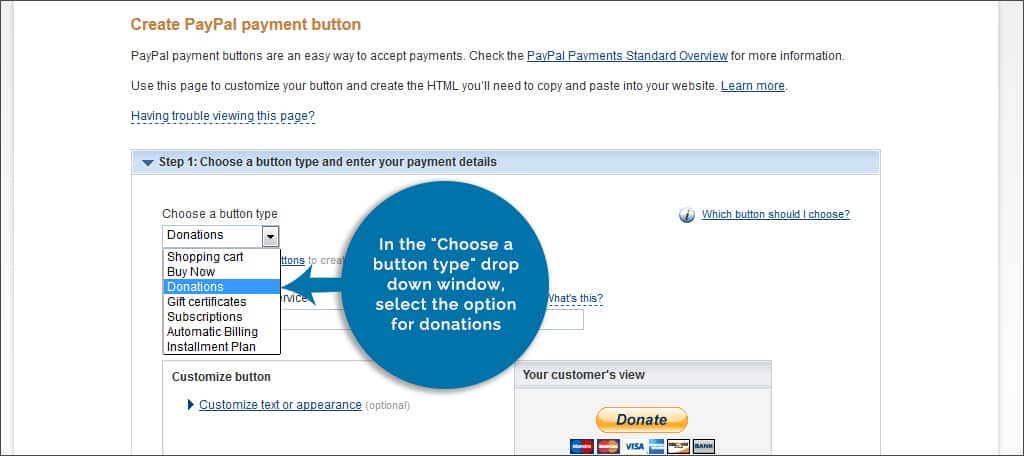
Step 4: The “Create PayPal payment button” screen will appear. In the “Choose a button type” drop down window, select the option for donations.

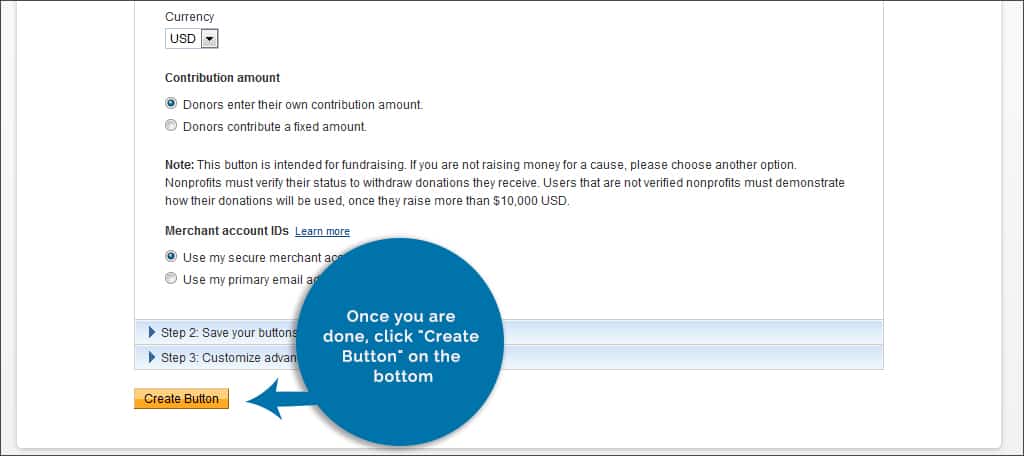
Step 5: Fill in the rest of the information needed in steps one, two and three on this page. Once you are done, click “Create Button” on the bottom.

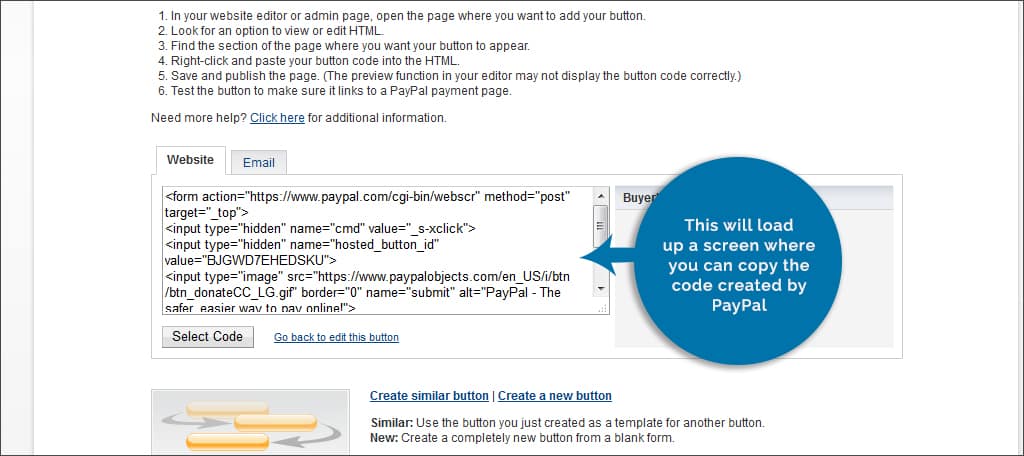
Step 6: This will load up a screen where you can copy the code created by PayPal. Paste this code into any area of your site that accepts HTML, such as the “Text” tab in pages and posts.
Adding a PayPal donate button to your website can have a variety of purposes. It can help generate revenue or help you finance a good cause. It’s a safe and secure method of accepting money on the Internet.
What kind of methods do you offer visitors to pay for services on your site? What kinds of charities do you help, and would this button serve your purposes?
The code doesn’t show up when I use step #6. The text field is blank. Please advice.