Have you ever wanted to add a Stripe donate button to a form on your WordPress website? This would enable you to take donations directly from visitors who appreciate your content or business model. Stripe is one of the most popular payment gateways because it offers a singular low rate for processing any type of credit or debit card.
In years past if you wanted to get donations on your website, you would have to use some sort of eCommerce plugin. Or, you used another third-party plugin or company to set this up for you. In either case, it was not ideal.
Now, using a combination of the Stripe WordPress API and a solid form plugin, you can build the entire thing and take donations yourself.
There are a few things you need to have in place on your WordPress site to make this work properly. Let’s review those real quick before diving into the setup process.
Things You Need to Accept Donations Using Stripe
As mentioned above, there are a few things you need to have in place before you can set up a donation button and take donations using Stripe.
First, you need to have excellent hosting for your website. Find a good platform that gives you everything you need from the beginning.
Second, you need to have a WordPress website setup and in place ready to embed forms and take payments.
Third, you need to have an SSL installed. This will secure your website and allow you to take payments straight from your domain without bumping people off to a third-party payment gateway. Most hosting companies provide you with a free SSL as part of the deal.
Fourth, you will need to have a Stripe account. They are free; just set one up and fill out the relevant information needed. I will show you more of the setup and connections later.
Fifth, you have to settle on a solid form plugin. You will have to have the pro version of whichever forms system you use, as the free versions don’t allow for Stripe add-on integration.
I suggest either Gravity Forms, or WPForms. For the demonstration below I will be using Gravity Forms, but the process is the same in WP Forms as well.
Now that we have everything in place, let’s set up Stripe and add a donate button to your WordPress site.
Download and Install Gravity Forms
The first thing you need to do is download and install the Gravity Forms plugin.
Note: Gravity Forms does not have a WordPress plugin directory listing. You will need to get it from your account on their site. WPForms does have a plugin directory listing, so you can install and activate the plugin from there.
You will need to manually install the Gravity Forms plugin, as well as the Stripe add-on plugin when you download them from your account.
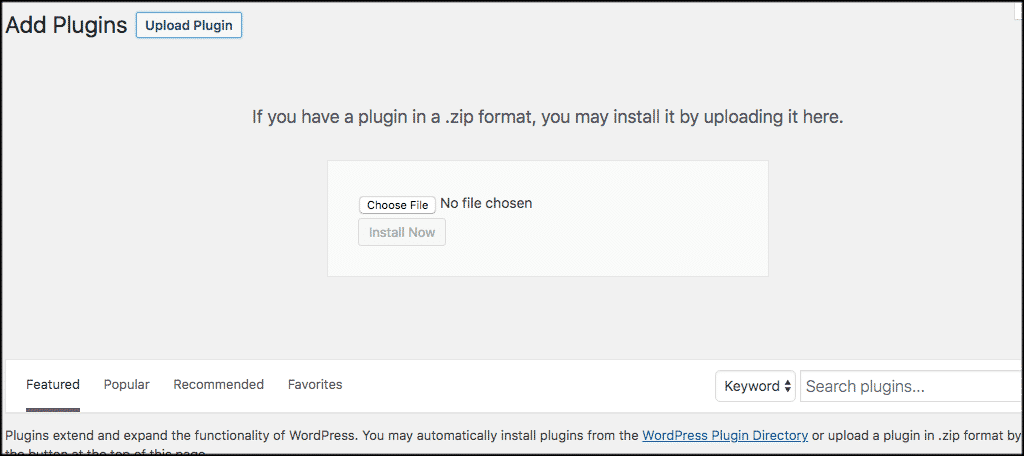
To do that, download the plugin. From your WordPress admin dashboard, click on Plugins > Add New. From there, click on the “Choose File” button, choose the plugin file, upload and activate.
Now that Gravity Forms and the Stripe add-on have been uploaded and activated, let’s move on.
Build a Donation Form
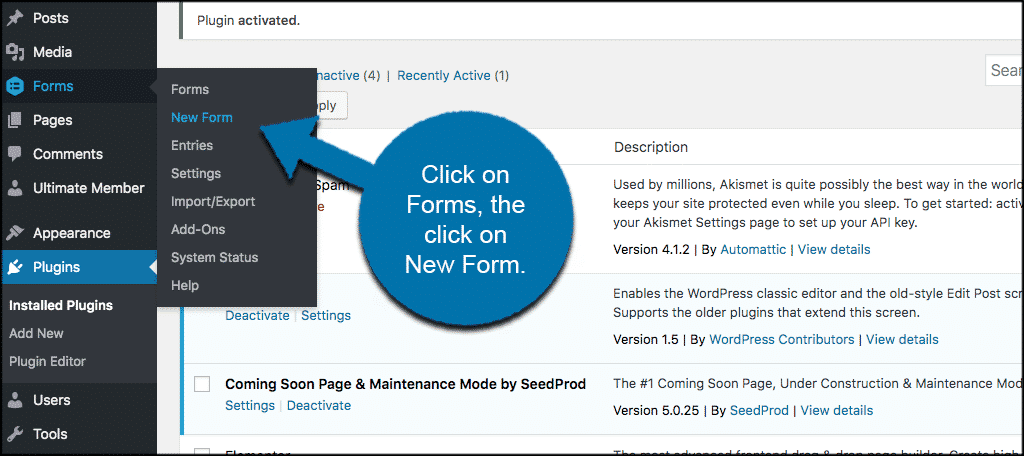
We first need to build our donation form. On the left side menu of your WordPress admin dashboard, click on Forms > New Form.
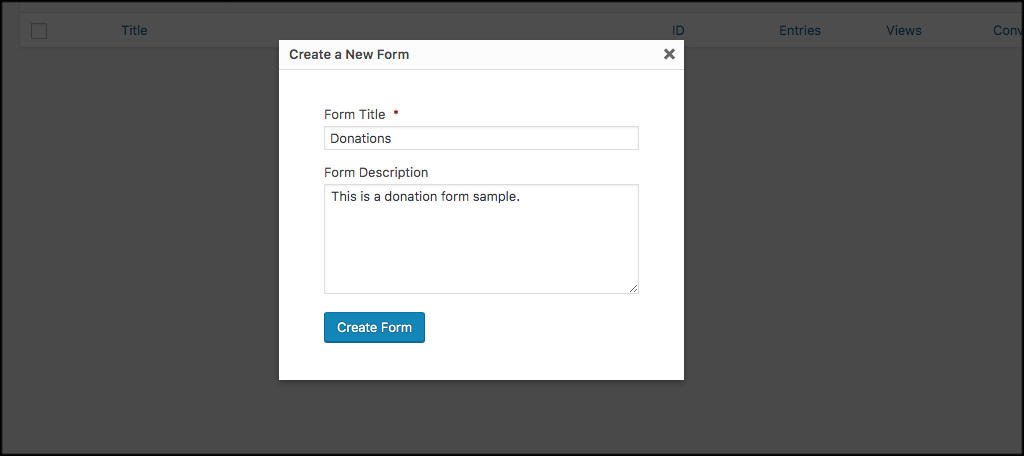
A popup box will appear that allows you to add a form title and description. Name your donation form whatever you want. Click on the “Create Form” button when you are ready.
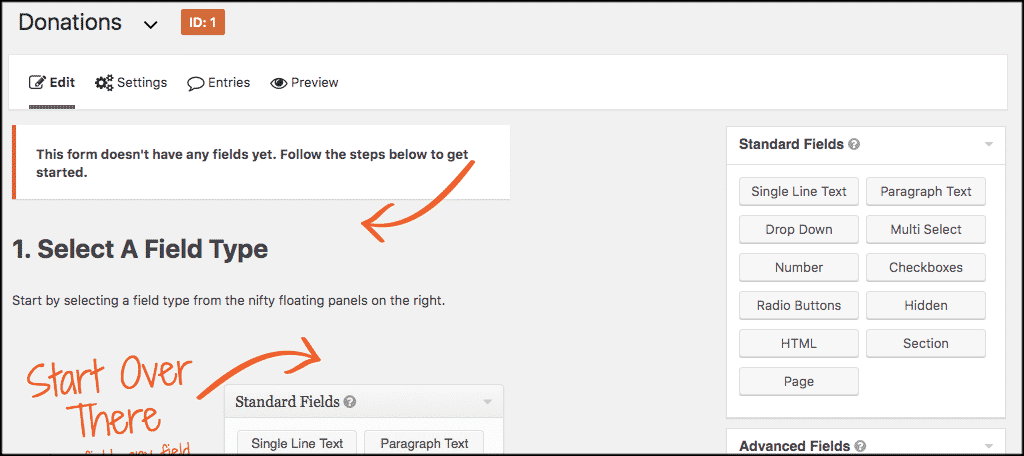
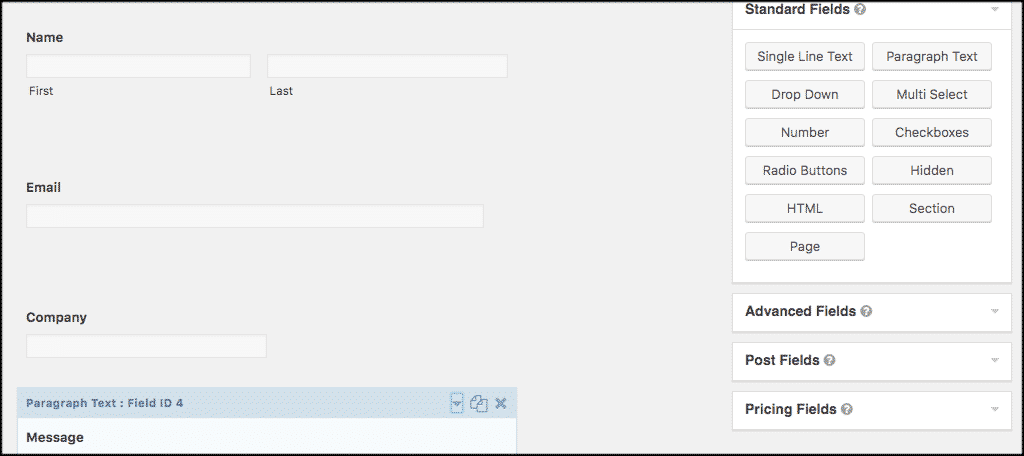
You will be taken to the from building area of the Gravity Forms plugin. Here, you will find all the different types of fields you can add and configure. There will be four main “Fields” including:
- Standard Fields
- Advanced Fields
- Post Fields
- Pricing Fields
These all dropdown and have several subcategory fields listed under each. All you have to do is drag and drop the form fields you want in the order you want them.
Customizing the Form
You can choose any fields you feel necessary. This will be based on the information you want to obtain from the person donating.
In this example we are using:
- Name
- Company
- Message
Again, though, add whatever you want; address, date, time and personalize it how you see fit. Your Stripe donate button form should be created according to your own needs.
Now, there are a couple of certain form fields you have to add to make the donation form work correctly.
Click on the “Pricing Fields” box. Under that drop-down, you will see some pricing field options.
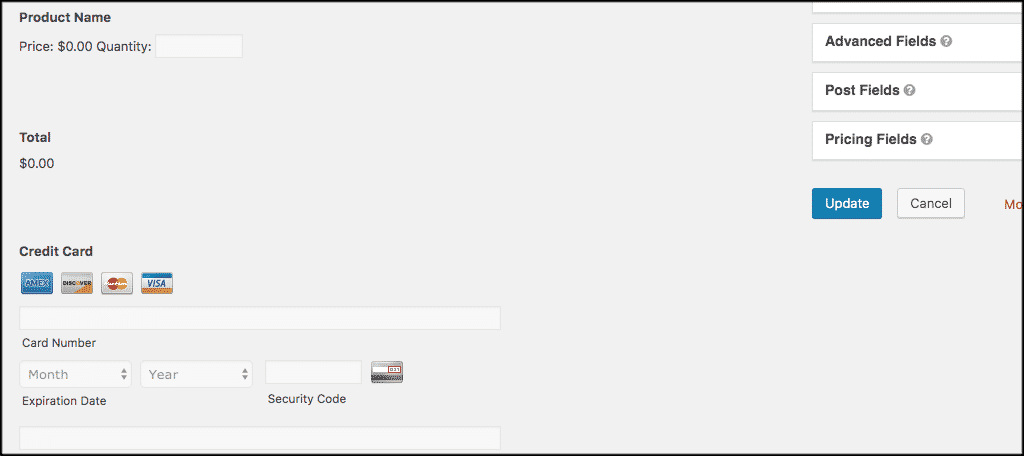
You need to add the following three fields:
- Product: This will allow a user to input the amount they want to donate.
- Total: This will show the form total to the user.
- Credit Card: This is where the user will fill out financial info to make a donation.
However, there is one modification we need to make to the product field. Click on the field to modify it. When the field drops down to edit, click on the “Field Type” option. Within the choices presented, you want to select “User Defined Price.”
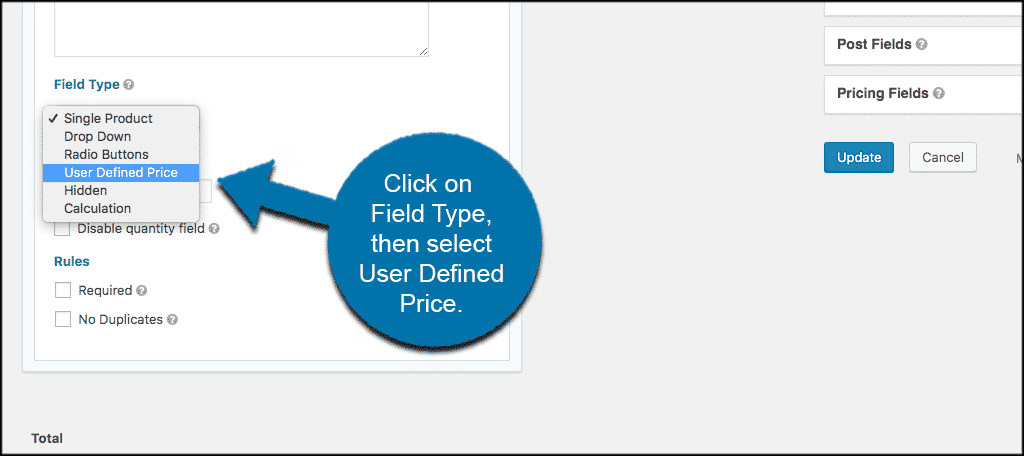
This will allow users to type in the amount they want to give.
Note: You can use other pricing option fields if you want to set your donation options. It’s totally up to you and how you want to set it up.
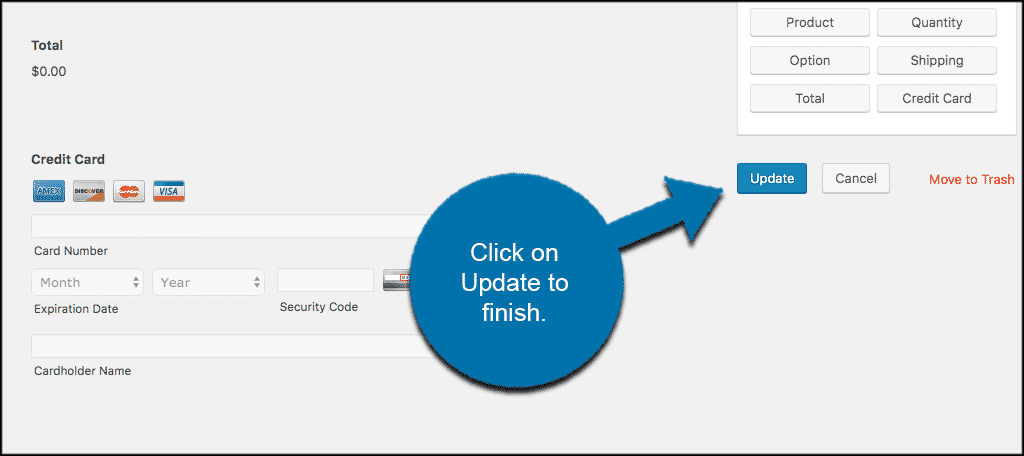
Once you have added all the fields you want, along with the fields that must be in there, click on the “Update” button located on the right side of the form editing area.
Edit Form Settings
When you have updated your form, you are ready to move on. At the top of the editing screen, you will see some link options.
They include:
- Edit
- Settings
- Entries
- Preview
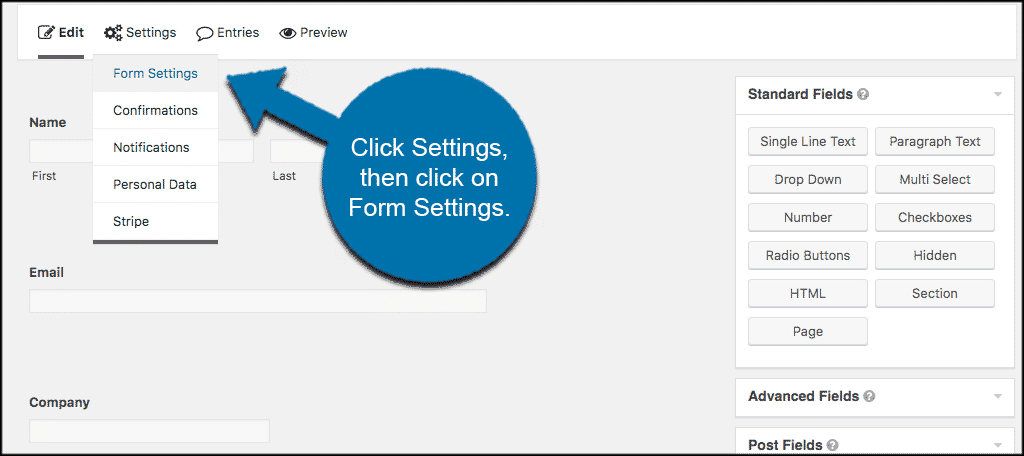
Click on the “Settings” link and a drop-down will appear. From there, click on “Form Settings” and let’s configure those options.
You will be taken to the form settings page. Fill this out how you see fit.
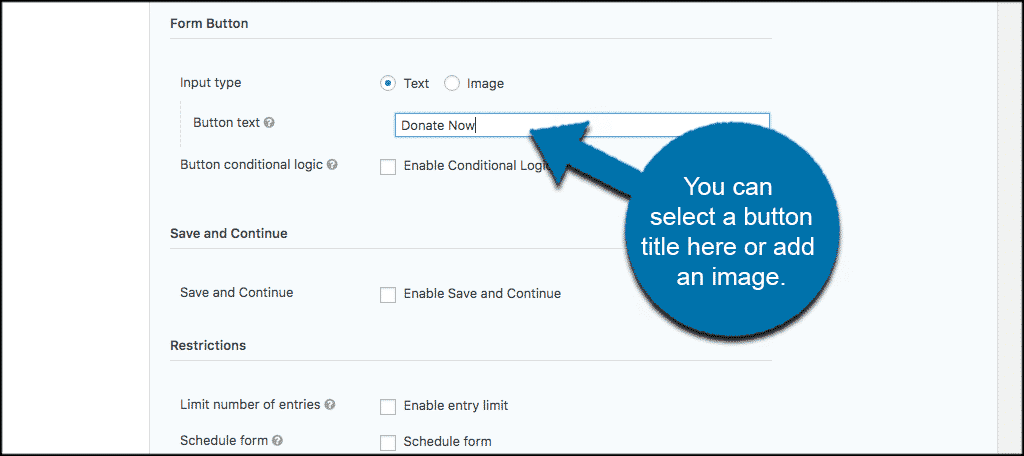
There is one thing you may want to concentrate on, though. In the “Form Button” area, you can upload an image as the button or simply write text.
In this case, I have written the text “Donate Now” as the button title.
Click on ”Update Form Settings” at the bottom of the page and then move on. Click on the “Confirmations” tab to go to the confirmation setup page.
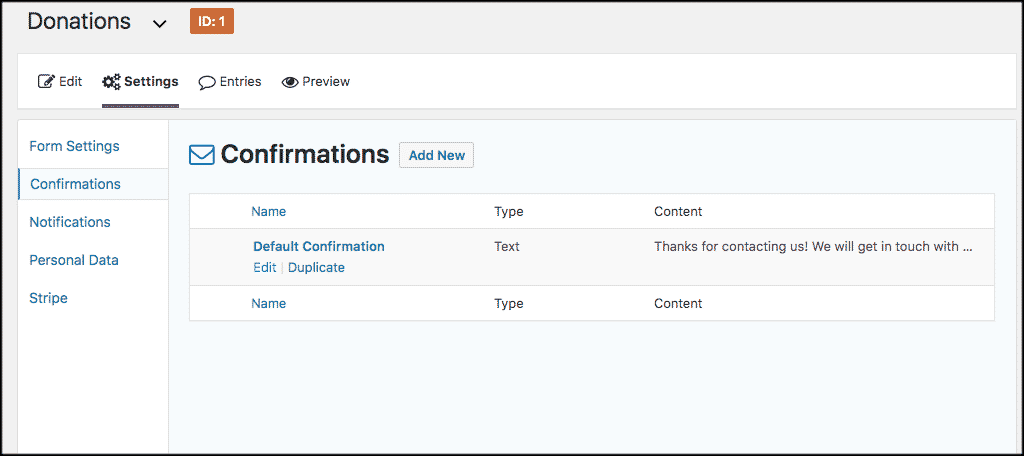
You can leave the default confirmation how it is if you choose. Otherwise, you can build your own confirmation page by clicking on the “Edit” link.
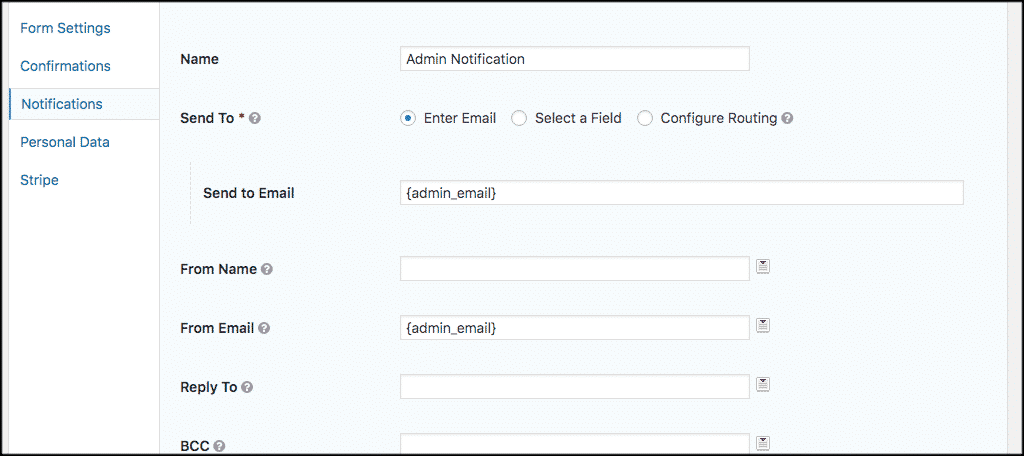
Now click on “Notifications.” This is where you will set up all email notifications for the donation form. Again, make your selections and fill it how you see fit.
Don’t forget to click on the “Update Notification” button when you are done.
Configuring Stripe
Now it is time to configure Stripe and attach it to the form so that you can receive donations from your WordPress website.
Click on the “Stripe” link to get started. When you do, click on the “Stripe Settings” link to configure the forms options.
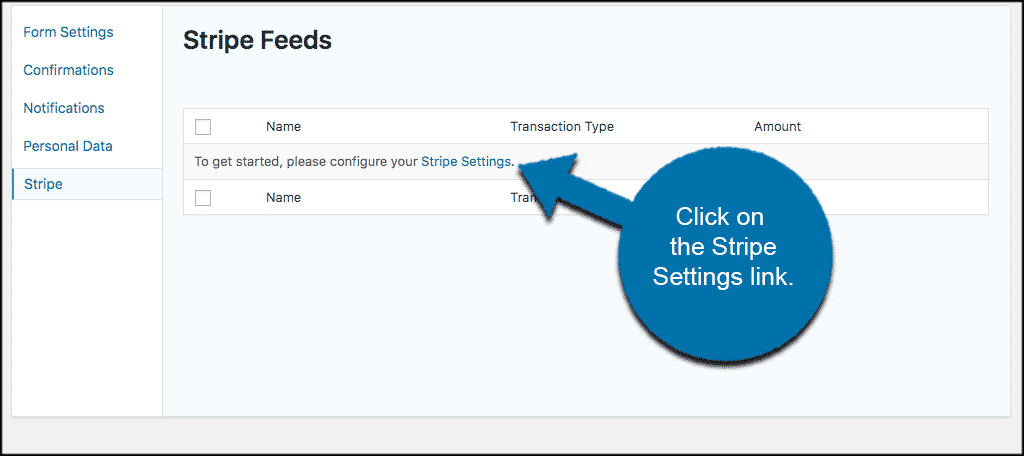
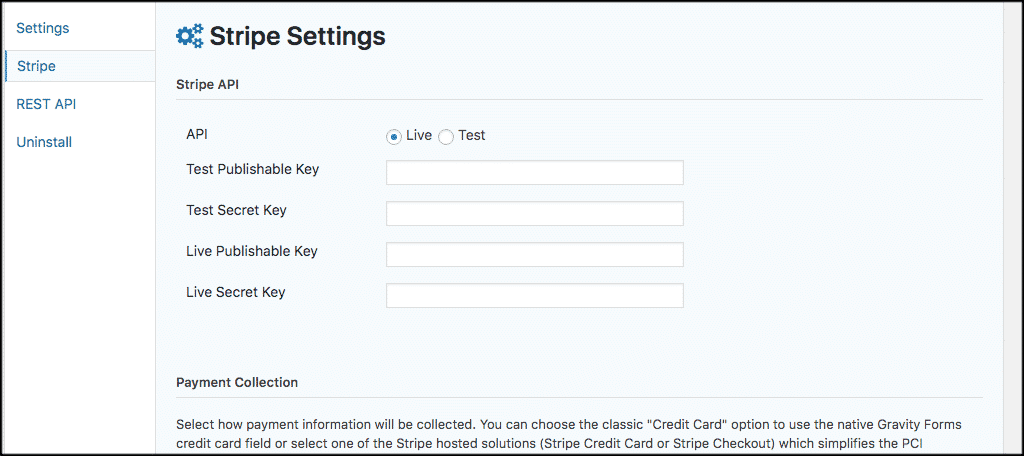
You will be taken to the main Stripe settings page. Here you will find three main sections that need to be filled out:
- Stripe API
- Payment Collection
- Stripe Webhooks
To do this, you need to first log into your Stripe account. You should have one already at this point or already created one via the link earlier in this article.
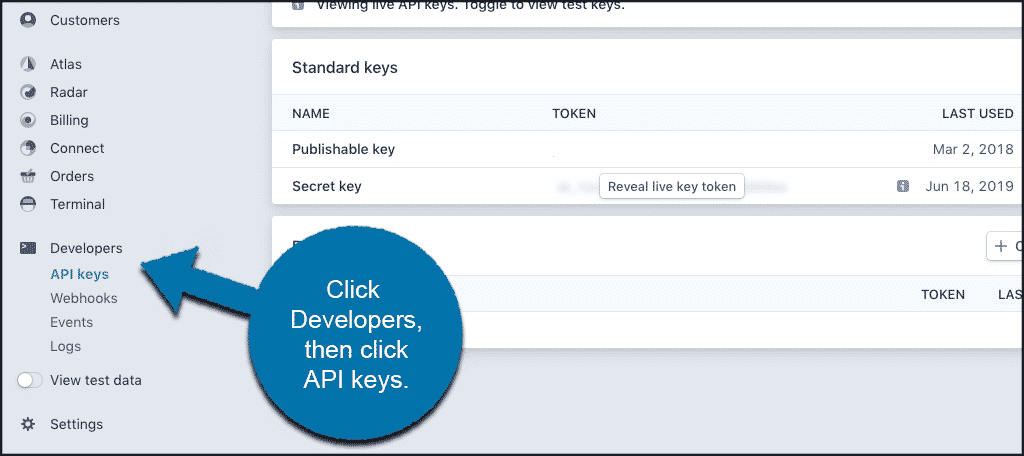
Stripe API: To access your Stripe API keys, you will need to click on Developers > API keys, within your dashboard. In this case, you are going to copy and paste both the Live Publishable Key and the Live Secret Key.
NOTE: If you are just testing Stripe and the form, use the “Test” API keys.
Paste those keys into the relevant fields within your Stripe API configuration in Gravity Forms.
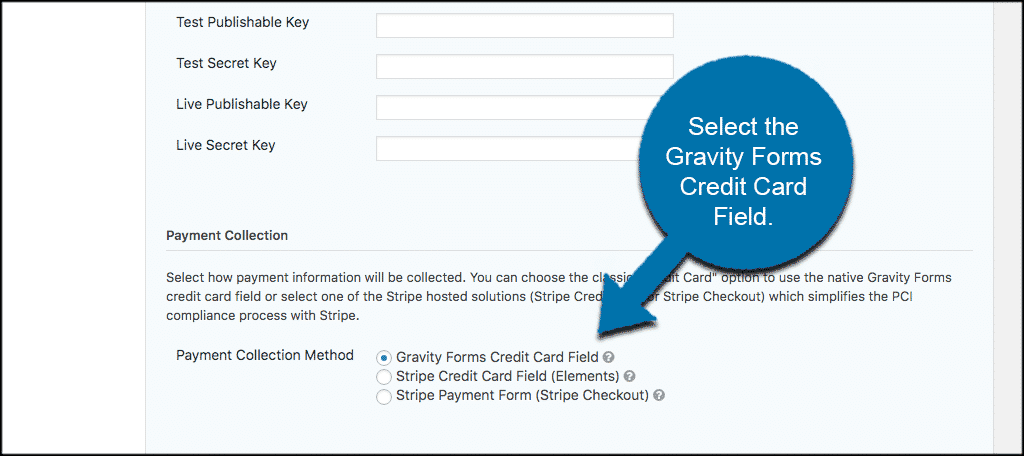
Payment Collection: In this case, click on the radio button titled “Gravity Forms Credit Card Field.”
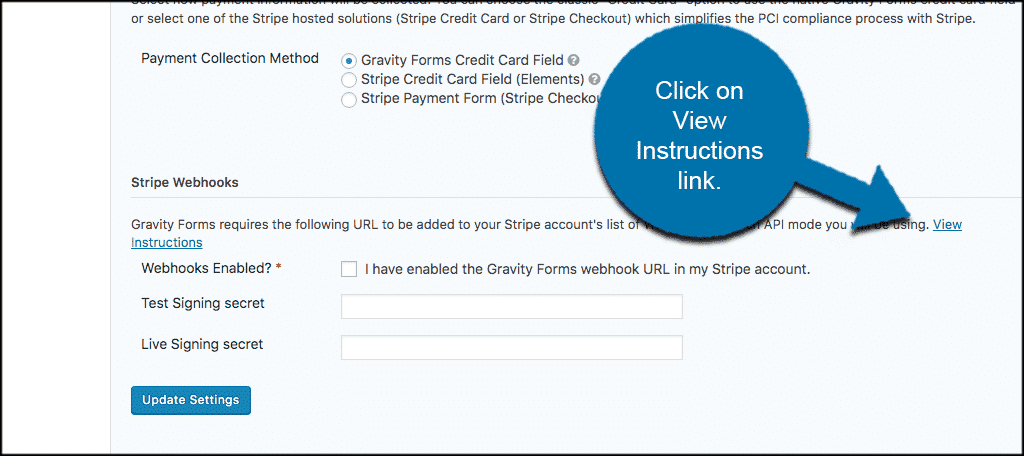
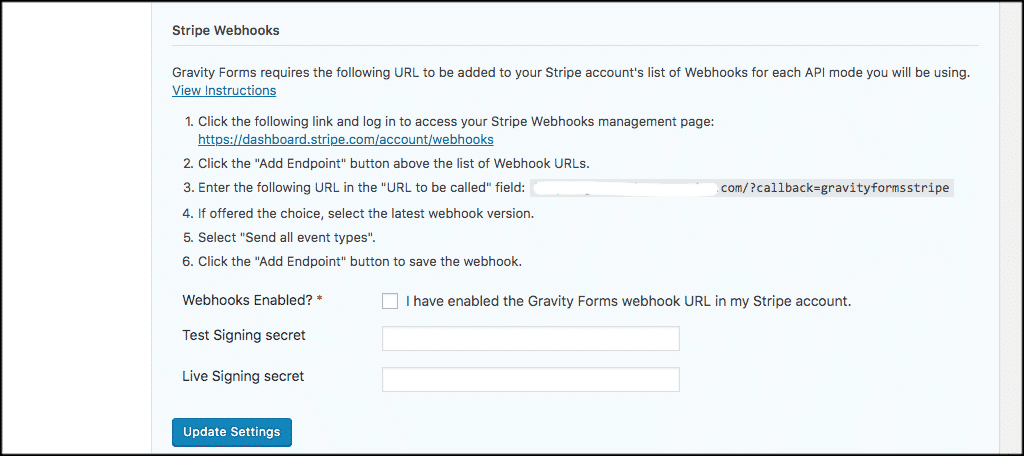
Stripe Webhooks: To access and enable Stripe Webhooks, simply click on the “View Instructions” link. You will see instructions on how to perform this action.
Follow the instructions to enable Webhooks in Stripe. When you are finished, come back and check the box titled “I have enabled the Gravity Forms webhook URL in my Stripe account.”
Paste in the Test and Live signing secret keys.
Click on the “Update Settings” button at the bottom of the page and you are all done!
Conclusion
That’s it! You can now go embed your form on any post or page you want. Once someone fills out the form, donations become available in your Stripe account.
I hope this article showed you how easy it is to take donations from your WordPress site using Stripe. Simply follow the process and you will have a Stripe donate button on your site in no time at all.
What other methods have you used to collect donations on your WordPress site? If you aren’t using a Stripe donate button, what are you using?
nice post its very help full for me. i want to setup donate now button on my site thanks to green geeks for creating this post.