Working on a new theme for WordPress? Need to create an example site for a client? Whatever the reason, using dummy content can help display what a site might actually look like once it goes live. Instead of creating your own posts and pages, it’s easier to simply use some form of WordPress dummy content generator.
Luckily, someone already developed such a method and it’s free to use. With a couple clicks of the mouse, you can show a WordPress theme with sample data ready.
In this tutorial, I’m going to show you the easiest and quickest way to display WordPress example content in your theme.
What Does the Dummy Content Include?
The dummy content file you’ll create in a moment is full of the most common elements you’d see in WordPress. Categories, menu items, pages, various images and more are included to give you an idea of what your site may look like.
You’re able to edit this information once it’s on your site if you want to add a bit of customization to the layout. However, it works fine on its own for example purposes.
Using the Sample Data XML Download
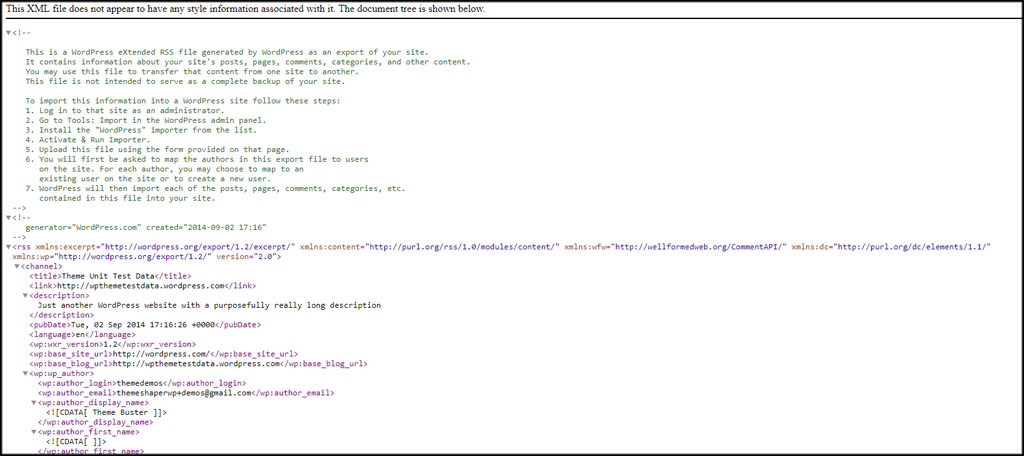
Today, we’ll be using a pre-designed sample file available on the Internet. It’s an exceptionally popular XML file used by many WordPress developers and users.
You can access the XML file data by visiting the Automattic.com website.
Now, you have two ways you can save this file:
- Copy and paste the contents of the link above into a text editor and save the file as “test-data.xml.”
- Right-click the link in this article and click “Save Link As…” then save the XML file directly to your desktop. If you’re on a Mac, you’ll want to use CMD+Click.
Adding the XML Sample File to WordPress
Now that you have the sample data XML file, it’s time to add it to WordPress.
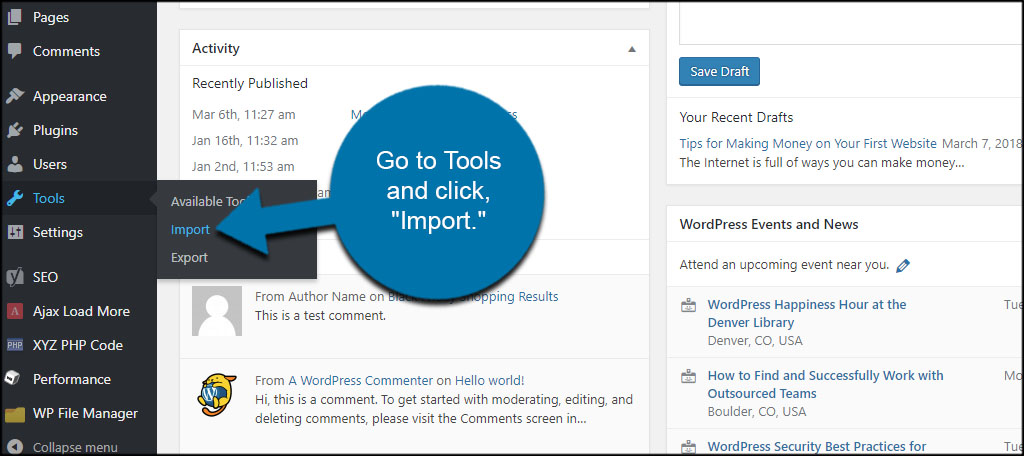
Go to Tools and click, “Import.”
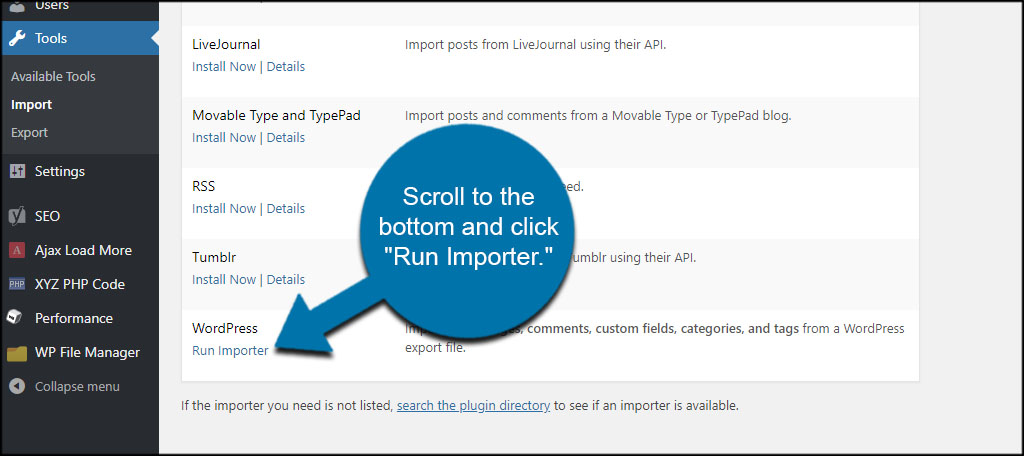
Scroll to the bottom and click “Run Importer” under WordPress. If you haven’t used the import feature before, you’ll have to install it by clicking the “Install Now” link. It only takes a few seconds and is often more useful than you might think.
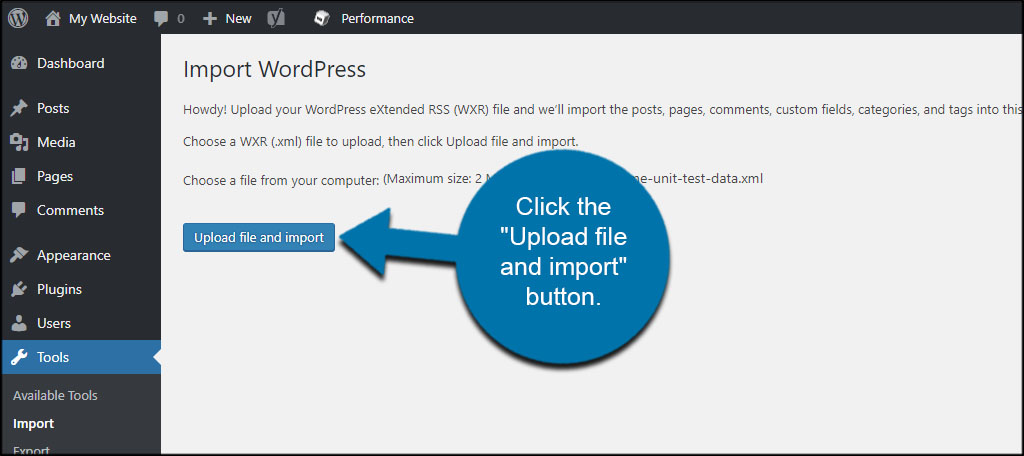
The system will ask for the WordPress eXtended RSS file, or WXR. This is the XML content you copied or downloaded earlier. Click the “Choose File” button and select the sample XML file.

Click the “Upload file and import” button.
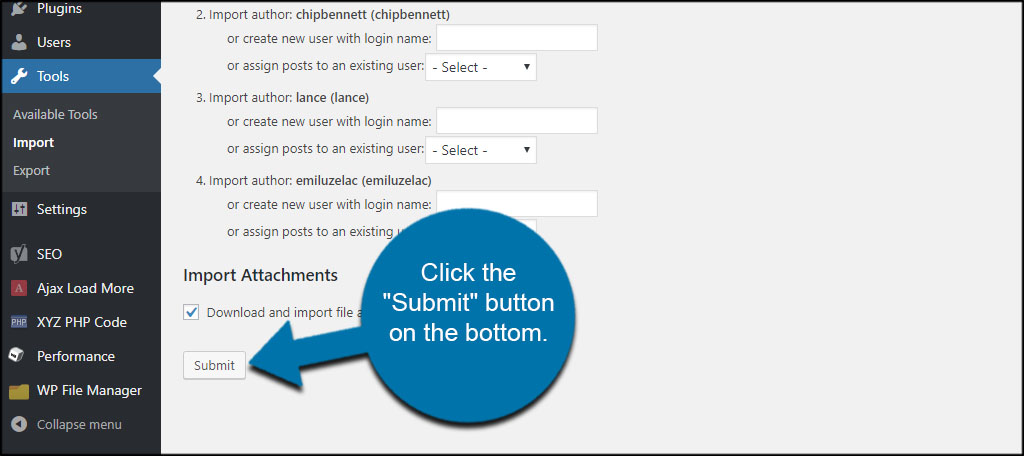
A new screen will appear where you can assign authors. If you want to show someone else as the creator of the content, you can make adjustments here. This is more useful in the event you transfer your WordPress site from one host to another. But for this situation, it’s probably faster and easier to leave them be.
Once you’ve made your selections, click the “Submit” button on the bottom.
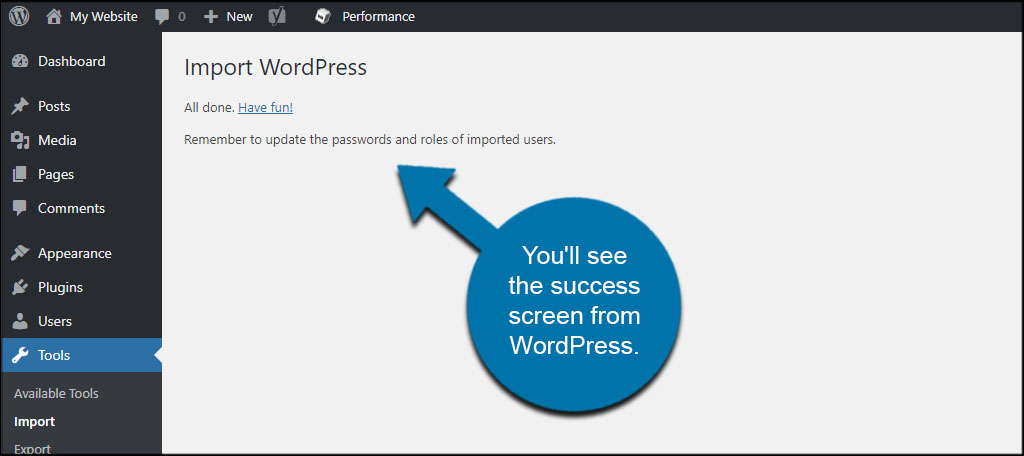
After a few moments, you’ll see the success screen from WordPress. As the suggestion implies, it’s probably a good idea to edit the imported accounts from the sample data. This could entail changing passwords and customizing user roles to prevent access to the site.
Because these are public domain, they are easy to access. You don’t want the outside world gaining access to one of these accounts.
After the upload is complete, your site will filled with dummy sample data pulled from the XML file. This data behaves just as any other and allows users to customize the appearance and test out the features of various plugins.
Getting an Idea of What the Site Looks Like
Sample data in WordPress does more than merely help test out what a theme will look like in a real environment. It delivers a great testing ground for all kinds of things like plugins, image placements, galleries, nav menus and much more. After all, it’s better to test new tools out on a dummy domain before implementing them on a live website.
How do you test out new themes and plugins before they go live? Have you considered setting up a dummy subdomain for the purpose of testing out WordPress features?