The visual editor of WordPress is often a writer’s default view when creating content. It’s here that you have buttons and functions to give your text some visual appeal. Although the default TinyMCE tool is useful, you can add more options to the WordPress editor.
In this tutorial, let’s take a look at a couple different WordPress custom editor style plugins. Each of these offer excellent ways to enhances the content you create on your website.
It’s a great way to add visual appeal without using elements like WordPress shortcodes. For example, you can add an attractive button to your site using nothing more than CSS coding and placing a few options.
For this tutorial, you’ll need to know how to install WordPress plugins.
Using TinyMCE Custom Styles
The TinyMCE Custom Styles plugin adds a function to allow you to edit your own CSS classes and styles. It uses a sleek interface that removes a lot of the code work to create things like buttons.
If you know a bit of the basics behind CSS, this tool is a good one to try out.
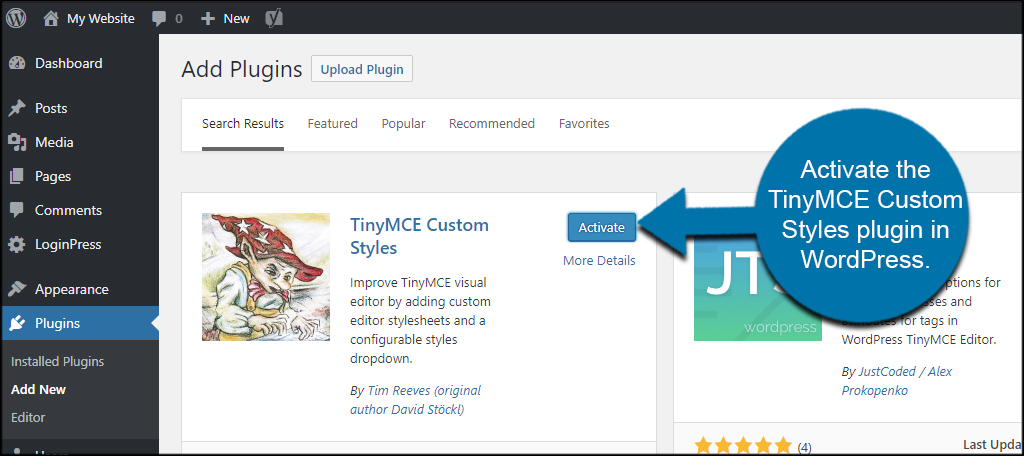
Install and activate the TinyMCE Custom Styles plugin in WordPress.
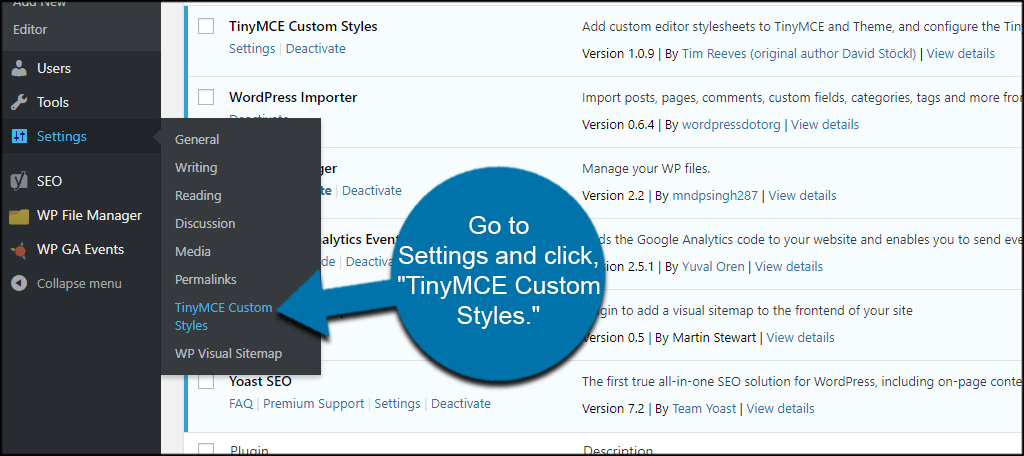
Go to Settings and click, “TinyMCE Custom Styles.”
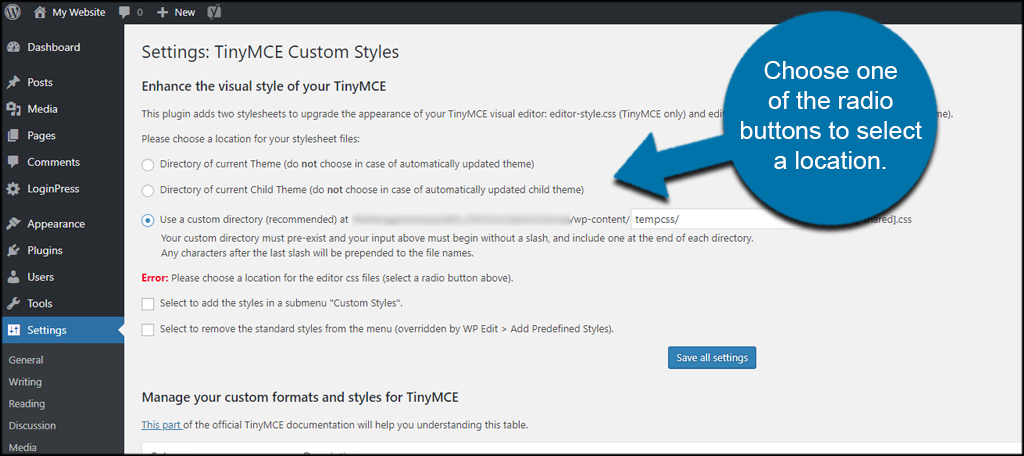
Before you can use TinyMCE Custom Styles, you need to set a location for the CSS files the editor will use. Choose one of the radio buttons to select a location. For this tutorial, I’m going to specify a custom directory. You need to create the folder before using the option.
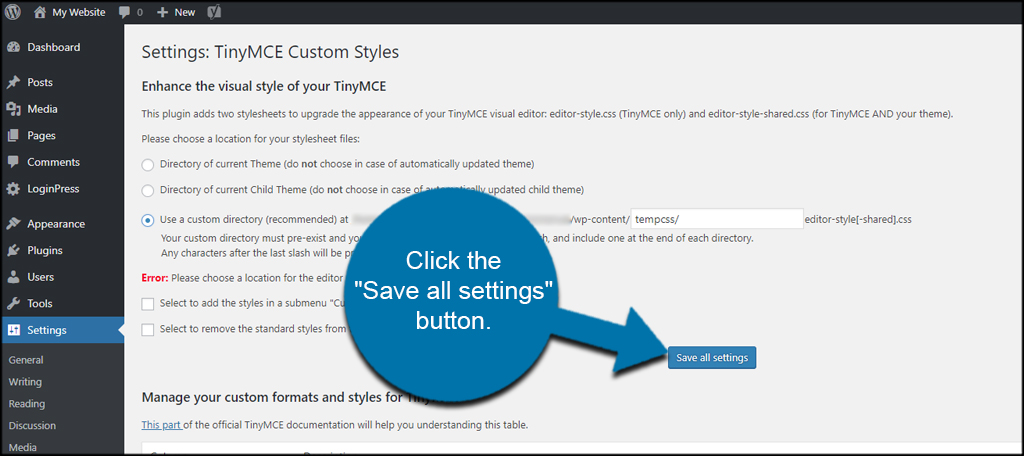
Click the “Save all settings” button.
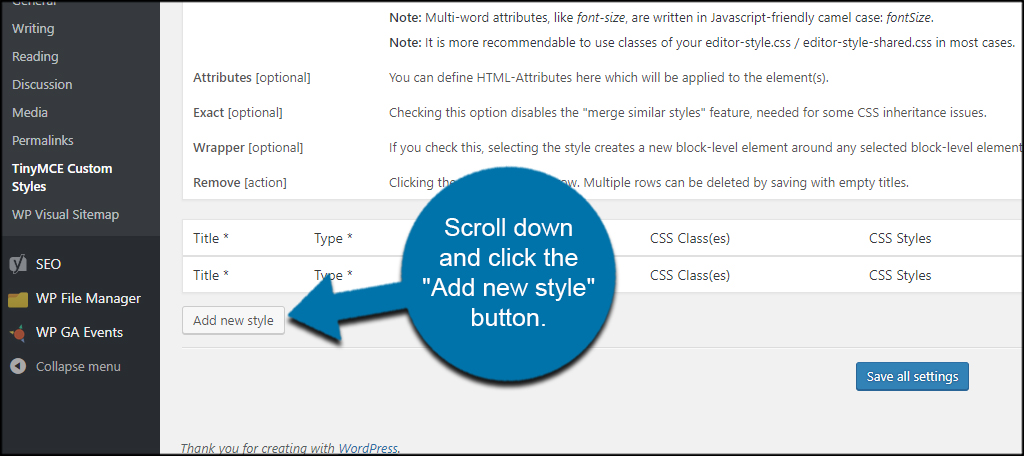
Scroll down and click the “Add new style” button.
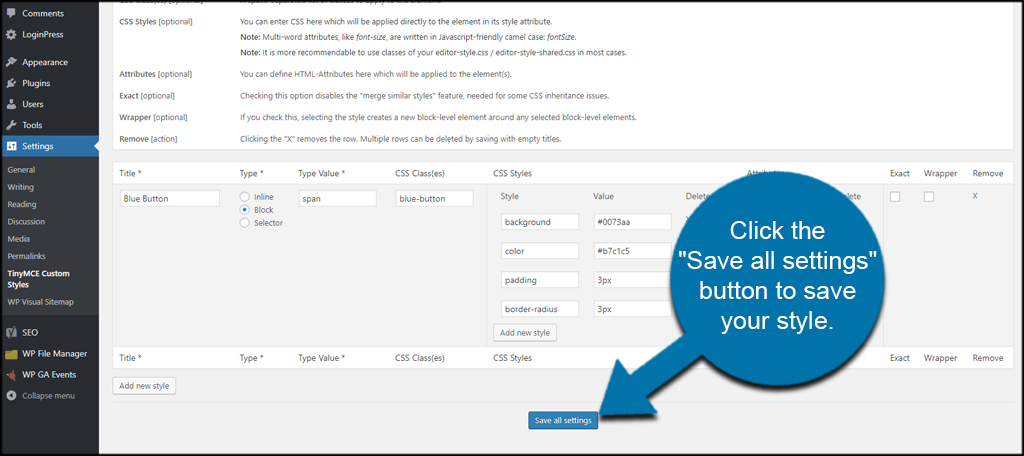
Here is where you input the values for the style you want in the TinyMCE editor. These values are all for CSS, and you need to know which elements you’re going to use.

Once you’re done, click the “Save all settings” button to save your style.
Accessing the New Style
After you saved your style, you need to access it. Go to any post, page or custom post type that uses the WordPress visual editor. You can create a new one if you wish.
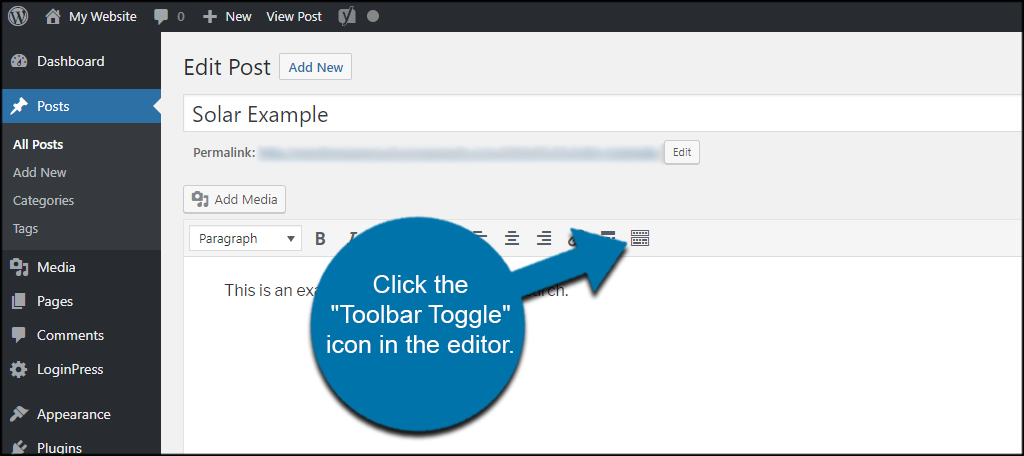
Click the “Toolbar Toggle” icon in the editor. You may already have it activated by default.
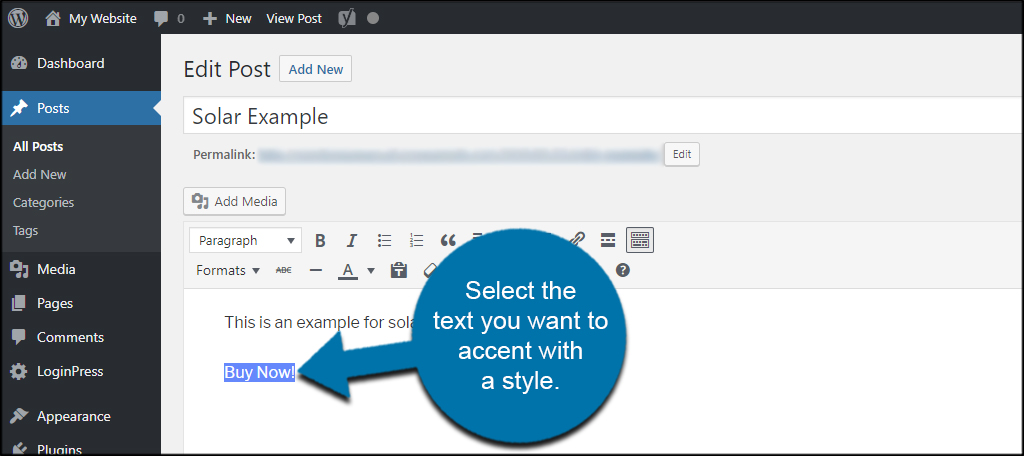
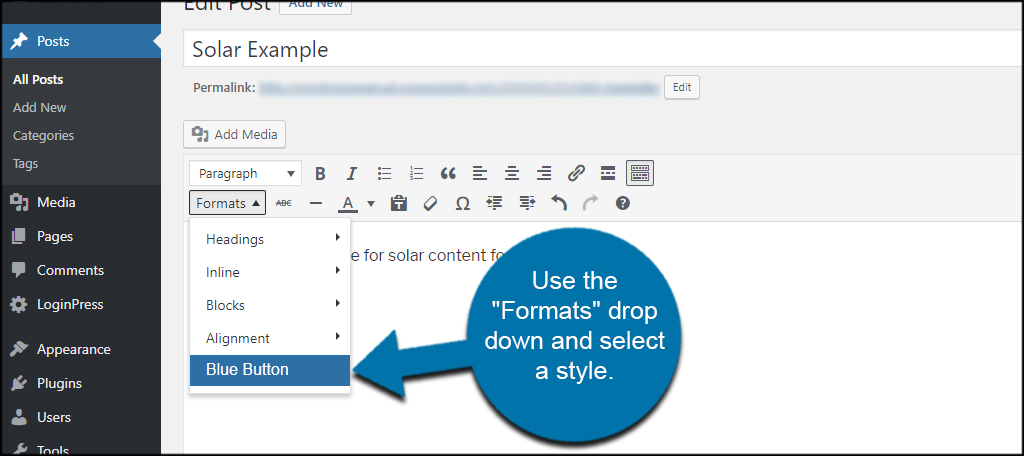
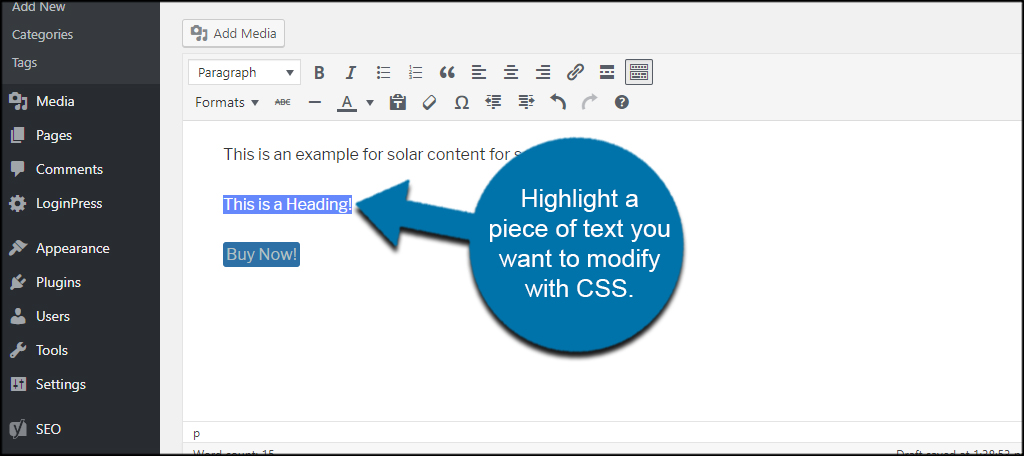
Select the text you want to accent with a style.
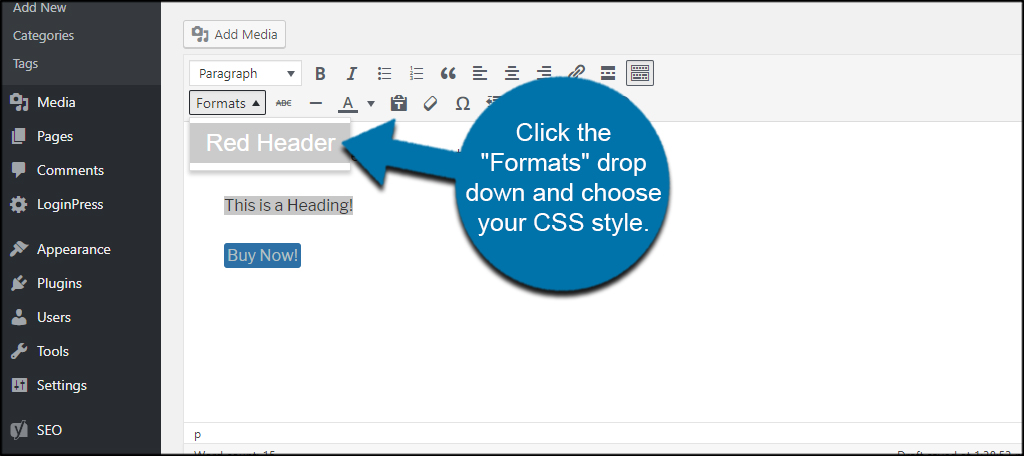
Use the “Formats” drop down and select a style.
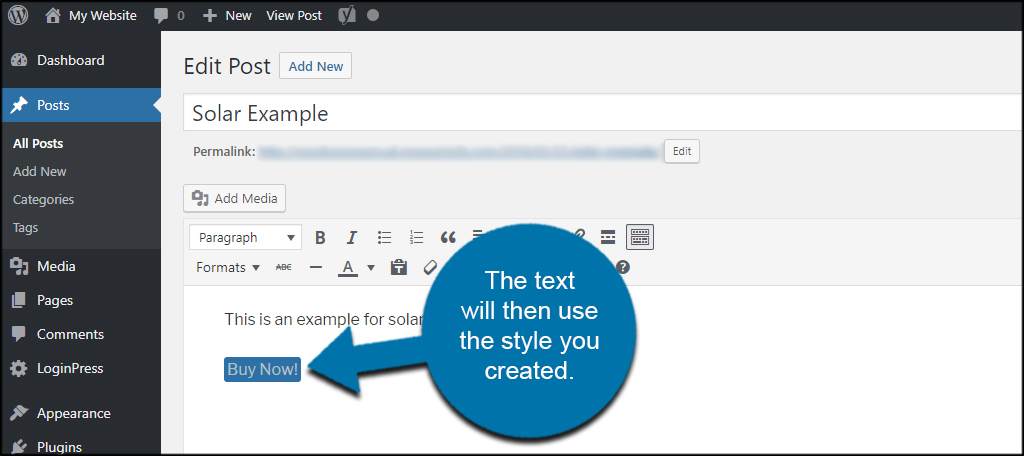
The text will then use the style you created.
Using Just TinyMCE Custom Styles
The Just TinyMCE Custom Styles plugin is another useful tool for creating CSS enhanced content on your website. It comes with options to edit your text in a similar way to the plugin above. It’s a bit more difficult to manage, but works well.
If you’re new to CSS, I’d suggest using TinyMCE Custom Styles instead.
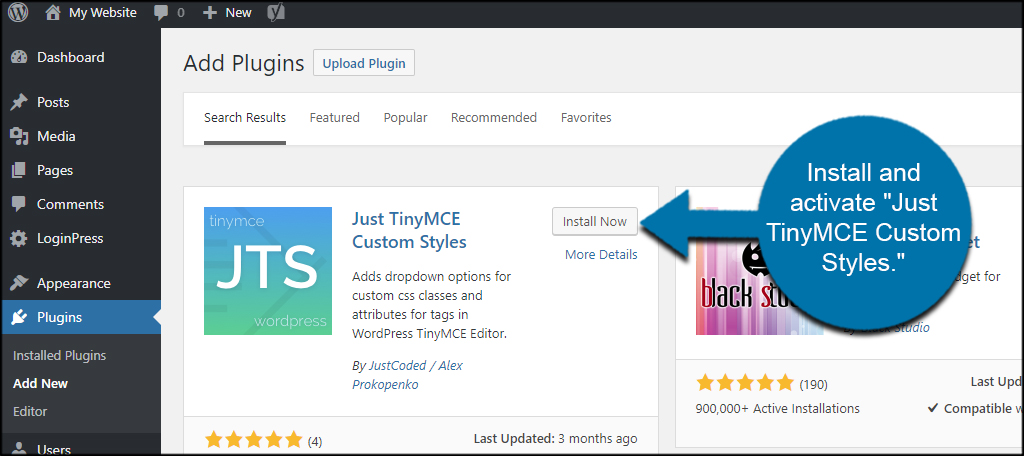
Install and activate “Just TinyMCE Custom Styles.”
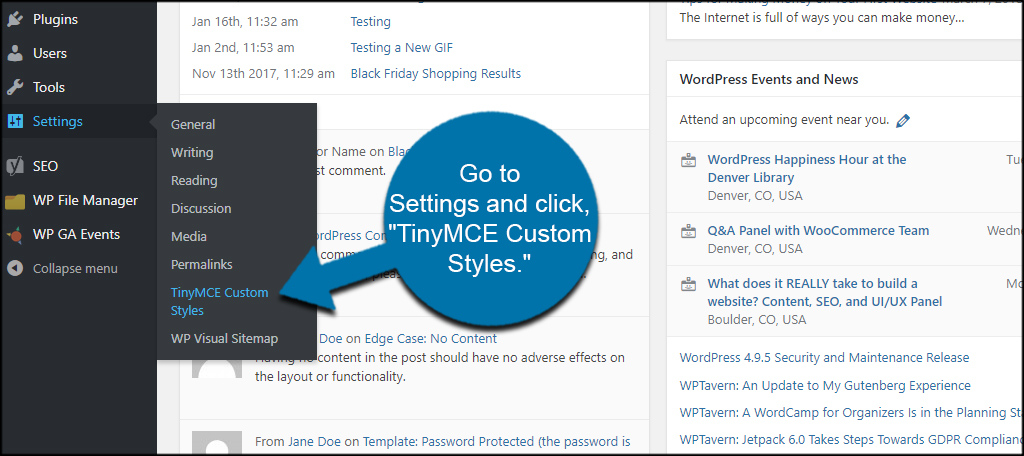
Go to Settings and click, “TinyMCE Custom Styles.”
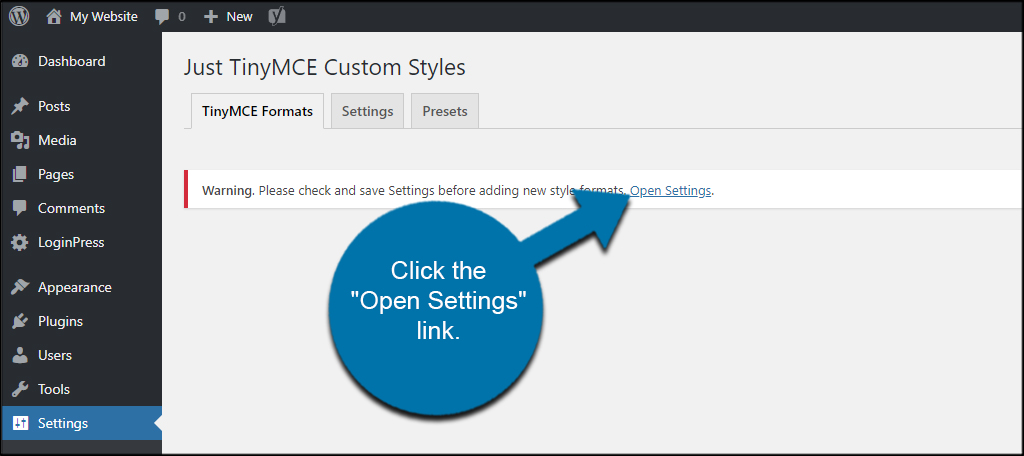
In the first time use, you’ll need to modify the settings of the plugin. You can either go to the tab or click the “Open Settings” link.
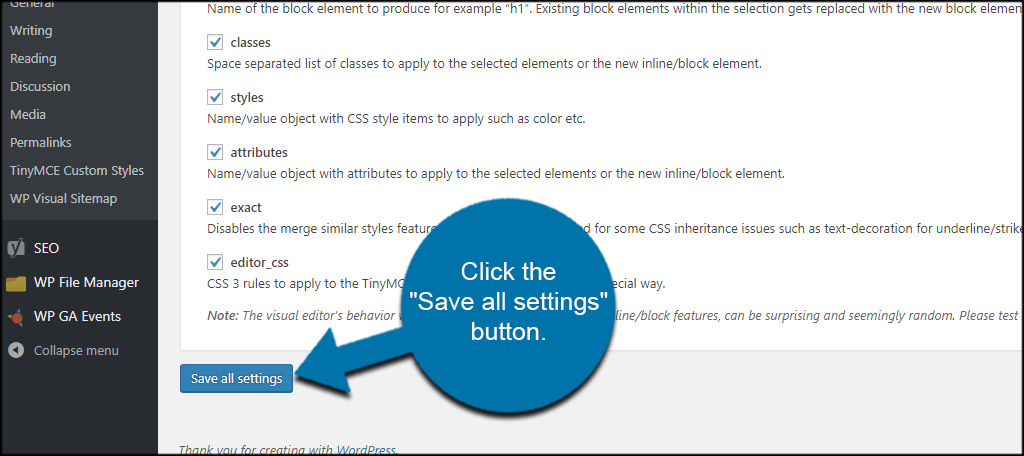
Make the adjustments you want to handle in this plugin. These are the CSS elements you want to control from the tool.
When you’re done with your selections, click the “Save all settings” button.
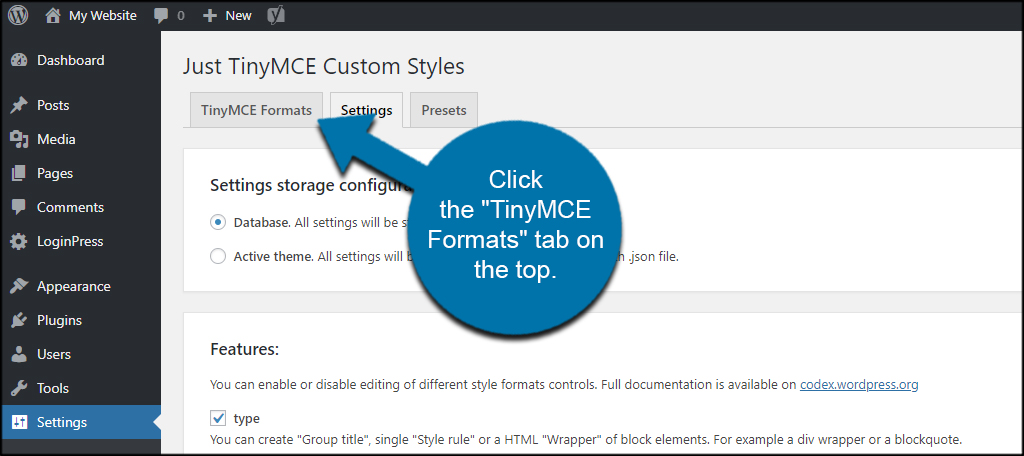
After saving, click the “TinyMCE Formats” tab on the top.
Input the new CSS format you want to use in the spaces provided.
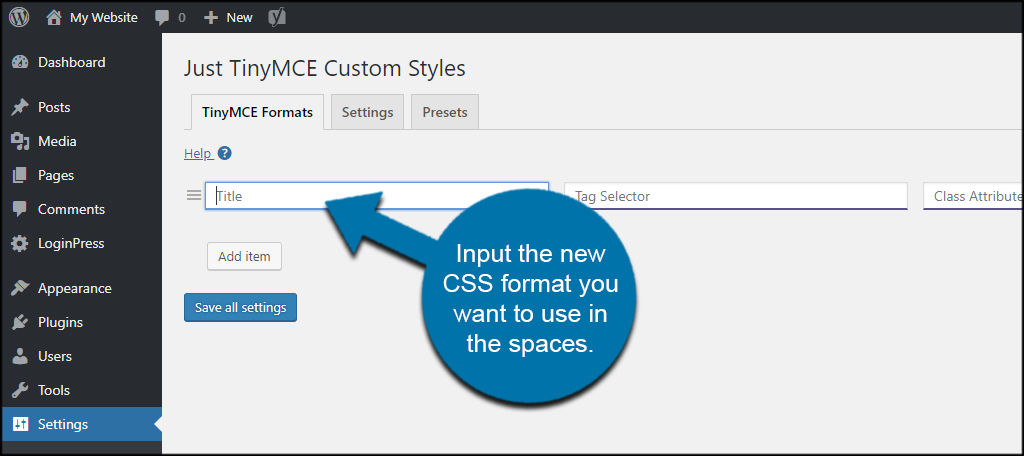
Once you’ve entered the CSS data, click the “save all settings” button to save it.

Accessing the Style
Go into an old post or create a new one. For this example, I’m going to add a new red header to an existing post.
Highlight a piece of text you want to modify with CSS by selecting it.
Click the “Formats” drop down and choose your CSS style.
This TinyMCE custom styles plugin is more difficult to manage than the first example above. It requires a bit more knowledge of how CSS works and doesn’t have the automatic functions like adding backgrounds and the like.
You’ll have to enter those snippets of code in manually when you create the new style.
If you know your CSS, it’s a wonderful tool for adding more flare to posts and pages. It’s just a bit more advanced than many of the other plugins.
Get More Out of the Content
Adding custom CSS to a WordPress website adds more versatility in what you can do and text formatting can make a world of difference when it comes to engaging your audience. Something as simple as a bold in the right place can have an impact on readability. Adding custom styles adds more to the experience while making it easier for you to perform certain tasks.
What kind of tools do you use to boost the readability of your content? How often do you use visual plugins to increase the engagement of your WordPress site?