Having a social media presence on your website is important these days. Like it or not, people associate the number of page “likes” to how relevant content may be. It doesn’t matter if the content is not the best. If it has a strong social media presence, then people flock to it. Today, I am going to show you how to add a “like” button to your WordPress website using the LikeBtn plugin.
There are several ways you can add a “like” button to a WordPress site. You can custom code one yourself or even use any number of excellent social media plugins to do it as well.
This is a good way to get people to interact with your content and to show other readers that people are “liking” your posts and pages.
Let’s take a look at the plugin we are going to use today and see all that it has to offer.
LikeBtn Like Button Rating
LikeBtn Like Button Rating is a plugin that allows you to add a fully customizable “like” button to your website. Yes, we are all familiar with the Facebook like button, but this plugin goes a step further by giving you the ability to add a number of options that are fully customizable.
The plugin is lightweight, powerful, and easy to install and setup. It is fully compatible with all of your favorite plugins as well. This is a stand out point because it gives you the ability to add a like button rating to any sort of post or page.
Some of the compatible options include:
- Posts
- Pages
- Comments
- WooCommerce Products
- BuddyPress Activities and Members
- bbPress Forums and Posts
- UltimateMember User Profiles
- Custom Post Types
- Epoch Comments
As you can see, no matter what type of plugin or content you are running on-site, the LikeBtn plugin has you covered.
Just because the plugin is simple to use does not mean it isn’t packed with features. It has you covered with just about everything imaginable. Some of the main features include:
- GDPR Compliant
- 80 parameters, 41 themes, 40 languages
- Custom themes and images
- Real-time reports
- Works with websites fully cached
- Multiple shortcode options for like button display
- Fully customizable
- Add your own custom CSS
- Allows donation collections
- Allows you to add Open Graph meta tags to posts and pages
And this is just the tip of the iceberg. The feature section is huge and simply too long to display here. Needless to say, you will not find a better option for adding customizable like buttons to your website.
Adding a WordPress Like Button
Now that you have a pretty good idea of the plugin and all it has to offer, let’s take a look at how to get it set up, configured, and running on your website.
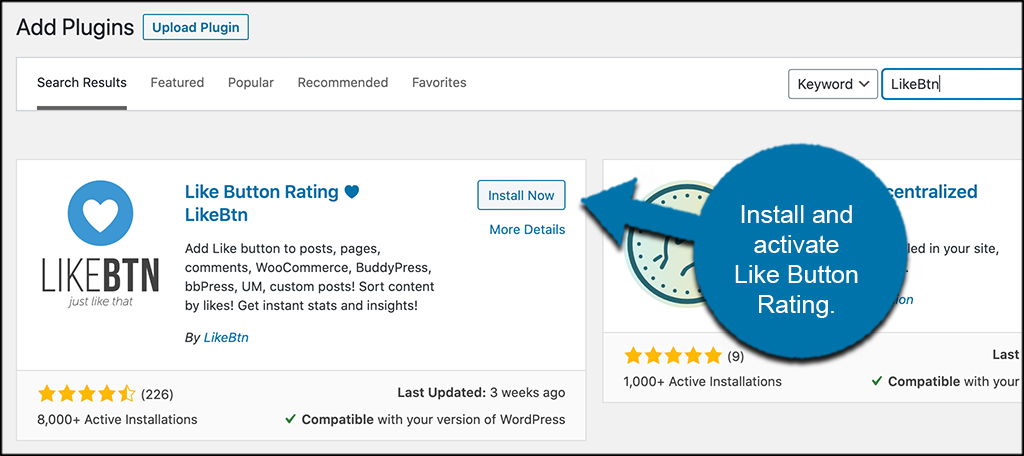
Step 1: Install and Activate the Plugin
Before you can start using the LikeBtn plugin to add like buttons to your WordPress site, you first need to install and activate it. You can do this by jumping over to the Plugins page in the WordPress admin dashboard.
Simply use the search field to search the plugin by name and install it right from there.
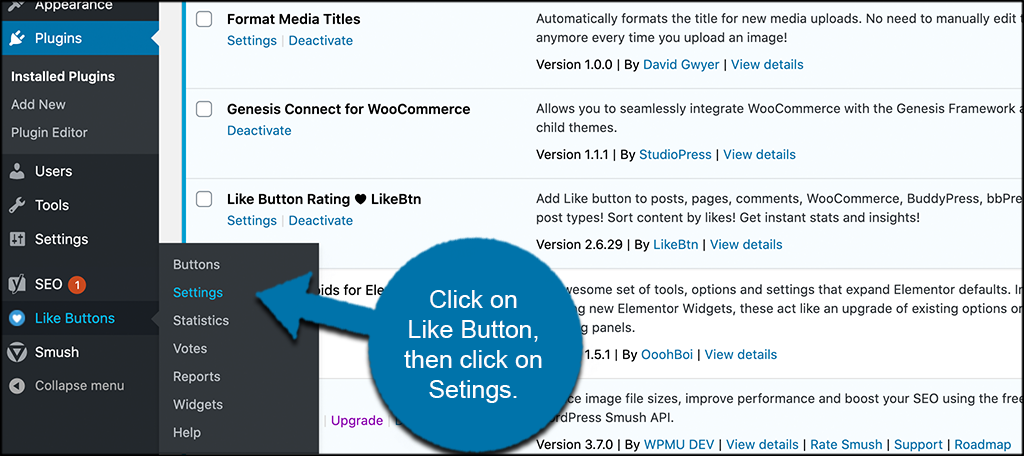
Step 2: Access the Main Settings Page
Now that the plugin is running, you need to access the main settings page for it. You can do this by clicking on Like Buttons > Settings.
You will see this on the left side menu of the dashboard once you activate the plugin.
Step 3: Register for a LikeBtn Account
At this point, you are on the main settings page for the plugin. First off, you will see a link at the top of the page. This link directs you to open an account on LikeBtn. Click on the link to do that.
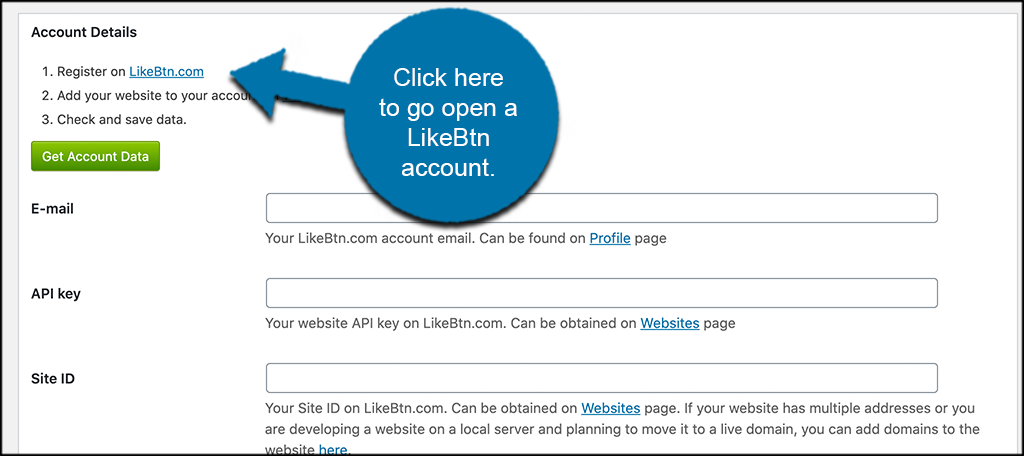
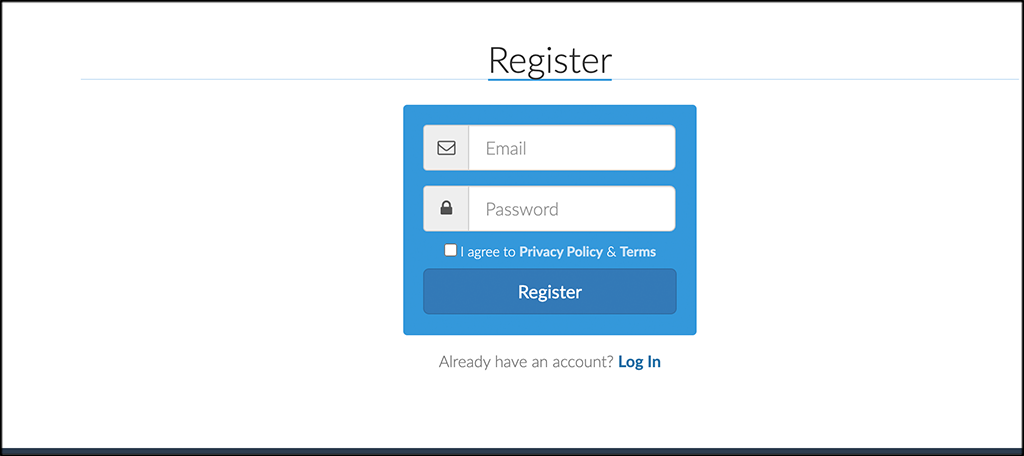
A popup box will appear. Enter your email and password to register.
When you successfully create your new account, you will see a page popup asking for you to enter the website you want to add a like button to. Enter your site domain now and click on the “Add Website” button.
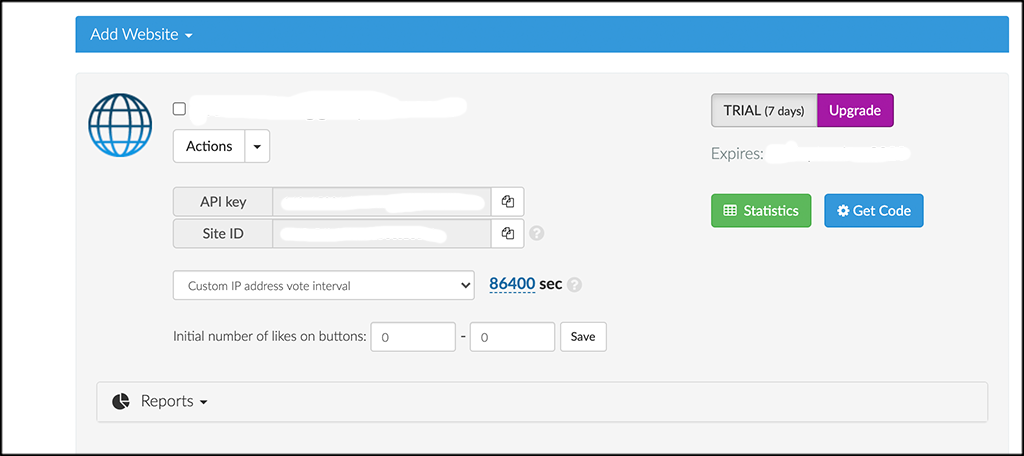
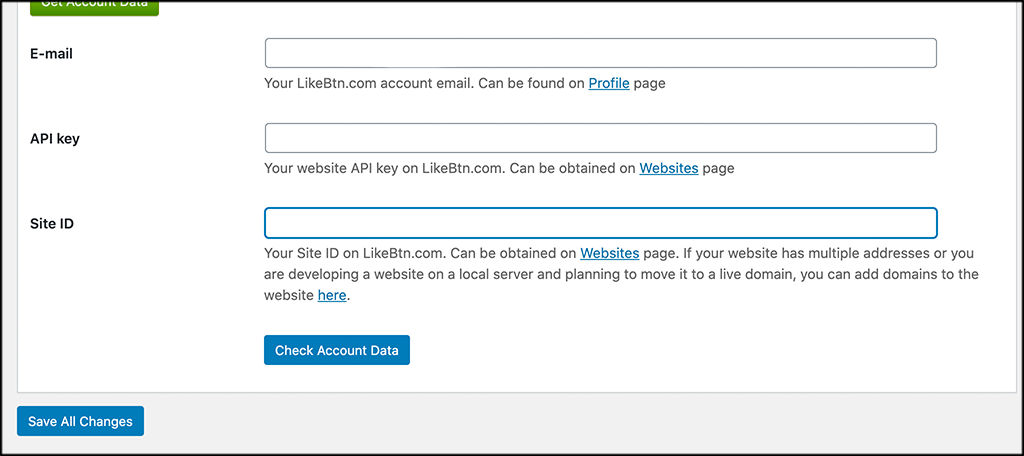
Once you add your site URL, the LikeBtn website redirects you to your main account page. Here, you will see the API Key you need, as well as the site ID. Copy and paste these back into the settings page in WordPress.
Click on the “Save All Changes” button and you are ready to roll. At this point, you can go through the rest of the settings and configure them how you want. Once this is done, it is time to create a button.
Note: Once you open a free LikeBtn account, you will have 7 days to check it all out and see how you like it. At that point, they will ask you what plan you want to get on. There is a free plan available. So if that is good for you, simply select it. If you think you need the pro version, then you are more than welcome to upgrade to it for a little more functionality.
Step 4: Create a New Like Button
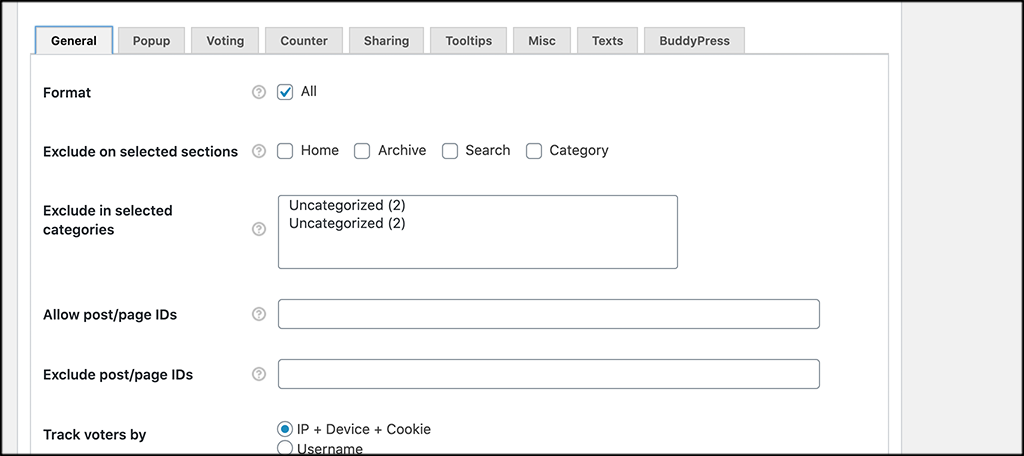
Now that your account API keys are in, click on the “Buttons” tab on the top of the page. You will see a vast number of settings and build options come up. Don’t panic, as you can use like button options for all pages once you build one.
At the top of the page, you will see a bunch of mini tabs. These will auto display based on what plugins you have running. In this case, we have WooCommerce, so you can see that there are WooCommerce button tabs available.
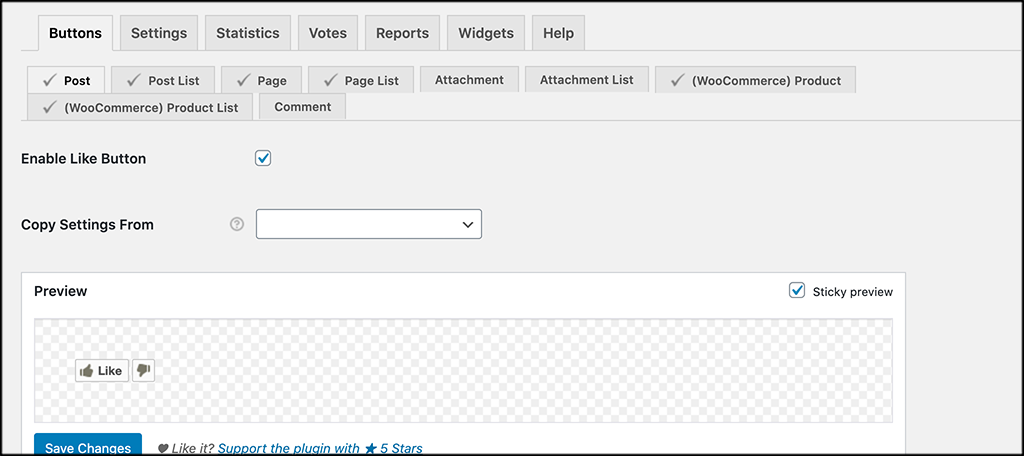
For this option, I have selected the “Posts” tab. All of the tabs have the same settings options. If you want to build different “like” buttons for each type of post or page, then you can do that.
Just fill out the settings on each one as you see fit.
For now, though, let’s take a quick look at the settings. At the top, you need to click on the “Enable Like Button” option. Then, you can see a preview of the button as you build it.

Now scroll down some and chose the theme you want, language, and other button options.

Scrolling down more, you will see options for the like button text as well as branding and other options to fill out.
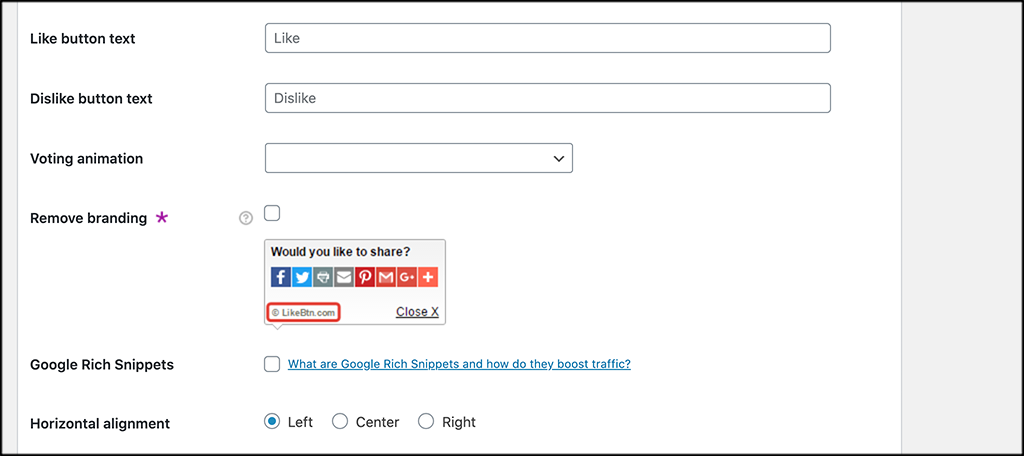
Formatting Tab Options
On we go. Move down more and you come to additional formatting tab options. You can go through all of these one-by-one and set your LikeBtn button however you want.
The options are almost endless.
Finally, scroll down a bit more to find the last of available options to consider. Fill these out how you see fit for your site.
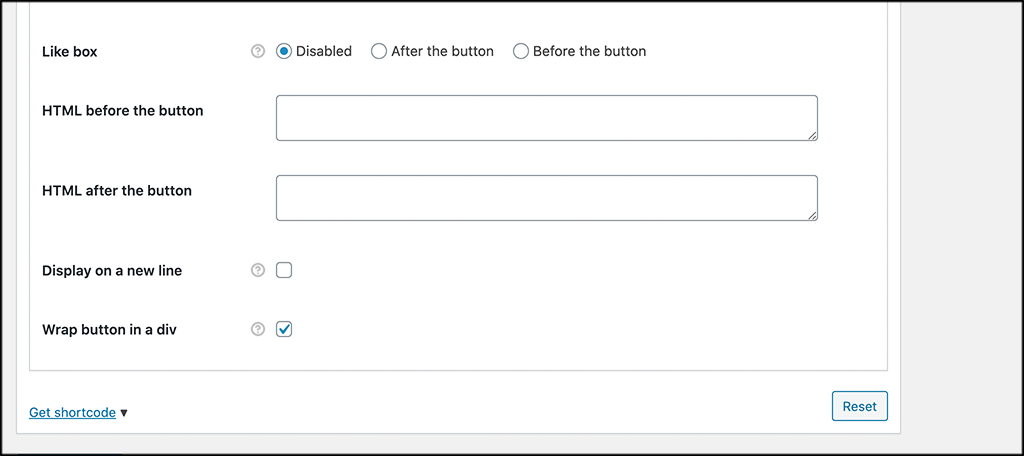
At the very bottom of the page, you will see a “Get Shortcode” link. Click on that to view the shortcode that has been created for the button you just built.

You are simply going to copy and paste that shortcode wherever you want the like button to be. Or, you can let it be placed automatically by the plugin when the “Save Changes” button is clicked on.
That’s it! At this point, you can complete the above process as many times as you want, building different like buttons for different parts of your WordPress website.
Final Thoughts
A solid social media presence on your site shows users that other people are interacting and enjoying your content. A great way to get more interaction is to add a like button to your WordPress website.
The LikeBtn plugin is the perfect option for this. Not only is the plugin easy to install and use, but it has a vast number of configuration options. This will allow you to style and create multiple buttons in any way you want.
I hope the article showed you how easy it is to add a like button to your website.
Have you ever used this plugin before? Do you prefer a different method, like custom coding your own like button?