Content is how people find your website. Without it, there is nothing to search and nothing to inform or entertain visitors. As a result, you need to create a constant flow of material if you want the website to engage an audience and remain productive.
One of the best ways to quickly increase the amount of content you have is by using guest authors. In this platform, you allow others to write posts for the website while giving them a chance to link back to their own domains. This is a common practice and helps both parties drive traffic.
Today, I’m going to show you how to allow guest posts in WordPress to help cultivate more content. There are a couple of methods you could use, and both of them have potential to be very effective.
Using WordPress Roles for Authors
Perhaps one of the easiest ways to allow guest blogging contributions is to simply use registration methods on WordPress itself. This method actually has a lot of great possibilities, especially if you offer the same tools to your writers as you use yourself.
For example, guests would have the same editing tools you use such as TinyMCE Advanced, Yoast SEO and Proofreading should you have those plugins installed. This would help creators streamline their content and make it more appealing on your site.
Since you’re able to restrict the roles of registered users, you have less to worry about in the event someone tries to submit inappropriate content. As contributors, guest projects are held for moderation and editing as a draft. This means you can go over the material before hitting the “Publish” button.
Setting User Roles
To make registered users a viable option, you’ll need to change how people access your website. By default, WordPress sets all new registered users as subscribers. However, this won’t let guests write content.
Go to the Settings area of WordPress and scroll down to “Membership.”
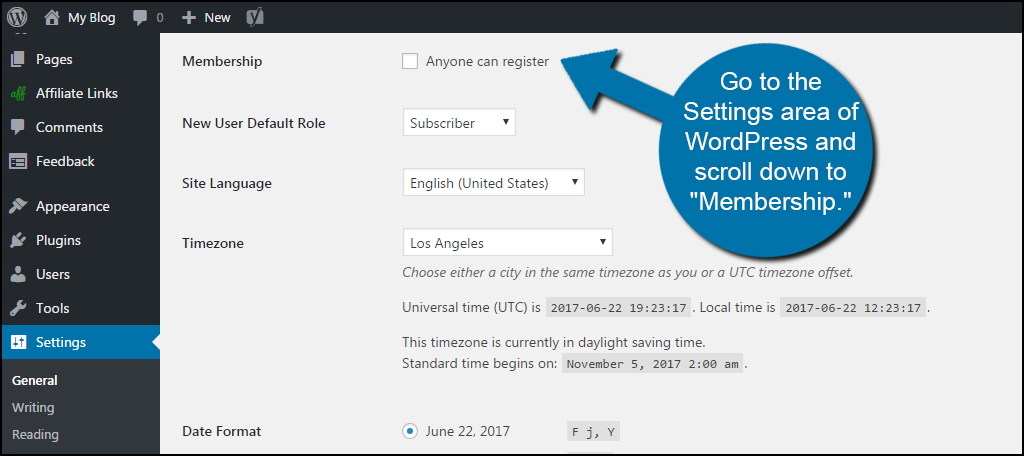
Click the check box next to “Anyone can register.” This opens the site to accept registered users, which isn’t as dramatic as it may seem as long as you have measures in place to prevent bots from creating spam accounts.

Change the default user role to “Contributor.”

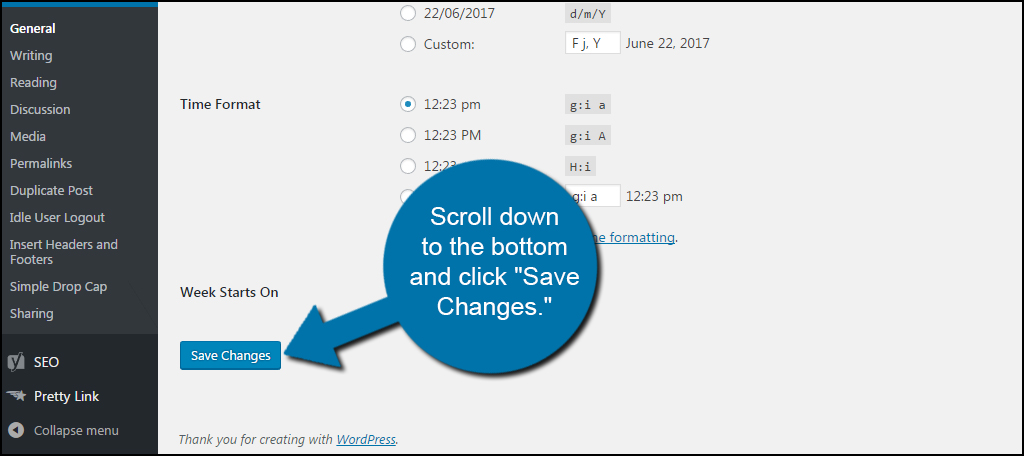
Scroll down to the bottom and click “Save Changes.”
There are two ways you can allow people to log into your site to create content: through the backend login screen or through the “meta” widget on the site itself. Either place will allow users to register and log into the website.
The only real downside to this method is that anyone who registers can submit content. This means you may be faced with a ton of drafts to sift through to find good material you want to publish on the site. Of course, this is true no matter what method you use.
The best way to avoid spam in this fashion is to accept guests through email and manually add them as contributors to the website. In other words, you can interview guest bloggers before they can create your content. If you do this, then don’t worry about allowing anyone to register. You simply create a new user with the contributor role.
Using Submissions Forms
Submission forms for guest posts in WordPress are often preferred methods as opposed to registered users I mentioned earlier. These forms only allow content to be submitted and don’t add users to the website.
The downside to using forms is that users will not have access to content tools within the WordPress system. For instance, guest authors will not have access to the readability feature of Yoast SEO if you have it installed.
Here are a couple of the finer plugins to add submission forms to your WordPress website. You will need to install plugins for the following methods.
User Submitted Posts
The User Submitted Posts plugin has a variety of options available to help you build a form specifically for guest blogging.
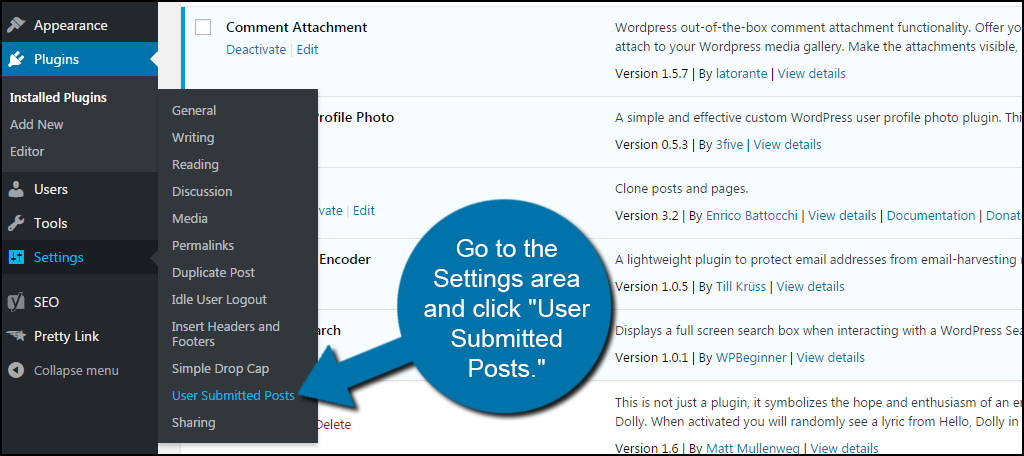
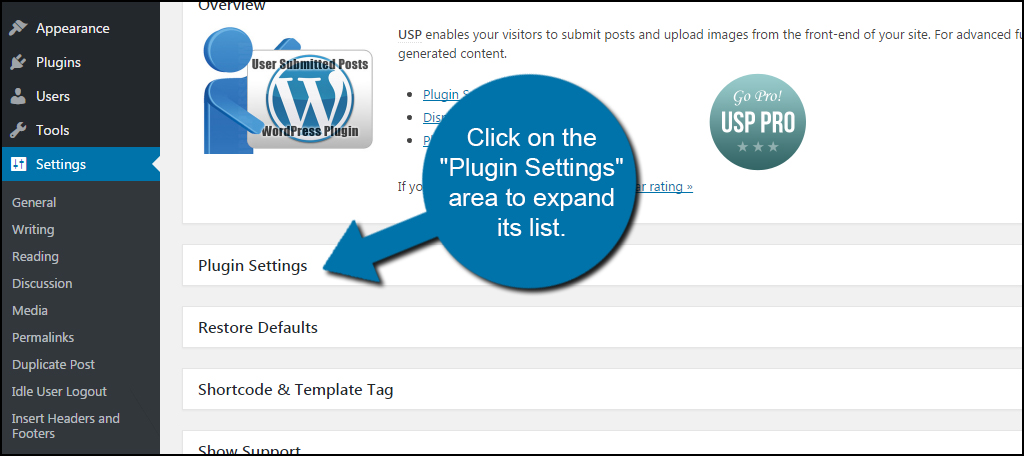
After installing and activating the plugin, go to the Settings area and click “User Submitted Posts.”
Click on the “Plugin Settings” area to expand its list.
The User Submitted Posts plugin has a very long list of options available for customization. I would advise you to go through each one-by-one and make sure you have them set correctly. This will directly affect how people submit content for posting onto your website.
These options allow you to govern over image sizes, author profiles, URL usage and much more.
Click the “Save Settings” button once your selections are made.

Now that you have the basic form created, you need to add it to your site so guest writers can submit content. To do this, you should use a separate page in WordPress. This way it’s stationary and can be easily added to the menu bar. However, you can also make it a post if you’d like.
In either case, you need to paste the shortcode.
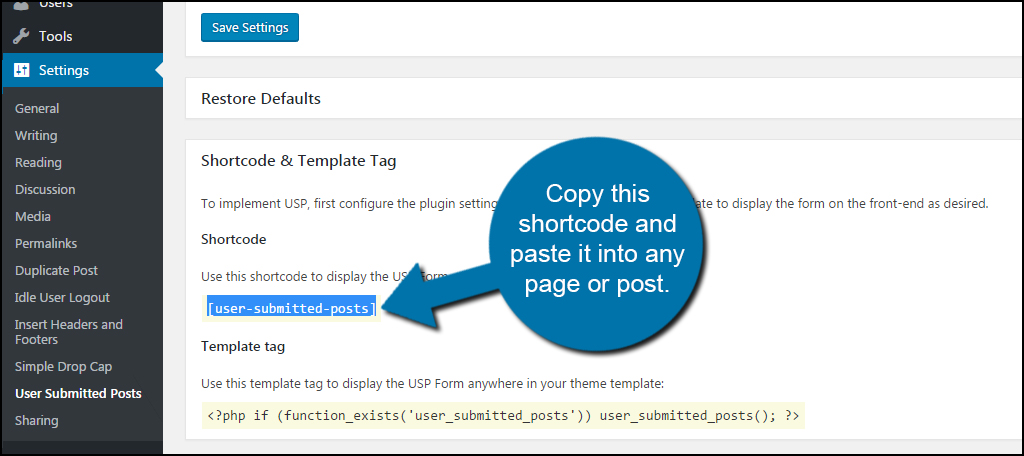
Under the settings options you just saved, you’ll see a section for “Shortcode & Template Tag.” Click this header to expand the window.

Copy this shortcode and paste it into any page or post. This creates the actual form visitors of your website can use to submit their content.
Frontend Post
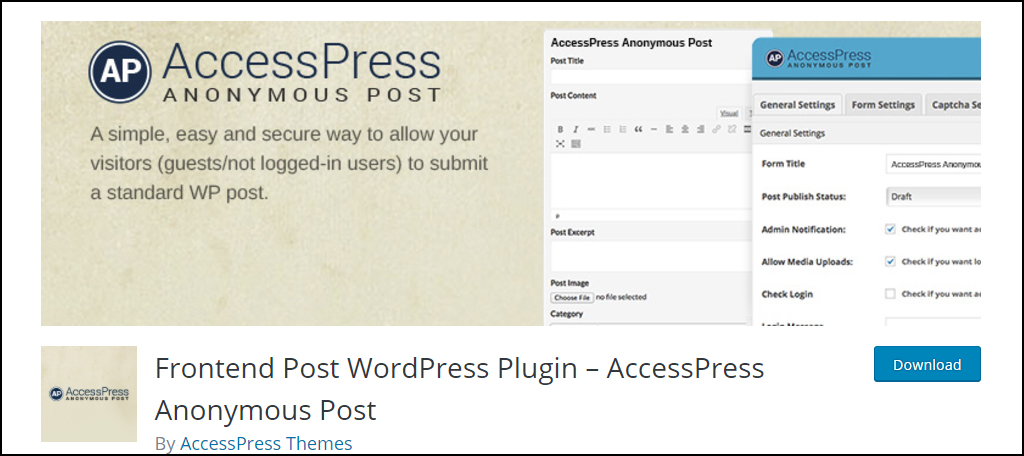
The Frontend Post by AccessPress is a great tool for collecting content from users without requiring a log in or being registered. Another highlight of the guest blogging plugin is that it’s responsive. This means it’ll look great whether a guest author is using a desktop computer or a smartphone.
One of the things I like most about the plugin from AccessPress is that guest authors have access to the WordPress editing system. So if you have custom tools for writing posts, those contributors will have access. Unfortunately, this does not include additional tools such as Yoast.
In general, I just find this plugin to look nicer than many of the others I’ve tried in the past. It’s a clean layout from the visitor’s perspective.
After installing the plugin, a new feature will be available in the left admin panel of WordPress. Click the option for “AccessPress Anonymous Post.”

AccessPress has a lot of customizable options available. You’ll need to take a few moments and go through each and make sure you have everything set to how you like before publishing the form.
Here is a break down of what you’ll find.
- General Settings Tab
This area is where you put in the title of the form, how the post is published, media uploads and login messages. - Form Settings Tab
In this area, you can set what parts of the form are available to contributors. This includes author information, URLs, email and categories. - Captcha Settings Tab
To reduce spam, AccessPress includes a captcha system in the form builder. You can use mathematical or Google captcha systems.
Once you’re ready to place the form, click the “Save all changes” button.

Now that the form is built, it’s time to place it on a page or post. Like the earlier plugin, you’ll copy and paste a shortcode. Again, I would advise using a static page to place the submission form as it will be much easier for visitors to find.
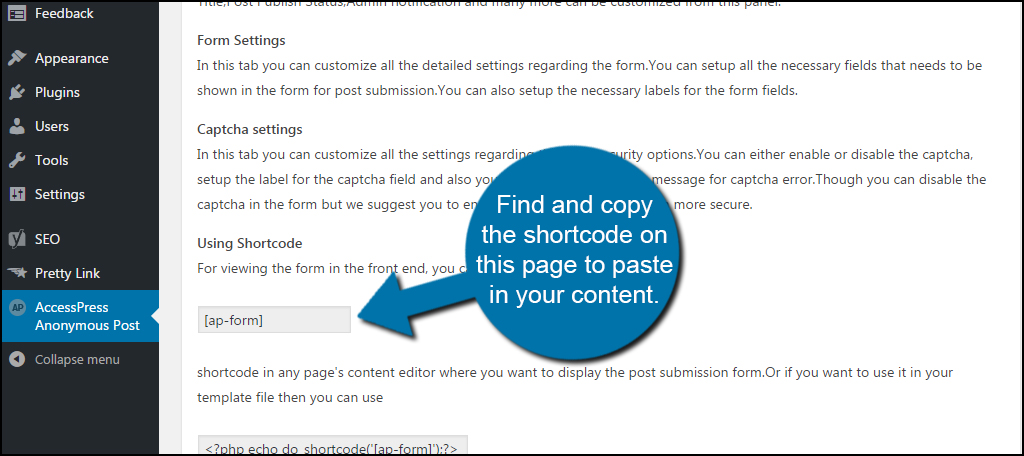
Go to the “How to use” tab in the AccessPress dashboard.
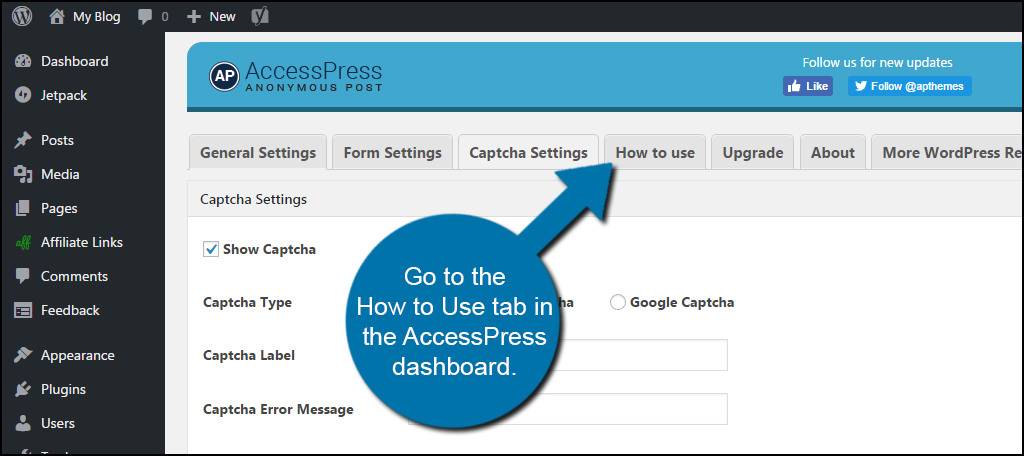
Find and copy the shortcode on this page to paste in your content.
Quickly Grow Your Content
Guest posts have potential to help you grow content rather quickly. This is especially true if your website is already semi-popular. This means you’ll spend less time creating content while focusing more on the other aspects to build a great site. You never know; one of your guest authors just might write that next greatest piece that appears on the first page of a Google search.
How often do you accept guest submissions? Do you find guest posts to help drive your traffic?
How did you miss UPG plugin ?
Seems you review based on active installs.
That’s a really helpful post, now I am less worried about accepting guest posts.
Glad we could help. Good luck to you. 🙂